

 Follow
 Rekomendasi
Maudy Ayunda to the Protesters on August 27: Stay Safe Everyone
Maudy Ayunda conveyed a safety message for participants of the August 27 demonstration in front of the Indonesian Parliament. Read more here...
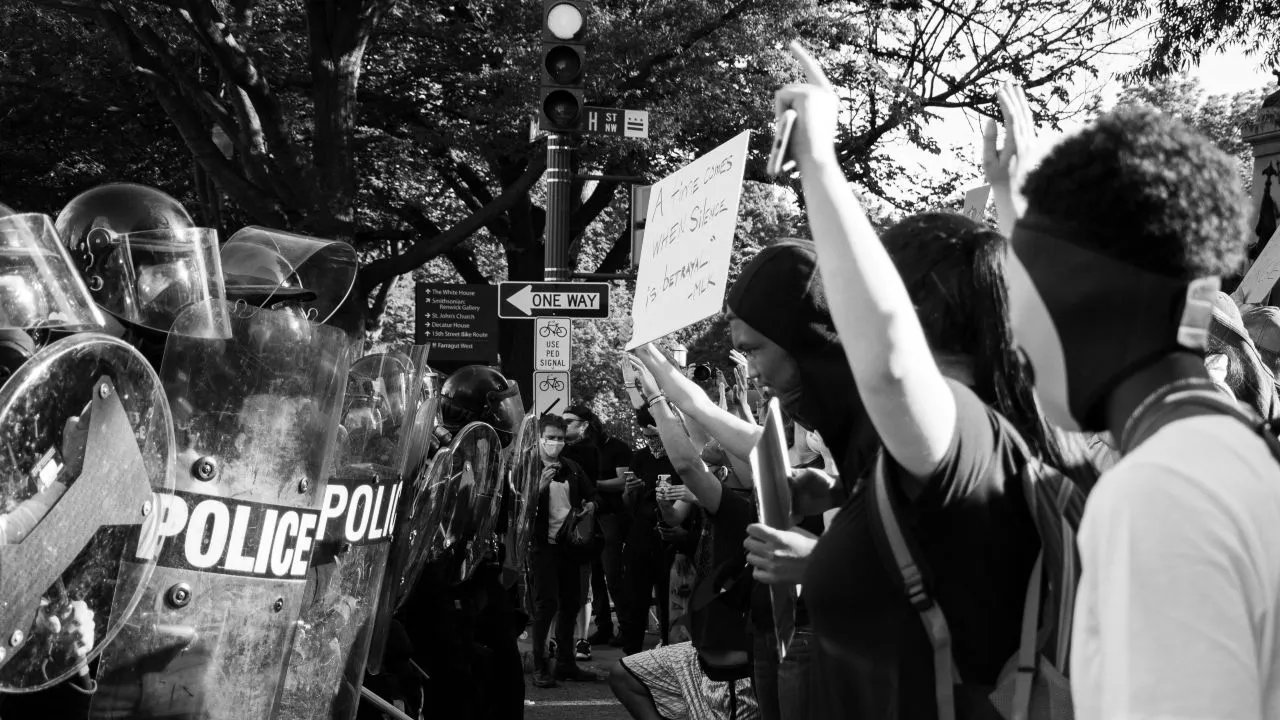
Kapanlagi.com - In a demonstration action, the area around the action location can be divided based on risk levels and specific functions. This division helps authorities, organizers, participants, and the general public understand the conditions around the demonstration and determine areas that should be avoided or utilized.
The terms red zone, orange zone, yellow zone, and safe zone are often used to describe these conditions. However, it should be understood that the designation of these zones is not always a standard classification applicable to every demonstration. The designation and function of areas can vary according to field conditions and arrangements by the authorities.
So, what are the zones known in demonstration actions and what are their characteristics? Here’s the explanation, reviewed by KapanLagi.com from various sources, Friday (28/8).
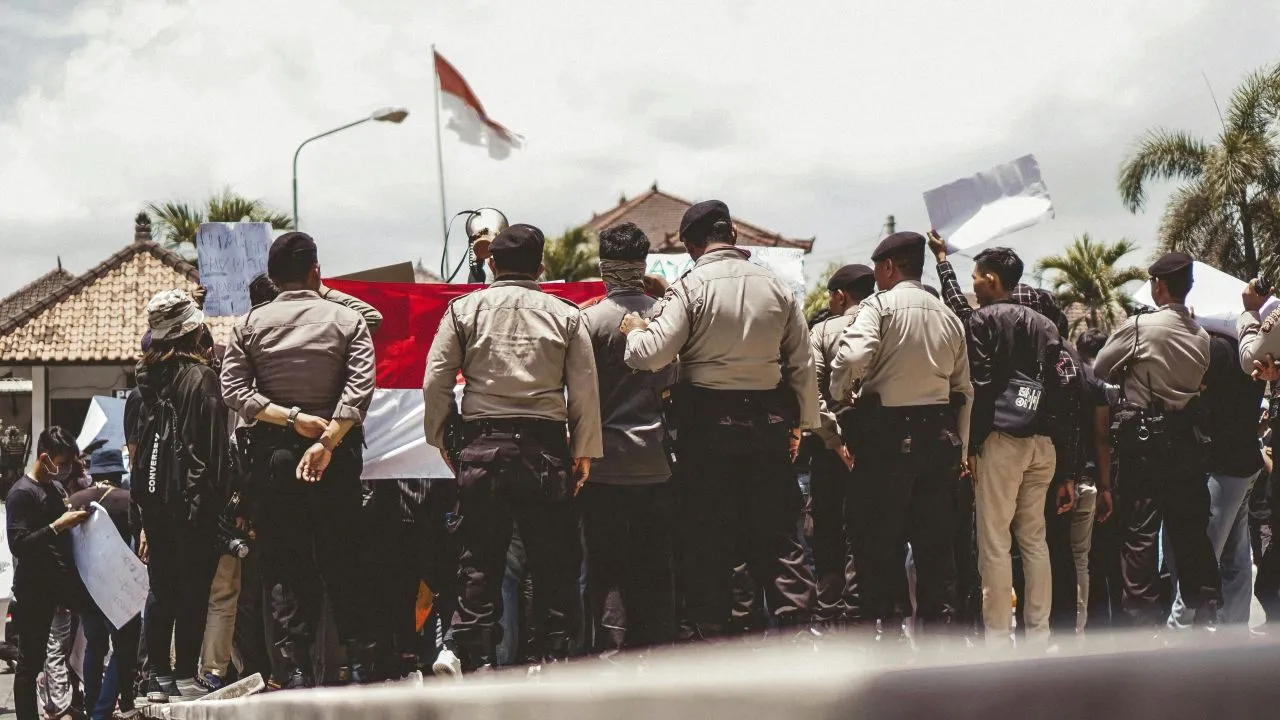
Illustration of a Demo (Photo by Fajar Grinanda on Unsplash)
The red zone of the demo describes an area with the highest risk level surrounding the action. Its location can be at the center of mass concentration or a point assessed to have the potential for tension and conflict.
Such areas typically receive tighter security. Access in and out may be restricted or regulated according to the conditions on the ground. Due to the higher risk level, members of the public who are not involved should avoid these areas and choose alternative routes.
If you are near the demonstration location, pay attention to information from officials and the developments of the situation before approaching the area that is the center of the action.
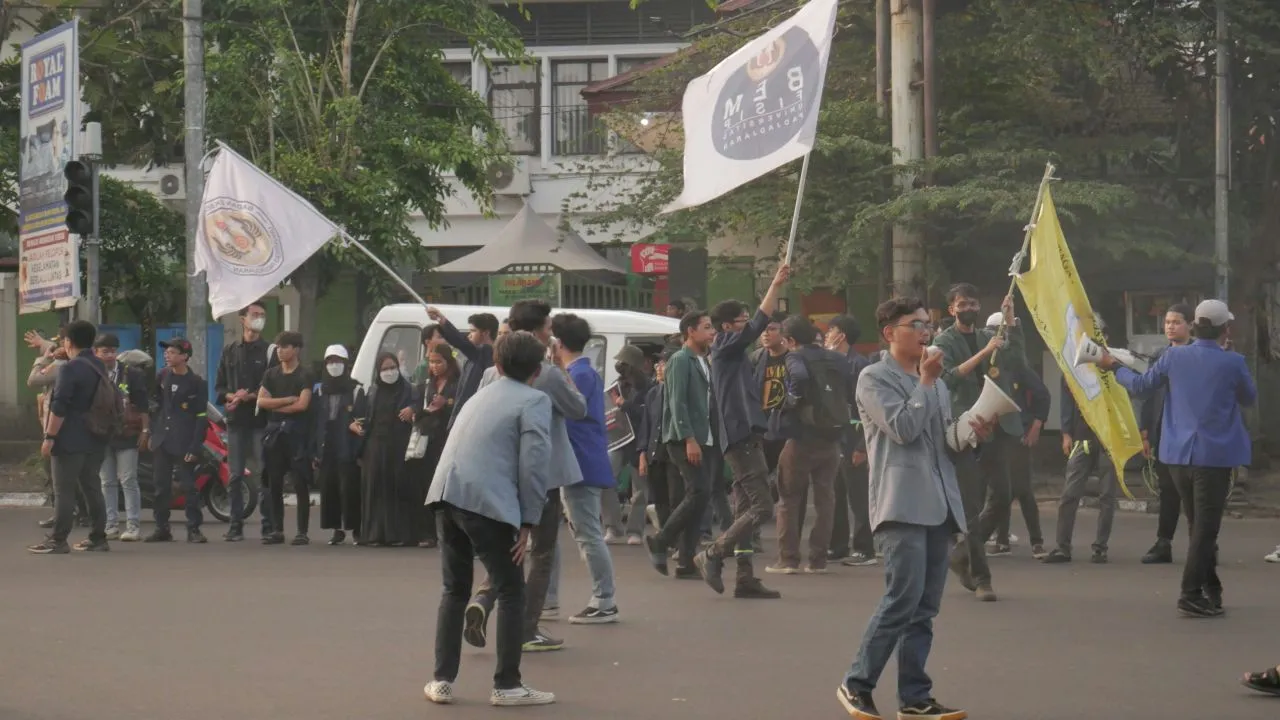
Demo Illustration (Photo by Rafli Firmansyah on Unsplash)
Next is the orange zone of the demo, which can be understood as a transitional area between relatively safe regions and points of action that are more risky.
This area can become a route taken by the crowd when moving towards or leaving the demonstration center. Officials may also monitor the movement of the crowd in that area.
The risk is not always as high as the red zone, but conditions in the orange zone can still change following the developments of the action. Therefore, members of the public passing through should continue to pay attention to the situation and instructions from officials.
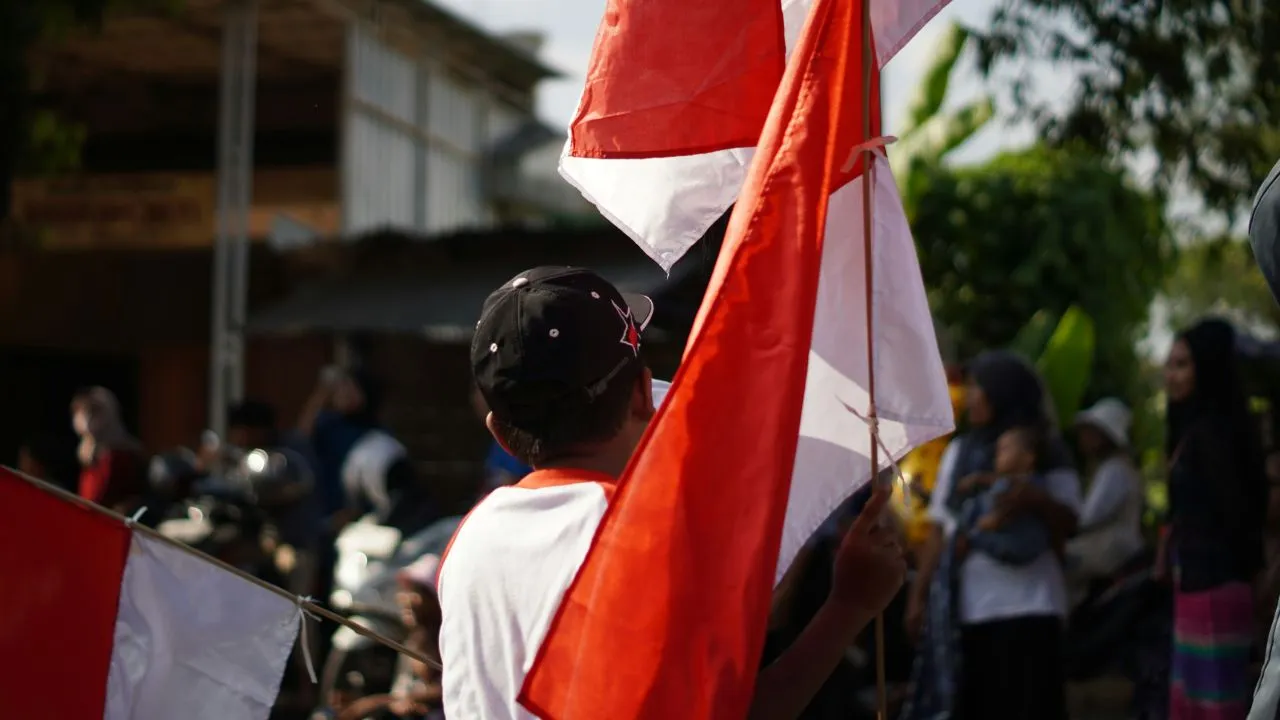
Demo Illustration (Photo by Mizanudin on Unsplash)
The yellow demo zone is an area that is relatively safer because it is located outside the center of action. This area can be used for public activities, including as a traffic route or specific supporting area when action arrangements require it.
However, the term relatively safe does not mean that the area is completely risk-free. The situation of the demonstration can change rapidly, so the initially calm zone still needs to be monitored.
For those who are not involved in the demonstration, being in an area further away from the center of action is generally a safer option. Always pay attention to announcements and instructions from authorities if the situation around starts to change.
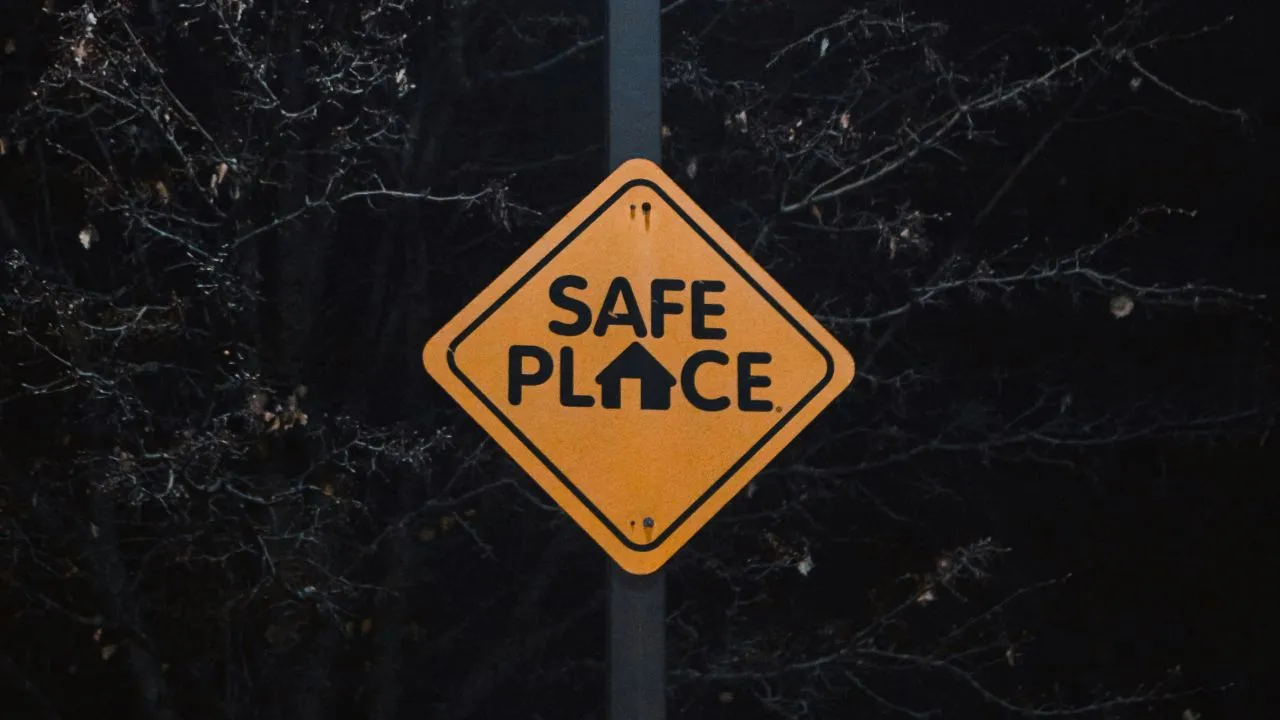
Safe Zone (Photo by Veronica on Unsplash)
In addition to the division based on risk levels, the term safe zone demo or safe area is also known. This area is intended to provide a more protected space for participants in the action and is usually determined by the organizers or authorities.
A safe zone can be a place for participants to gather or rest and, if available, to receive assistance when in need. The existence of such areas can also help separate participants from points that have a higher potential for conflict.
However, the location of the safe zone is not always the same in every demonstration. Participants should seek information from the organizers or officials on the ground regarding the location and access to that area.
Understanding the terms red zone, orange zone, yellow zone, and safe zone can help you read the situation when around a demonstration action. The closer you are to the center of the action or an area deemed risky, the more vigilance you need to maintain.
It is important to remember that the color divisions can be used as a depiction of field conditions and do not automatically mean that every demonstration always has four zones with the same boundaries. Situations, locations, crowd sizes, and security arrangements can affect the division of areas.
If you have no interest in the demonstration location, choosing an alternative route and staying away from the center of the crowd is a wiser step. Meanwhile, participants in the action should follow the directions of the organizers and officials and quickly move to a safer area if the situation worsens.
1. What is meant by the red zone in demonstrations?
The red zone is an area with the highest risk level, usually located around the center of the action or points where tensions may arise.
2. What is the difference between the red zone, orange zone, and yellow zone in demonstrations?
The red zone has the highest risk, the orange zone serves as a transitional area, while the yellow zone is relatively safer and located outside the center of action.
3. What is a safe zone in demonstrations?
A safe zone is an area designated as a safer place for participants to gather, rest, or receive assistance if needed.
(kpl/rmt)
Cobain For You Page (FYP) Yang kamu suka ada di sini,
lihat isinya
Maudy Ayunda conveyed a safety message for participants of the August 27 demonstration in front of the Indonesian Parliament. Read more here...

Through Threads, Kunto Aji prays for the safety of the protesters on August 27, 2026, and reminds the public to be careful when donating amidst the action. Read more here...

Through Threads @ffikriawan, .Feast bassist Fadli Fikriawan supports the action on August 27, 2026. Read more here...

Oki Rengga responds to the Demo on August 27, 2026, in Jakarta via Threads, highlighting citizens' support for the protesters and praying for the participants' safety.

They also urged that all parties suspected of involvement be investigated without discrimination in accordance with applicable legal provisions.

One perpetrator was saved because of a cat in the incident of the robbery of Eko Patrio's house, check out the fate of the other perpetrators.

Uya Kuya was emotional as his five cats returned thanks to Sherina Munaf after the looting incident.

After Being Looted, Eko Patrio Chooses to Rent a House on the Outskirts of Jakarta

Uya Kuya denies accusations of abandoning his cat after the robbery incident at his home, emphasizing that all the cats are healthy and well cared for.
Tourist Trapped in Nepal Protest, His Vlog Recording Goes Viral!
Moments of Clash Between Police and Demonstrators in Paris, Residents Block All Roads

Accuse Sri Mulyani of Being a CIA Agent, Yudo Sadewa, Son of Minister Purbaya, Apologizes
