Kapanlagi.com - Whatsapp is one of the most widely used applications in various countries, including Indonesia. In addition to providing easy communication services, Whatsapp is also a place to provide entertainment to friends or relatives. Yes, like giving videos or funny words, and even stickers. As you know, stickers are currently in high demand, and you can even find out how to make your own Whatsapp stickers.
By knowing how to make your own Whatsapp stickers, you can determine what image you want to create. You can use funny, scary, or even your own pictures. Yes, this can be a fun thing to communicate with each other, not only with friends but also with family and loved ones. Even Whatsapp stickers can be a form of expression that you can give, making it feel even closer.
For that, here are some easy and practical ways to make your own Whatsapp stickers. Guaranteed, it will make you more creative and entertaining. Let's check it out, KLovers.
1. Downloading an Application
Illustration (credit: Pixabay)
The first step in creating WhatsApp stickers is to download an application. There are many applications available that allow you to create your own stickers, one of which is Personal Sticker for WhatsApp. Or you can choose another suitable application that suits you.
Of course, this sticker-making application is an important point for you KLovers, so that you can easily and practically create a sticker. Whether it's a sticker from a funny picture, a screenshot of a video, or a selfie photo of yours. So you can choose the right application that suits you.
2. Editing the Desired Photo
Illustration (credit: Pixabay)
After selecting a sticker-making application, the next step is to edit a photo of your choice. Before creating a sticker using your own image, you can remove the background of the photo first.
You can use Adobe Photoshop or an application called background eraser to remove the background of the image. Or you can also directly download an image that you like without any background.
However, you must make sure that the image you have edited is in PNG format, KLovers. This can make it easier for you to create stickers for WhatsApp.
3. Inserting and Naming Stickers
Illustration (credit: Pixabay)
The next step is to insert and name your stickers. Yes, after your photo has been edited and is ready to be turned into a sticker, open the sticker-making application that you downloaded earlier. Once the application is opened, you can search for the option to create a sticker pack.
Write the title of your sticker pack and add all the images to the sticker pack using the provided option. If there are any questions asking for access to your images and videos folder, you can answer allow. After that, select the desired image and choose to save the sticker.
4. Adding Stickers
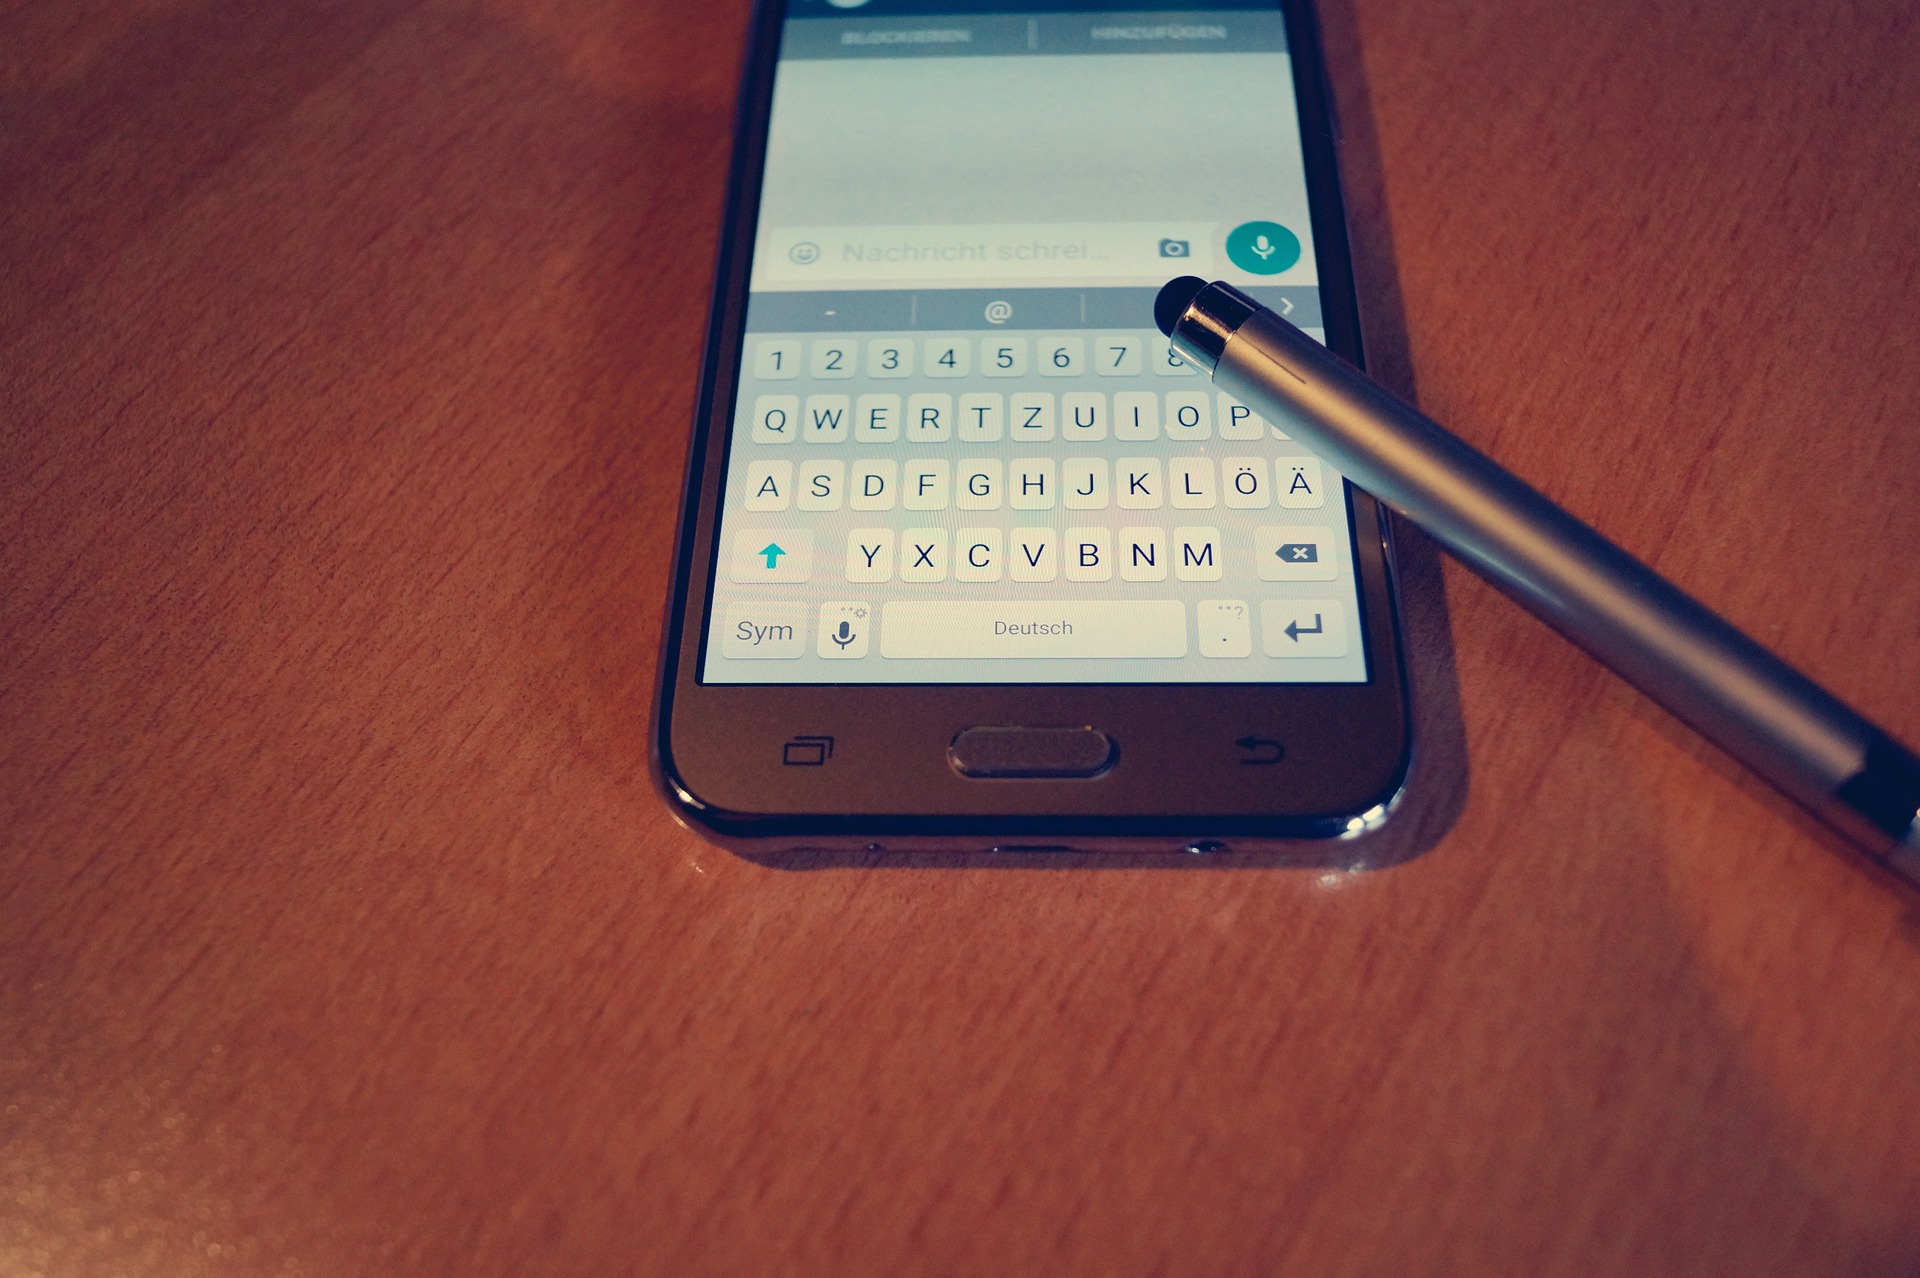
Illustration (credit: Pixabay)
The last step is to add your stickers to WhatsApp. This is the final step in creating WhatsApp stickers, and it is done by pressing the add button and voila. After that, feel free to share your stickers in chats.
To save stickers that are not available, simply tap on the sticker you created and select add favorite. When accessing stickers that you did not create, you can simply choose the star icon. There you will find the stickers that you have favorited.
5. How to Make Stickers Without an Application

Illustration (credit: Pixabay)
Besides using an application, you can also make WhatsApp stickers without an application. Of course, this method can be used on various devices, KLovers. You can use a mobile phone, laptop, or PC. And here are the steps you can take to make your own WhatsApp stickers without an application:
1. The first step is to open a website https://wasticker.app on your mobile phone or laptop. Then click on the Indonesian language menu in the top right corner of the screen.
2. Then, click the "Choose Image" button and search for and select the image that you want to turn into a WhatsApp sticker.
3. You can choose images in JPG, PNG, or WEBP format to create still stickers.
4. If you want to create animated stickers, please select images in GIF format.
5. After that, fill in your WhatsApp number in the provided box. Make sure you enter the Indonesian country code (+62) before your WhatsApp number.
7. Once done, click the "Create" button and wait for the process to finish.
8. If a sticker sent message appears, please check your WhatsApp application.
9. Save your new sticker by tapping on the sticker. Then select the Add to Favorites menu. And done, your sticker is ready.
Those are some easy and practical ways to make your own WhatsApp stickers. It doesn't take long to create your own stickers, and you can share them with friends, family, and even your beloved partner. Good luck.
(kpl/gen/dhm)
Disclaimer: This translation from Bahasa Indonesia to English has been generated by Artificial Intelligence.
