Kapanlagi.com - Random Access Memory or RAM is an important part of laptops and computers that functions to store temporary data. RAM has a certain capacity depending on the laptop specifications. Meanwhile, checking laptop RAM is very easy and doesn't take a long time, it's fast.
Knowing the specifications of the laptop you are using is also important. Besides being a consideration for buying a laptop, knowing its specifications can also help you control the use of applications or software on the laptop.
That's why it's important to know how to check laptop RAM, which is also one of the important aspects. Moreover, checking laptop RAM is very easy and fast. You can check laptop RAM using the built-in laptop feature or manually.
For information, here is an easy and fast way to check laptop RAM. Let's see the review about how to check laptop RAM that has been summarized by kapanlagi.com from various sources.
1. What is Laptop RAM?
What is RAM (credit: pexels.com)
Every laptop or computer has and is already equipped with RAM. RAM is an important part of a laptop, also known as Random Access Memory. RAM is indeed part of the temporary data storage on a laptop.
RAM can often be one of the factors to determine or check the performance of a laptop in running systems or software. Especially for those of you who often use laptops for heavy work, knowing information about RAM specifications is very important.
The capacity of laptop RAM varies from 4GB to 32GB. Usually, the larger the capacity of RAM, the smoother the performance and operation of the laptop. There are several functions of laptop RAM that need to be known. Here is a review of the functions of laptop RAM.
1. Temporary storage connected to the processor or CPU.
2. Improving the performance and operation of the laptop.
3. Smooth processing of data and information running on the laptop.
4. Faster and smoother graphics activities or data processing.
2. How to View Laptop RAM with DXDIAG Tools

How to View Laptop RAM (credit: pexels.com)
Knowing the specifications of your personal laptop is important, especially if you use it professionally for work. Knowing what specifications your laptop has can provide several advantages, such as knowing the performance level, the amount of memory used, the laptop's performance, and so on. That's why there is an easy and quick way to view laptop RAM.
One of them is by using the built-in feature in your laptop, which can be used to view laptop RAM. One of these features is DXDIAG Tools, which is already available on laptops with Windows-based operating systems. To learn how to view laptop RAM using DXDIAG Tools, here is the explanation.
- First, press the Windows + R keys on your keyboard to open the Run menu.
- Then type DXDIAG and click Enter.
- Wait until the DXDIAG tools menu displays information about the RAM specifications of your laptop.
3. How to View Laptop RAM Via Task Manager

How to View Laptop RAM (credit: pexels.com)
Next, there is also an easy and practical way to view laptop RAM via Task Manager. However, the steps to view laptop RAM using Task Manager are different from the previous method. If you want to try viewing laptop RAM via Task Manager, here are the steps you need to know.
- First, press the keyboard combination Ctrl + Shift + Esc to open Task Manager. You can also right-click on the Taskbar and select the Task Manager option.
- Next, select the Performance tab.
- The laptop will then display information about RAM, CPU, and so on.
- Done, viewing laptop RAM is very easy and fast, right?
4. How to View Laptop RAM Via Control Panel

How to View Laptop RAM (credit: pexels.com)
The Control Panel menu can also be used to see how to view laptop RAM. The steps to see laptop RAM via Control Panel are also practical and fast. The explanation of how to see laptop RAM via Control Panel can be found in the review below.
- First, click Start.
- Then type Control Panel to go to that menu.
- After entering the Control Panel menu, click System and Security.
- Then click System.
- Information about the required RAM specifications will appear.
5. How to View Laptop RAM Via CMD
Next, there is a way to view laptop RAM using the CMD feature. CMD or known as Command Prompt can be used to view the installed RAM on the laptop. Well, the way to view laptop RAM via CMD is very fast and simple. Where you need to go to the CMD menu on your laptop via the Run menu. The steps to view laptop RAM are as follows.
- First, press the Windows + R keys together on the keyboard.
- Then type CMD in the Run menu, click OK or Enter.
- After the CMD dialog appears, type systeminfo again.
- Click Enter or OK.
- Then the CMD menu will display information about your laptop's specifications, including RAM.
- Meanwhile, to view the RAM, you can go to Total Physical Memory.
- Done, that's how to view laptop RAM via CMD.
6. How to View Laptop RAM Via Sticker

How to Check Laptop RAM (credit: pexels.com)
In addition to checking laptop RAM through the laptop's built-in feature, there is also a way to manually check laptop RAM. Especially by looking at the RAM sticker. Yes, as you may know, laptops usually have stickers containing brief information about the laptop's specifications, including RAM. So, you can also use it as a way to check laptop RAM.
Checking laptop RAM through the attached sticker is certainly the easiest and fastest method. However, the drawback is that you may not be able to determine the amount of memory capacity that has been used. Therefore, checking laptop RAM via sticker only shows brief information about the RAM capacity of your laptop.
7. How to Check Laptop RAM When It Doesn't Turn On
How to Check a Laptop's RAM That Won't Turn On (credit: pexels.com)
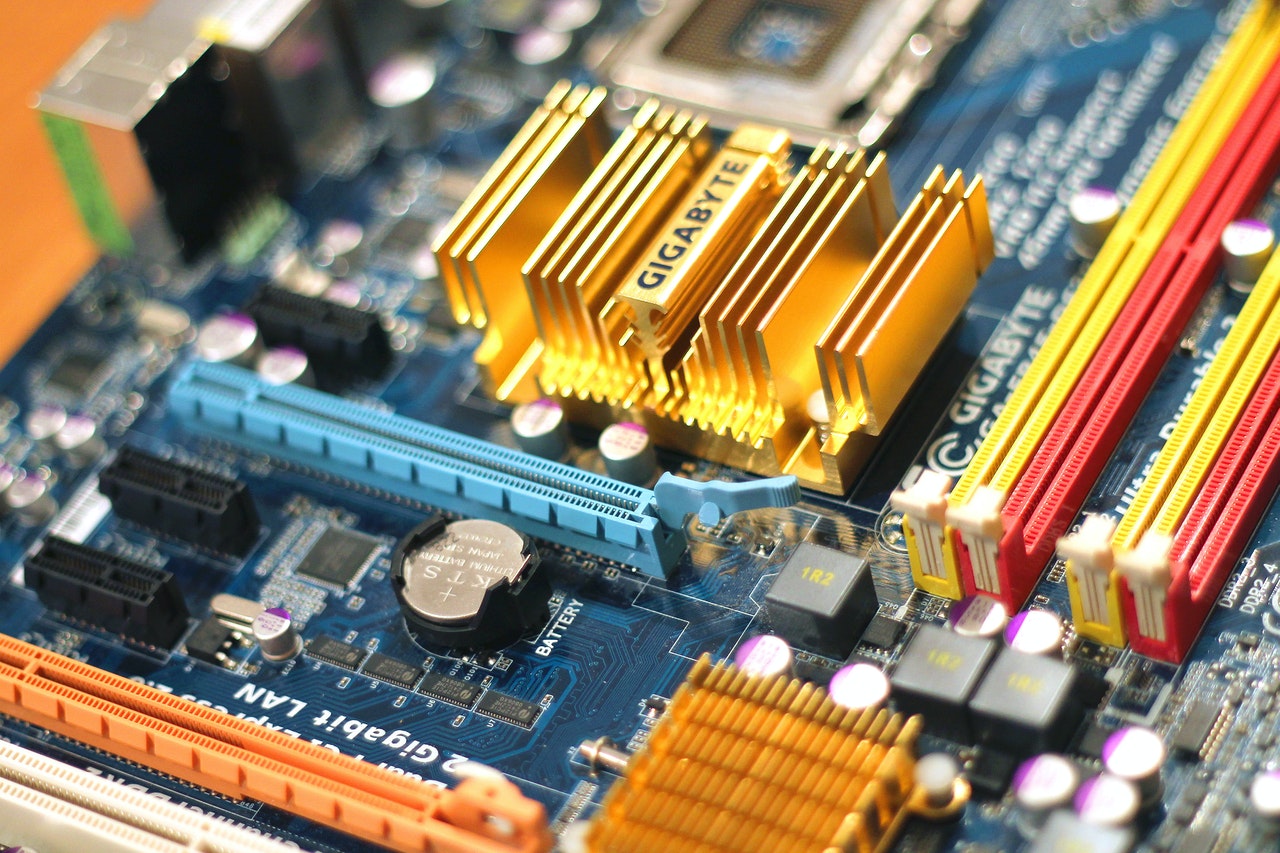
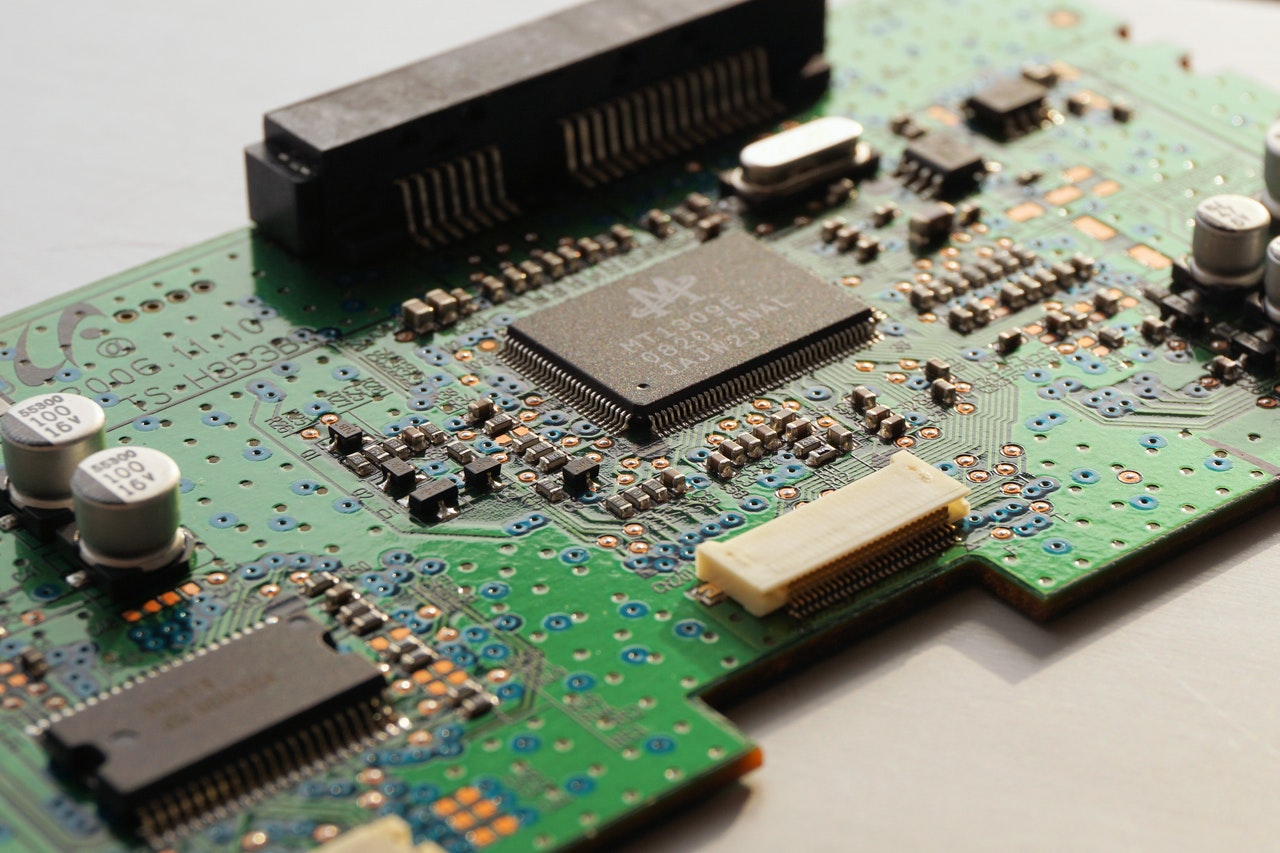
If your laptop is experiencing a malfunction and cannot turn on, it will be very difficult to know the remaining or used RAM information. But don't worry, it turns out there is also a method to check laptop RAM when it doesn't turn on.
Especially by looking at the sticker attached to the laptop or by looking at the laptop's RAM itself. Yes, checking laptop RAM when it doesn't turn on can also be done by opening the laptop's motherboard to determine the RAM capacity. However, it is important to note that when opening the laptop casing, make sure you can reassemble it. If you are unsure, then you can seek the help of an expert in the field to know how to check laptop RAM when it doesn't turn on. That's why you shouldn't attempt to open the laptop casing if you can't reassemble it.
8. How to Check Laptop RAM Through Task Manager

How to View Laptop RAM Through Task Manager (credit: unsplash)
To check the RAM on a laptop, you can also use the Task Manager in Windows. Task Manager is a tool used to monitor the performance of a laptop, including RAM usage. Here is how to check the RAM on a laptop through Task Manager.
- Right-click on the taskbar and select "Task Manager" or use the shortcut key "Ctrl + Shift + Esc" on the keyboard.
- Once the Task Manager is open, go to the "Performance" tab. Here, you will see a graph displaying the usage of CPU, RAM, and storage.
- For more detailed information about RAM usage, click on the "Memory" tab at the top of the Task Manager window. Here, you can see real-time RAM usage by specific programs and processes.
- Don't forget to check the speed of the RAM and the number of slots in use. This information can help you determine if the laptop has reached its full capacity or can still be upgraded.
9. How to View Laptop RAM with Windows + R Button

How to Check Laptop RAM with Windows + R Button (credit: unsplash)
One of the easiest and quickest ways to check laptop RAM is through the Windows + R feature. By using this keyboard combination, users can easily access information about the RAM on their laptop. Here are the steps to check RAM through the Windows + R button combination:
- Open the "Run" Window: Press the Windows key and the R key simultaneously to open the "Run" window on your laptop.
- Type "dxdiag" and Press Enter: After the "Run" window opens, type "dxdiag" in the text box and press the Enter key. This will open the "DirectX Diagnostic Tool" that provides detailed specifications of the laptop's hardware, including information about the RAM.
- Check RAM Specifications: In the "DirectX Diagnostic Tool" window, you can find information about the installed RAM amount, RAM type, and clock speed. This information is useful to check the condition and capacity of the RAM on the laptop, and to determine whether the RAM can be upgraded or not.
10. How to Check Laptop RAM via Dxdiag Feature

How to Check Laptop RAM via Dxdiag Feature (credit: unsplash)
Dxdiag is one of the built-in features of Windows that is used to gather information about hardware and software specifications on a computer or laptop. To check the laptop's RAM using dxdiag, follow these steps:
- Open the Start Menu: Start by opening the Start Menu on your laptop.
- Type "dxdiag" in the Search Bar: In the search bar, type "dxdiag". The search results will display the dxdiag application.
- Select this application to open the dxdiag window.
- Find Processor, RAM, and Graphics Card Information: After the dxdiag window opens, you will find detailed information about the laptop's processor, RAM, and graphics card.
- Check RAM Information: In the dxdiag window, select the "Memory" tab to find information about the RAM. There, you can also see the amount of RAM installed on the laptop. In addition, the dxdiag feature will also display other information such as RAM speed, brand, and model.
Those are some easy and quick ways to check laptop RAM. Hopefully, the above review can help you know the specifications of your laptop's RAM.
JOIN THE WHATSAPP CHANNEL OF KAPANLAGI.COM TO NOT MISS UPDATES AND LATEST NEWS ABOUT THE ENTERTAINMENT WORLD, BOTH DOMESTIC AND FOREIGN. CLICK HEREYES, KLOVERS!
Source: pinhome.id and other sources
(kpl/gen/nlw)
Disclaimer: This translation from Bahasa Indonesia to English has been generated by Artificial Intelligence.