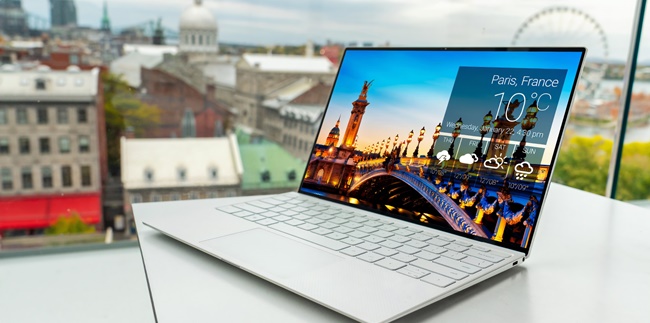
Kapanlagi.com - There are various features on laptops that can be used by every user. One of them is setting the date and time according to the time zone. Moreover, setting the time on a laptop is very practical and easy.
The clock and date feature on laptops are just as important as other complementary features. Because by setting the right time and date on your laptop, it can certainly make it easier for you to carry out activities using digital devices.
Moreover, setting the time on a laptop is very easy. You can also set the time manually or automatically. This means that if you choose to set the time on your laptop automatically, it will be adjusted to your network or time zone.
Meanwhile, for manual time setting on a laptop, you can set it manually. That is why below is a complete guide on how to set the time on a laptop that has been summarized by kapanlagi.com from various sources.
1. Causes of Laptop Clock and Date Error
(credit: unsplash.com)
Before discussing how to set the clock on a laptop, first understand the causes of clock and date errors on laptops. This can be one of the steps to find a solution to why the clock and date on the laptop are incorrect. Here are the causes of laptop clock and date errors.
- Time zone error on the laptop.
- Malware that causes the time and date on the laptop to frequently error.
- Outdated CMOS causing the battery to malfunction or its condition is no longer optimal.
- Damaged mainboard.
2. How to Set the Clock on Windows 10 Laptop

(credit: unsplash.com)
Every digital device is equipped with a system to regulate time, both the clock and date. One of them is a laptop that also has a clock and date setting system. Knowing how to set the clock on a laptop is certainly very important. Especially if you find a situation where the time on the laptop is not correct, knowing how to set the clock on a laptop is very useful.
That's why below are ways to set the clock on Windows 10 laptops that are important to know. The review of how to set the clock on Windows 10 laptops can be seen below.
1. How to Set the Clock on Windows 10 Laptop Via the Settings Menu
- Click the Windows menu in the lower left corner.
- Then select Settings with a gear icon.
- Then click Time & Language.
- Then you can set the clock on a Windows 10 laptop manually or automatically by turning the Off button into On.
- If you want to set it manually, first turn it off to Off, then click Change.
- You can set the appropriate time and date.
- Click Change.
- Then the time will automatically change.
2. How to Set the Clock on Windows 10 Laptop Via Control Panel
- Open the Windows icon on your laptop.
- Then click search and type Control Panel.
- Click Control Panel.
- Select the Clock and Region option.
- Next, a new display will appear and select Date and Time.
- To set it, you can select Internet Time.
- Click Change Settings.
- Check the box in the Synchronize with an Internet Time Server column.
- Click Update Now.
- Then select Ok.
- Then the time and date will automatically adjust to your location.
3. How to Set the Time on Windows 10 Laptop Directly
- Right-click on the time and date in the lower right corner.
- Then select Adjust Time/Date.
- The Date & Time menu will appear.
- You can set it automatically or manually.
- If automatic, just change the Off icon to On.
- If manual, disable the On icon to Off.
- Then select Change.
- Change the time according to your location.
- Click Change.
- Then the time will automatically change.
That is how to set the time on a Windows 10 laptop. Beforehand, make sure you have changed the time zone according to the correct location, for example, Bangkok, Hanoi, Jakarta. Click Sync Now to set the time correctly.
3. How to Set the Clock on Windows 8 Laptop

(credit: unsplash.com)
After knowing how to set the clock on a Windows 10 laptop, below is a guide to set the clock on Windows 8. The way to set the clock on a Windows 8 laptop can be seen as follows, which is not much different from Windows 10.
- Click the Windows menu at the bottom left of your laptop.
- Then look for the Control Panel menu.
- After entering the Control Panel menu, select Clock, Language and Region.
- Then click Date and Time.
- Click Change Date and Time.
- Then you can immediately set the time or date on the Windows 8 laptop.
- Make sure the time zone is correct and then click Ok.
- The clock setting on the Windows 8 laptop will automatically change.
- Done.
4. How to Set the Time on Windows 7 Laptop
(credit: unsplash.com)
Not only Windows 8, there is also a guide on how to set the time on a Windows 7 laptop. Basically, the way to set the time on a Windows 7 laptop is not much different. But first, know how to set the time on a Windows 7 laptop as follows. These are the steps to set the time on a Windows 7 laptop that need to be known.
- First, you can directly click on the clock and date section.
- Then the option Change Date and Time Settings will appear.
- Click the Change Date and Time Settings menu.
- Then click Change Date and Time again.
- Then you can change the time and calendar settings according to the location zone.
- If done, click OK to save.
- Then the time will automatically change according to the time you set earlier.
- Done.
That is the guide on how to set the time on a Windows laptop that you need to know. So that it makes it easier for you to set the time and calendar on your laptop. Thus, it can be used as a reference if the laptop's time and date experience an error.
(kpl/gen/nlw)
Disclaimer: This translation from Bahasa Indonesia to English has been generated by Artificial Intelligence.
