

 Follow
 Rekomendasi
26 Recommendations for the Best High-Rated Action Anime with a Full Fighting Story
Recommendations for the best high-rated action anime with stories of warfare, supernatural elements, and fantasy adventures like ATTACK ON TITAN and JUJUTSU KAISEN.
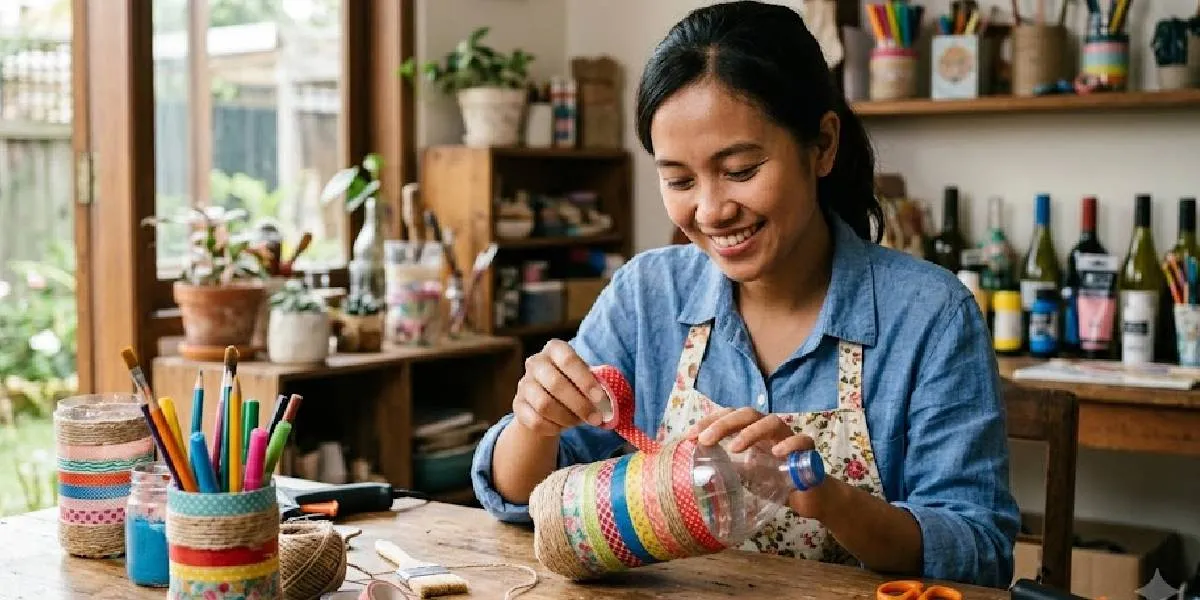
Kapanlagi.com - Used plastic bottles often end up in the trash after their contents are used. However, this simple object can still be utilized to create various functional crafts, one of which is a pencil case that can be used personally or resold.
The method of making a pencil case from used bottles also does not require a large expense. With a budget of around Rp20 thousand, some simple supplies, and a bit of creativity, plastic bottles can be transformed into containers for stationery with various attractive designs. In addition to helping reduce plastic waste, this activity also has the potential to become a home business idea with relatively low capital.
Before starting to make it, it is advisable to prepare the necessary materials while also getting to know some techniques that can be chosen according to the level of difficulty and design preferences.
Most of the supplies needed to make a pencil holder from used bottles are easy to find at home. If not available, the prices are also relatively affordable at stationery stores or marketplaces.
The main material is a used plastic bottle of mineral water, either 600 ml or 1.5 liters. Additionally, prepare scissors or a cutter, a glue gun along with glue sticks, acrylic paint, a small brush, permanent markers, fine sandpaper, and decorative materials such as felt fabric, ribbons, zippers, straws, doll eyes, wrapping paper, and even scraps of old t-shirts.
Plastic bottles made of PET from mineral water packaging are the most recommended choice because they are thinner, making them easy to cut and shape. Before use, remove the label and clean any remaining glue with warm soapy water so that the surface of the bottle is ready to be painted or decorated.
1.Practical Zipper Model
The first technique produces a pencil case that can be opened and closed using a zipper, making it practical to put in a bag.
Use two bottles of the same size. Cut the bottom of the first bottle about 8 cm as the body of the pencil case, while the second bottle is cut around 5 cm as the lid.
Smooth the cut edges using sandpaper. For safety, the edges of the bottle can also be pressed briefly on a hot iron surface covered with cloth so that the sharp parts become duller.
After that, measure the length of the zipper according to the circumference of the bottle, then glue it using a hot glue gun. One side is attached to the body of the pencil case and the other side to the lid. Leave a little space so that the zipper can still move easily. As a final touch, add stickers or decorative buttons as desired.
2. Woven from Old T-Shirts
If you want a different look, utilize old t-shirts as weaving material. This technique produces a unique texture while making use of fabric that is no longer used.
Cut the top of the bottle, leaving a height of about 15 cm. Next, make vertical cuts about 2 cm apart without cutting the base of the bottle. The number of strips should be odd so that the weaving pattern can alternate neatly.
Tie the end of the fabric to one of the strips, then weave alternately around the bottle. Press the weave periodically to ensure it is tight. Once the entire surface is covered, tuck the end of the fabric and add a ribbon at the lip of the bottle as decoration.
3.Animal Characters for Kids
This model is suitable for school crafts or as a decoration for a child's study table.
Cut the bottle about 10–12 cm from the bottom. Weaving from Old T-Shirts
If you want a different look, utilize old t-shirts as weaving material. This technique produces a unique texture while making use of fabric that is no longer used.
Cut the top of the bottle to leave a height of about 15 cm. Next, make vertical slices about 2 cm apart without cutting the bottom part of the bottle. The number of strips should preferably be odd so that the weaving pattern can be arranged alternately in a neat manner.
Tie the end of the fabric to one of the strips, then weave alternately around the bottle. Press the weaving periodically to ensure it is tight. Once the entire surface is covered, tuck in the end of the fabric and add a ribbon at the lip of the bottle as decoration.
3.Animal Characters for Kids
This model is suitable for school crafts or as decorations for a child's study table.
Cut the bottle about 10–12 cm from the bottom. On one side, create two triangular pieces for ears if you want to make a cat or rabbit character.
Smooth all the edges of the pieces, then apply a base coat and wait about 20–30 minutes until completely dry.
The next step is to draw the face using a permanent marker and attach doll eyes to make it look more lively.
For another variation, some short bottles can be wrapped in colorful flannel and then lined up on a cardboard base to form a caterpillar. Add a head made of flannel, then attach a pair of wings made of paper to resemble a butterfly.
Flannel fabric can provide a neater appearance while making pencil holders look more attractive. This technique is often chosen for craft products that will be marketed at bazaars or marketplaces.
Cut the bottle to a height of about 12 cm from the base, then smooth all sides of the cut using sandpaper. Measure the flannel fabric according to the circumference of the bottle and add about 2 cm at the top to fold over to the inside.
Adhere the flannel using hot glue in a thin and even layer until the entire surface is covered. After that, add decorations like flowers, stars, ribbons, or washi tape for a more varied appearance.
For those who are not used to painting, the decoupage technique can be an option. This method utilizes patterned paper cutouts so that the final result remains neat without the need for painting skills.
Use wrapping paper, scrapbook paper, or old magazine pages cut into small pieces. Apply diluted wood glue or mod podge to the surface of the bottle, then stick the paper cutouts while smoothing them out to avoid air bubbles.
Once the entire surface is covered, coat the outside again with diluted glue as a protective layer. Allow it to dry completely before using the pencil holder.
The pencil holder can also be decorated without paint by using plastic straws or pipe cleaners as the main ornaments.
Cut the bottle to the desired height, then tidy up all the edges. Attach the straws vertically around the body of the bottle using hot glue until the entire surface is covered.
As a finishing touch, wrap one or two pipe cleaners around the rim of the bottle, then add fabric flowers or small artificial flowers as embellishments.
If you need larger storage, combine several bottles into one multifunctional organizer.
Prepare three to four bottles of different heights, for example, 8 cm, 10 cm, and 12 cm, so that they appear tiered. Paint all the bottles using a color palette that matches to create a cohesive look.
Glue all the bottles onto a thick cardboard base or a piece of old wood measuring about 20 x 10 cm. To prevent shifting during use, the base of each tube can be given a little cement or plaster mixture as a weight.
This organizer is not only useful for storing pencils but can also be used as a place for makeup brushes, toothbrushes, forks, and spoons, as well as a jewelry container. If used as a mini plant pot, simply add a small hole at the bottom for drainage.
Mastering crafts from used bottles does not have to be done all at once. Start with the simplest techniques, then gradually improve your skills.
In the first week, focus on learning the zipper model or animal characters to get accustomed to cutting bottles and safely smoothing the edges.
Entering the first month, try to master at least three different techniques while beginning to experiment with color combinations and decorations.
If done regularly, the quality of the results usually starts to improve within about three months, making the works suitable as gifts or for sale in the surrounding area. After six months, document the best results as a portfolio and start marketing the products through marketplaces.
Some simple mistakes can affect the quality of the final result, so they should be avoided from the beginning.
Unfinished bottle edges are one of the most common mistakes. Newly cut plastic is still sharp, posing a risk of injuring hands when used.
A bottle surface that still has leftover label glue or liquid also makes paint and adhesive difficult to adhere properly. Therefore, the bottle must be cleaned thoroughly before starting to decorate.
Another mistake is choosing plastic bottles that are too thick. HDPE bottles are harder to cut and weave compared to PET bottles from mineral water packaging.
Excessive use of glue also makes the craft look less tidy. Apply glue sparingly and smooth it out so that the joints do not stand out.
Additionally, avoid layering paint that is not completely dry. Allow about 20–30 minutes before continuing the decoration process so that the colors do not easily run.
During the creation process, use a flat work surface and wear gloves when cutting the bottles. If using a hot glue gun, do so carefully as the glue temperature is quite high. For children under 10 years old, the cutting and gluing stages should be done by an adult, while the child can focus on the decorating process.
(kpl/mda)
Cobain For You Page (FYP) Yang kamu suka ada di sini,
lihat isinya
Recommendations for the best high-rated action anime with stories of warfare, supernatural elements, and fantasy adventures like ATTACK ON TITAN and JUJUTSU KAISEN.
Recommendations for school thriller dramas with gripping stories, ranging from zombie outbreaks, deadly games, criminal cases, to bullying conflicts.

Recommendations for Chinese Romcom movies featuring love stories, comedy, family, and life journeys from various story backgrounds.

Recommendations for Korean dramas about the love story of a widower and a young woman, featuring family stories, background differences, and slowly developing relationships.
Looking for the best Korean action thriller movies? Here are 10 recommendations with thrilling action, plot twists, and intriguing criminal stories.
Looking for K-dramas that are finished on Netflix? Here are 20 recommendations of Korean dramas from various genres that can be watched directly without waiting for new episodes.
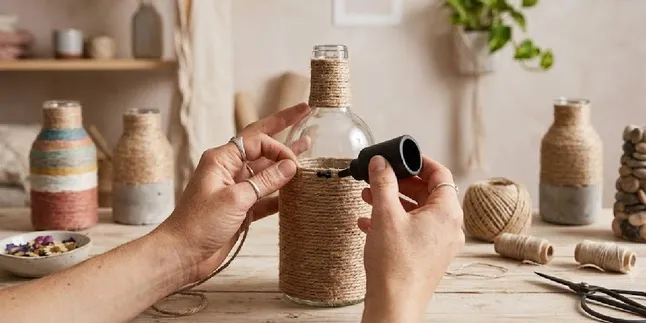
DIY projects with used items can be a way to beautify your room at a low cost. In addition to being environmentally friendly, this hobby also has the potential to generate extra income.
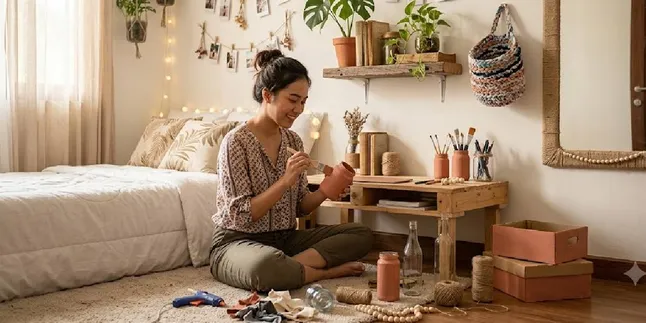
DIY recycled items can be a way to beautify your room at a low cost. Besides being environmentally friendly, this hobby also has the potential to generate additional income.
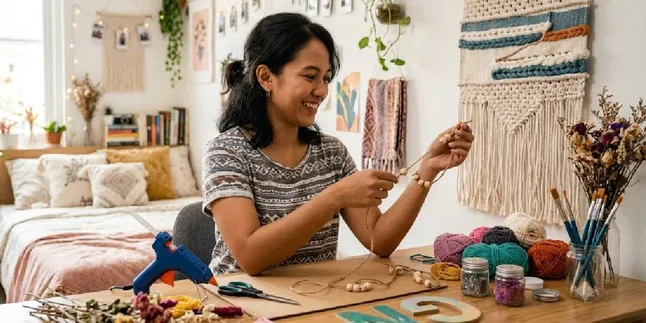
DIY room decorations can be started with a budget of under Rp50 thousand. In addition to beautifying the space, this activity also has the potential to reduce stress and open up business opportunities.

Minimalist pavilion models can be applied in narrow land with various concepts, ranging from open to integrated with gardens without compromising comfort.
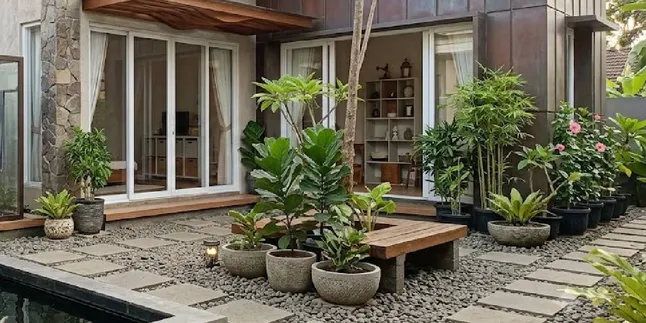
Want your home yard to stay neat without frequently pulling out weeds? These seven concepts help reduce weed growth while making your yard easier to maintain.

The drying area doesn't have to make the backyard look messy. Proper arrangement can maintain functionality while keeping the home's appearance neat and comfortable.
