

 Follow
 Rekomendasi
7 Ways to Plant Cosmos in Your Yard for Lush Growth and Frequent Blooming
Here's how to plant cosmos in your yard to ensure they grow lush, healthy, and bloom frequently with the right care.
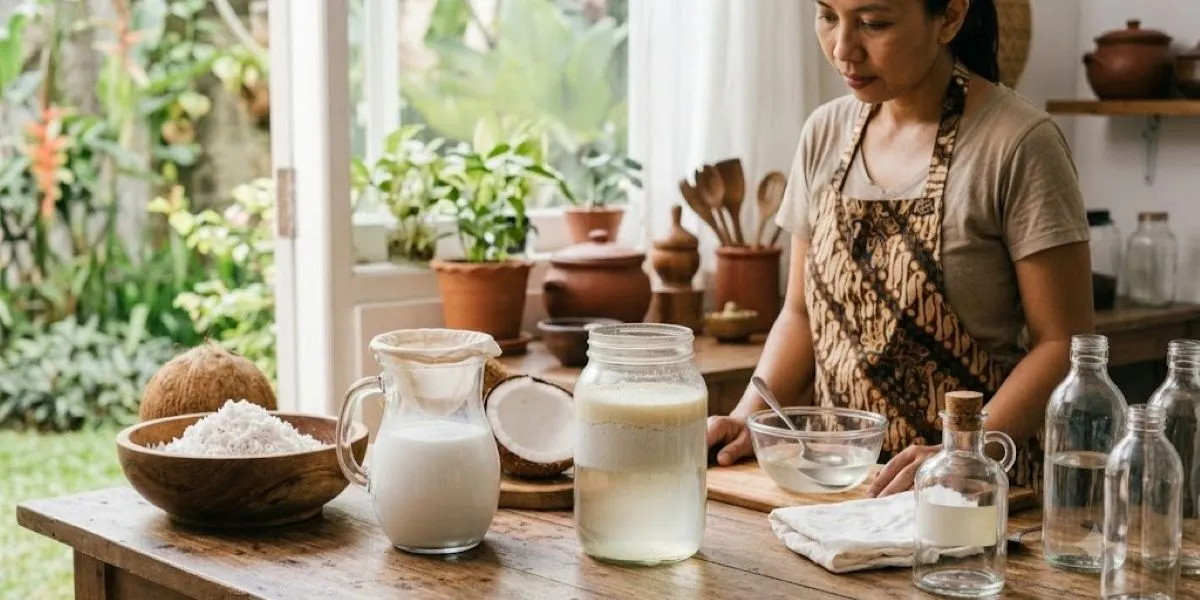
Kapanlagi.com - Pure coconut oil or Virgin Coconut Oil (VCO) is quite popular as a processed product made from fresh coconuts. The production process can be done simply, through the stages of coconut milk extraction to oil separation. For those of you who want to try self-processing, how to make pure coconut oil (VCO) at home can be an interesting option to learn.
Fresh mature coconuts are the main ingredient in the process of making VCO. The fruit flesh is grated, then processed to produce coconut milk before entering the oil separation stage. Knowing how to make pure coconut oil (VCO) at home helps understand each stage of processing, from ingredient preparation to the storage of the final product.
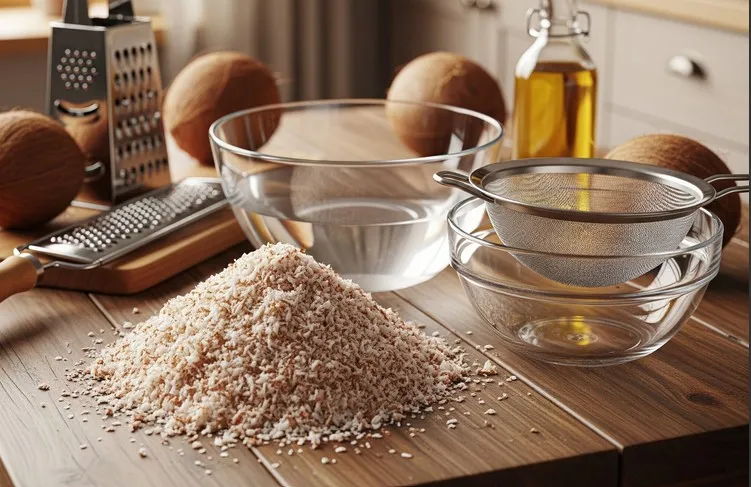
Home-scale VCO production does not always require special equipment or large machines. Some kitchen utensils such as graters, containers, filtering cloth, and glass bottles can be used to start the process. Through the method of making pure coconut oil (VCO) at home, the coconut processing can be done more independently.
Virgin Coconut Oil (VCO) // AI generated
Virgin Coconut Oil (VCO) is a natural oil extracted directly from fresh coconut meat without excessive heating or chemical processing. This process aims to preserve important nutrients such as medium-chain fatty acids (MCT), vitamin E, and antioxidants. VCO has a clear white color, a distinctive fresh coconut aroma, and a lighter, less oily consistency compared to regular coconut oil.
The nutritional content in VCO is superior due to its minimal processing. VCO is rich in lauric acid, a type of medium-chain fatty acid (MCFA) that is easily absorbed by the body and provides energy without raising cholesterol levels. This lauric acid also has strong antiviral, antibacterial, and antifungal properties, making it effective in boosting the immune system and protecting against infections.
Ingredients Needed
Before trying to make pure coconut oil at home, prepare the following ingredients:
Choose ripe coconuts in good condition, free from mold, with no sour smell, and with thick meat. Avoid using coconuts that have been stored for too long as this can affect the aroma and quality of the final product.
Tools Needed
Several simple tools can be used in the process of making VCO, including:
Ensure that all tools are washed clean and dried before use. Cleanliness is one of the important factors in the homemade oil-making process.
Virgin Coconut Oil (VCO) // AI generated
The first step in making pure coconut oil is selecting fresh, mature coconuts as raw materials. Choose coconuts that have thick flesh, clean white color, a distinct coconut aroma, and show no signs of damage such as mold, slime, or sour smell. The quality of the coconut greatly determines the characteristics of the coconut milk and oil that will be obtained later, so it is best to avoid using coconuts that have been stored for too long.
Carefully crack the coconut open, then remove all the flesh from the shell. Check the surface of the flesh again to ensure there are no shell fragments or dirt attached. Wash the coconut flesh using clean water until the surface is free from dirt, then drain until excess water is reduced before proceeding to the next process.
Once the coconut flesh is clean, grate all parts using a clean grater. Make sure the grated result has a sufficiently fine texture so that the extraction of coconut milk can proceed more optimally. The better the grating process, the easier the coconut juice will flow out during the squeezing process.
Place the grated coconut into a clean and large enough container so that mixing and squeezing can be done freely. Ensure that the grater, container, hands, and other tools are washed and dried before use. Cleanliness at this initial stage is important to reduce the risk of dirt or contaminants entering the material.
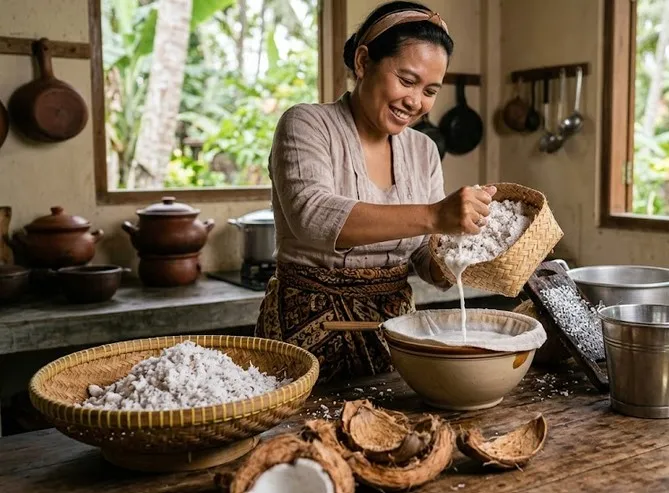
Add enough boiled water to the grated coconut, then squeeze using clean hands until the coconut juice comes out. Squeeze slowly and thoroughly so that the coconut milk can be maximally obtained from the coconut.
After the squeezing process is complete, strain the liquid using a clean cloth or fine-mesh strainer. Repeat the squeezing process if there is still a considerable amount of coconut juice in the pulp. Make sure the grated result has a sufficiently fine texture so that the extraction of coconut milk can proceed more optimally. The better the grating process, the easier the coconut juice will flow out during the squeezing process.
Place the grated coconut into a clean and large enough container so that mixing and squeezing can be done freely. Ensure that the grater, container, hands, and other tools are washed and dried before use. Cleanliness at this initial stage is important to reduce the risk of dirt or contaminants entering the material.
Add enough boiled water to the grated coconut, then squeeze using clean hands until the coconut juice comes out. Squeeze slowly and thoroughly so that the coconut milk can be maximally obtained from the coconut.
After the squeezing process is complete, strain the liquid using a clean cloth or fine-mesh strainer. Repeat the squeezing process if there is still a considerable amount of coconut juice in the pulp. Store the coconut milk in a clean and transparent container so that the changes in layers during the separation process can be seen more clearly.
Avoid excessive use of water from the beginning, as adding a large amount of water can make the coconut milk too diluted. Use just enough water as needed so that the processing remains easier to control.
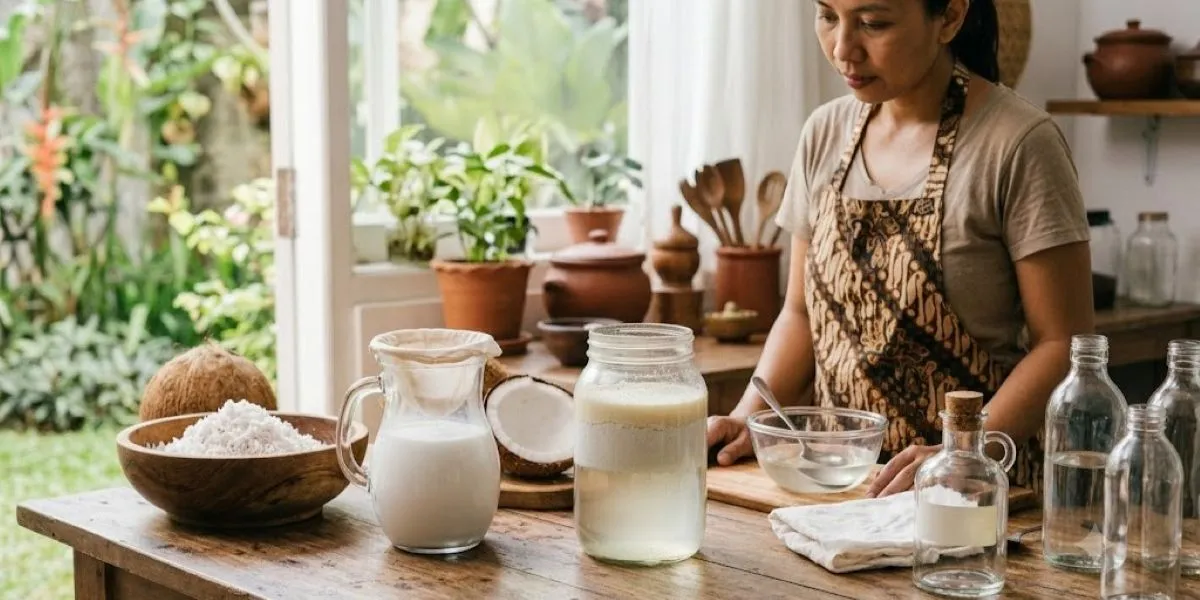
After the coconut milk is collected, place it in a clean, transparent container. Put the container in a shady, clean place, away from direct sunlight. If using a natural fermentation method, the container should be protected from dust and dirt, but not made completely airtight.
Let the coconut milk sit for about 24 hours. During this time, the components of the coconut milk will undergo a separation process, forming several layers. These layers can consist of a liquid part, solid coconut milk, and an oil part.
The separation time is not always the same for each process. Room temperature, the freshness of the coconut, the concentration of coconut milk, the cleanliness of the ingredients, and the conditions during settling can affect the process. Therefore, pay attention to the changes in layers periodically without opening the container too often.
Virgin Coconut Oil (VCO) // AI generated
After the coconut milk has settled, observe the inside of the container slowly. Usually, different layers will be visible due to the separation process. One part contains oil, while the other part consists of water and solid components of the coconut milk.
Use a clean spoon to gently take the oil layer. Try to keep the movement careful so that the water and sediment at the bottom do not get disturbed. If the oil layer is not clearly defined, allow additional time for the separation process to be more optimal.
This stage requires precision because the less water and sediment that are carried along, the easier the next filtering process will be. Avoid stirring the contents of the container when you want to take the oil so that the layers that have formed do not mix again.
The oil obtained from separation is not necessarily free from coconut particles or fine sediment. Therefore, re-filter using a clean cloth, a special filter cloth, or a fine porous sieve. The aim is to reduce solid particles that may still be present during the oil extraction process.
Pour the oil slowly through the filtering medium. Do not press or force the sediment through the cloth, as this action can cause particles to re-enter the oil. If necessary, repeat the filtering until the oil looks cleaner.
Use equipment that is completely clean and dry during the process. The presence of water or residual materials can affect the quality of the oil and make the storage process less optimal.
After the filtering process is complete, pour the oil into a clean transparent container. Let it sit for a while so that the very fine particles that remain can settle naturally at the bottom of the container.
Observe the bottom of the container before transferring the oil. If sediment is visible, carefully take the clearer oil using a spoon or transfer it through a careful pouring method. Avoid stirring the oil to prevent the sediment from mixing back in.
This additional settling stage can be done until the oil appears clearer. If there are still many particles, the filtering process can be repeated before the oil is packed into the storage container.
Once the oil looks clearer and there is not much sediment, transfer the VCO into a clean and completely dry glass bottle. Ensure the bottle has been washed, rinsed, and dried before use. Residual water in the bottle should be avoided to prevent mixing with the oil.
Use a bottle with a tight lid to help reduce exposure to air, dust, and contaminants from the surrounding environment. Do not fill the container using wet equipment, and avoid inserting spoons or other tools that are not clean.
Store VCO in a cool, dry place, protected from direct sunlight. When taking the oil, use clean and dry tools. Also, pay attention to the condition of the VCO during storage. If a rancid smell, unusual changes, or signs of contamination appear, it is best not to use the oil.
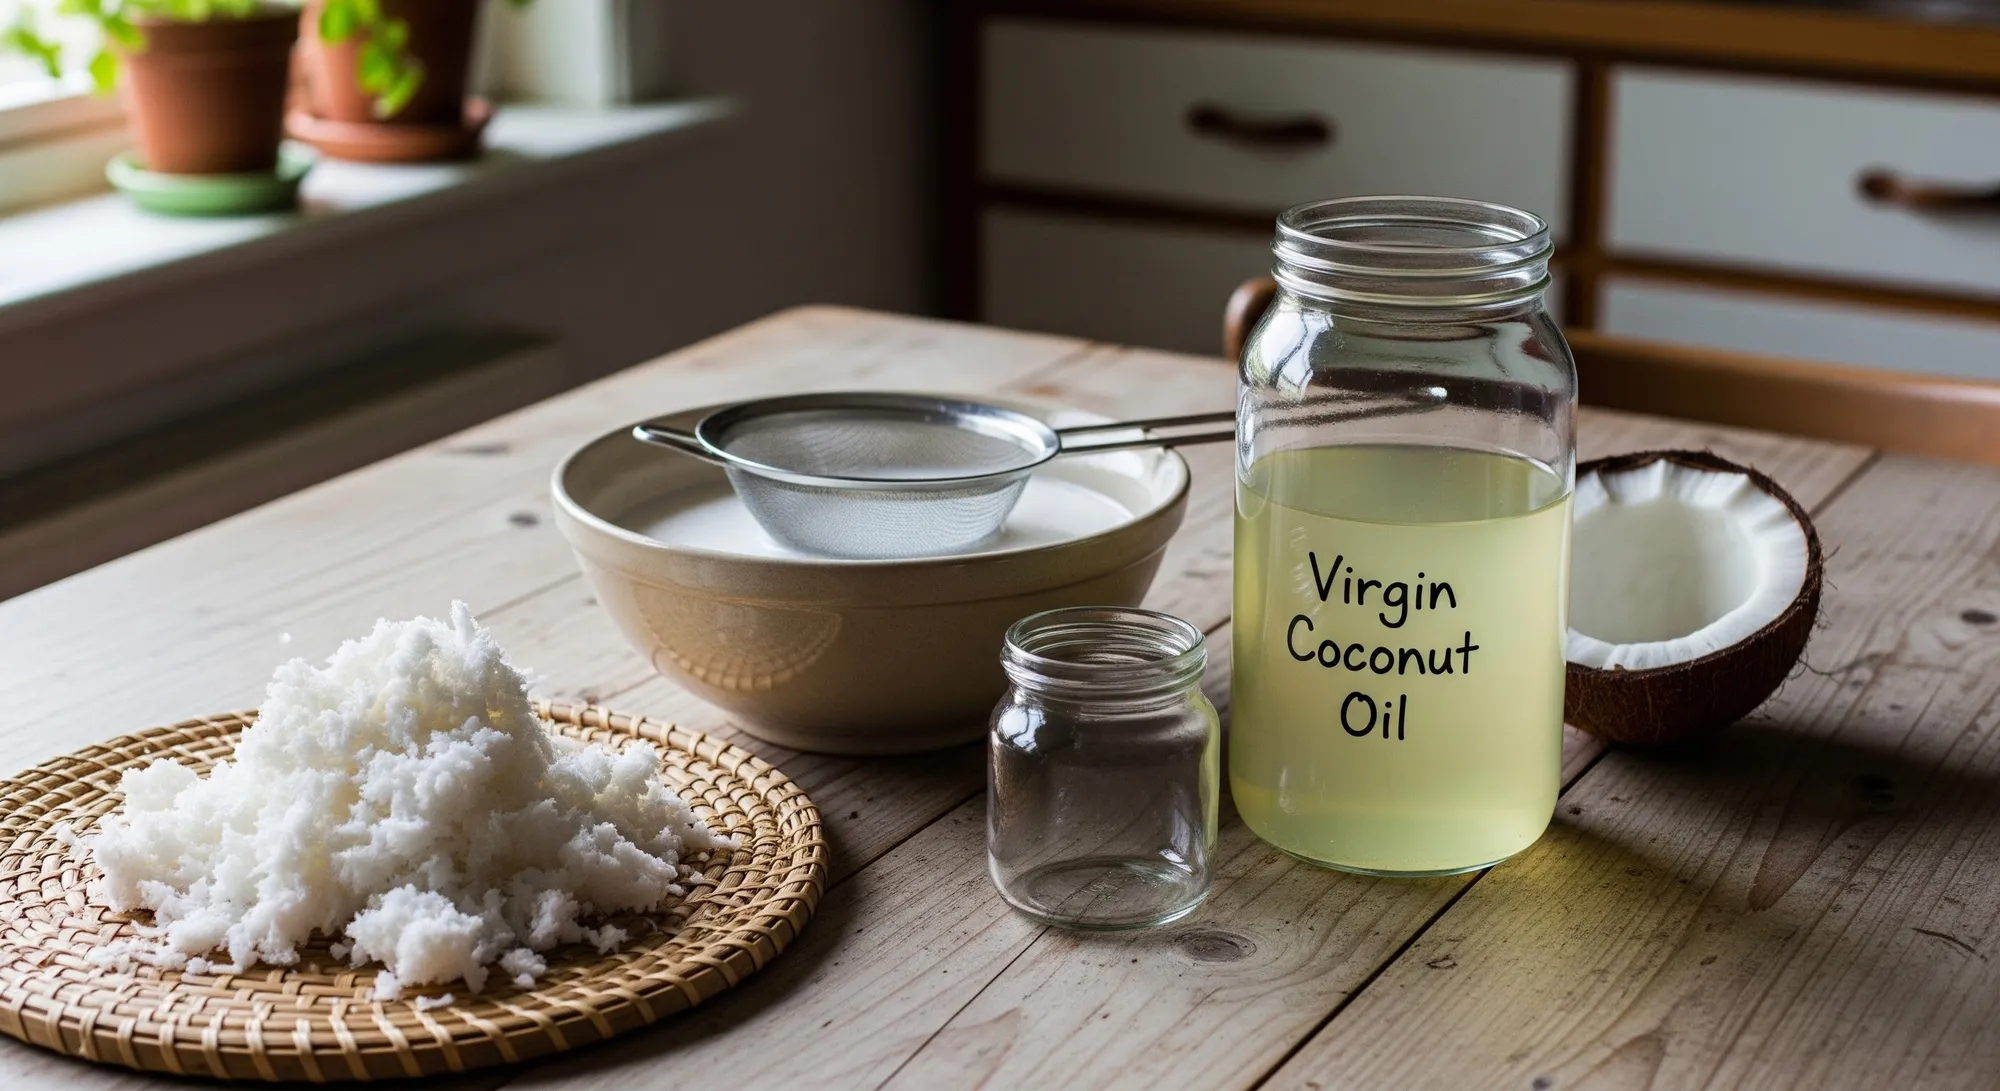
Virgin Coconut Oil (VCO) // AI generated
Homemade VCO does not have a definite shelf life applicable to all products. Its durability is influenced by the freshness of the coconut, the moisture content in the oil, cleanliness during processing, separation methods, filtering quality, type of container, and storage conditions. The less water content and the more hygienic the production process, the better the chances of VCO remaining in good condition.
To maintain its quality, store VCO in a clean and completely dry glass bottle. Choose a tightly sealed container, then place it in a cool, dry place, away from direct sunlight. Avoid taking the oil with a wet spoon or dirty tools as water and contaminants can accelerate the decline in quality.
VCO should also be checked before use, especially if it has been stored for a long time. Pay attention to the aroma, color, clarity, and condition of the oil. VCO can still be used if its characteristics remain normal, while oil that smells rancid, shows significant changes, or exhibits signs of mold growth should not be used.
If you want to know the shelf life more accurately, quality testing in a laboratory is required. For home production, the safest way is to maintain cleanliness from the selection of coconuts to packaging, minimize moisture content, and store the oil in a closed container under proper storage conditions.
1. How to make virgin coconut oil (VCO) at home?
The process can start by selecting fresh, mature coconuts, grating the flesh, making coconut milk, and then letting the coconut milk sit until the layers separate. The oil part is then taken, filtered, and stored in a clean bottle.
2. What are the main ingredients for making VCO?
The main ingredients are fresh mature coconuts and boiled water. The quality of the coconut greatly affects the aroma and characteristics of the processed oil.
3. How many coconuts are needed to make homemade VCO?
For a small-scale experiment, about 3–5 mature coconuts can be used. The final amount of oil may vary because it is influenced by the size of the coconuts, the thickness of the flesh, and the extraction process.
4. What type of coconut is best for making VCO?
Choose fresh mature coconuts that have thick flesh, are not moldy, and do not emit a sour or rancid smell. Avoid damaged raw materials to ensure the oil does not have an unpleasant aroma.
(kpl/ses)
Cobain For You Page (FYP) Yang kamu suka ada di sini,
lihat isinya
Here's how to plant cosmos in your yard to ensure they grow lush, healthy, and bloom frequently with the right care.

Experience the thrill of being a true detective. Check out the recommended mystery films that invite viewers to analyze clues and solve cases alongside the characters.
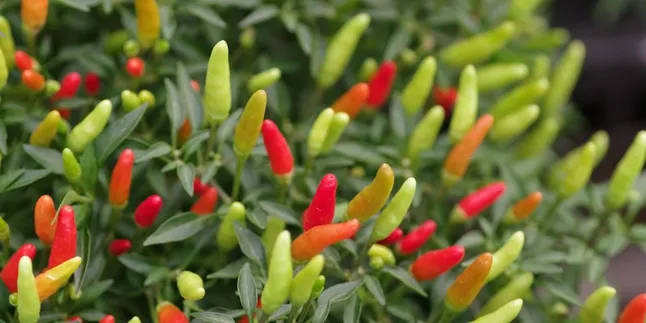
How to plant chili from kitchen chili can be done by following the right steps. Read more in this article.

Embrace the cold atmosphere with 14 recommendations for cinematic winter and snow-themed films.
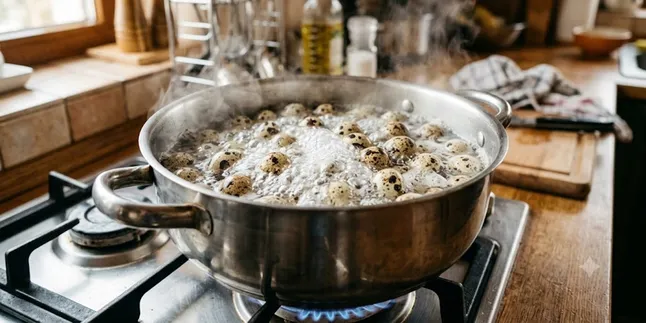
Learn the ideal boiling duration for quail eggs for various levels of doneness, from soft-boiled to perfectly cooked, as well as practical tips for easy peeling.

Three psychologists agree that learning musical instruments from an early age trains perseverance, brain function, and emotional management in children. Check out the facts!

A collection of heartwarming movie recommendations themed around the journey home that explores family conflicts, self-discovery, and healing deep past wounds.

The stories of canvas maestros are always interesting to review. Check out the reviews of recommended films themed around artists and painters that are full of turmoil, easily understood by the general public.
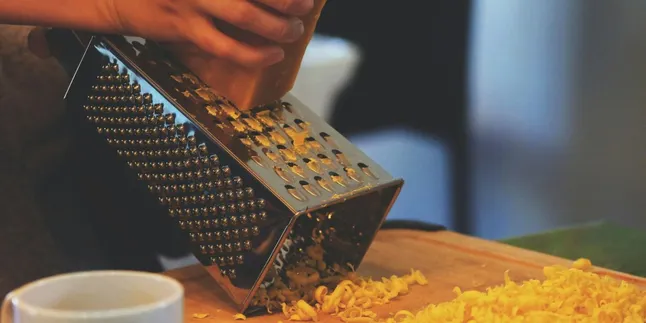
Discover vintage cooking tools that are irreplaceable due to their durability, versatility, and effectiveness still in use today.

Recommendations for movies featuring good and evil twin children present stories full of mystery, horror, and thrill with unpredictable plots that are sure to keep viewers tense until the end.

Discover 15 Korean dramas that remain exciting even when you know the ending. The storyline, acting, and emotions make you want to rewatch them multiple times.

Korean dramas not only present romantic stories but also bravely raise crucial social issues. Check out the list of dramas that successfully insert sharp critiques of reality.
