

 Follow
 Rekomendasi
How to Plant Lychee for Quick Fruiting and Abundant Harvests, Guaranteed Quality
Check out the complete guide to planting lychee for quick fruiting, from selecting superior seeds to optimal care for abundant results.
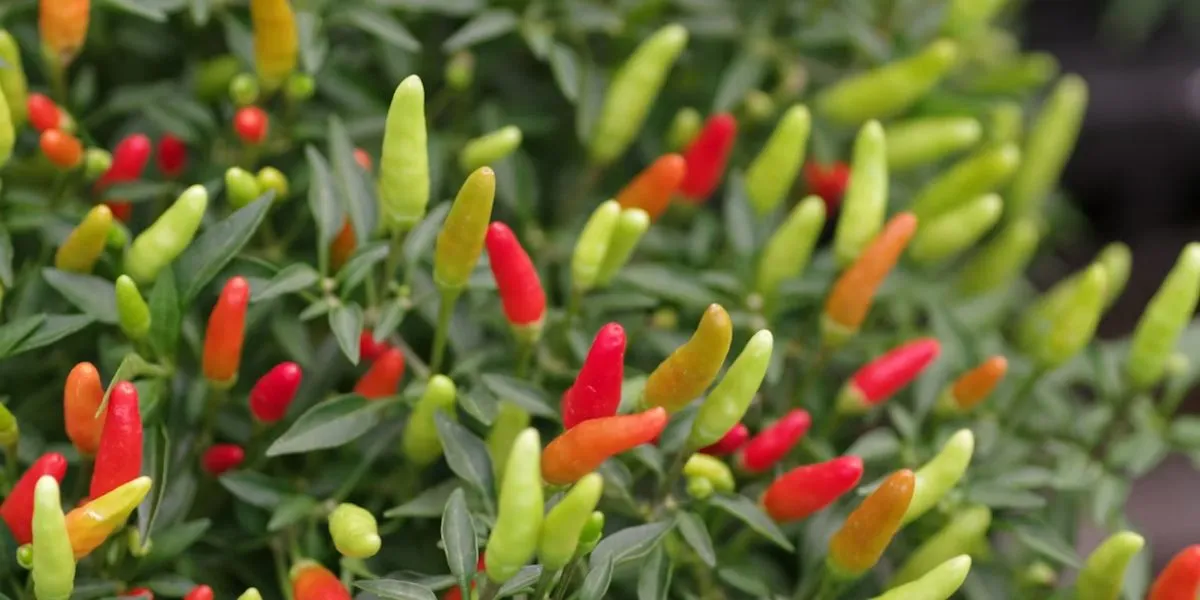
Kapanlagi.com - Bringing the freshness of chili directly from your home garden is a dream for many gardening enthusiasts. A common question that arises is, can you plant chili from kitchen chili? The answer is very possible! Utilizing seeds from existing kitchen chili is not only an economical method but also environmentally friendly.
With the right guidance, you can enjoy a supply of fresh chili without having to go to the market frequently. This article will review each method of planting chili, as reported by Kapanlagi.com from various sources, Friday (7/8/2028).
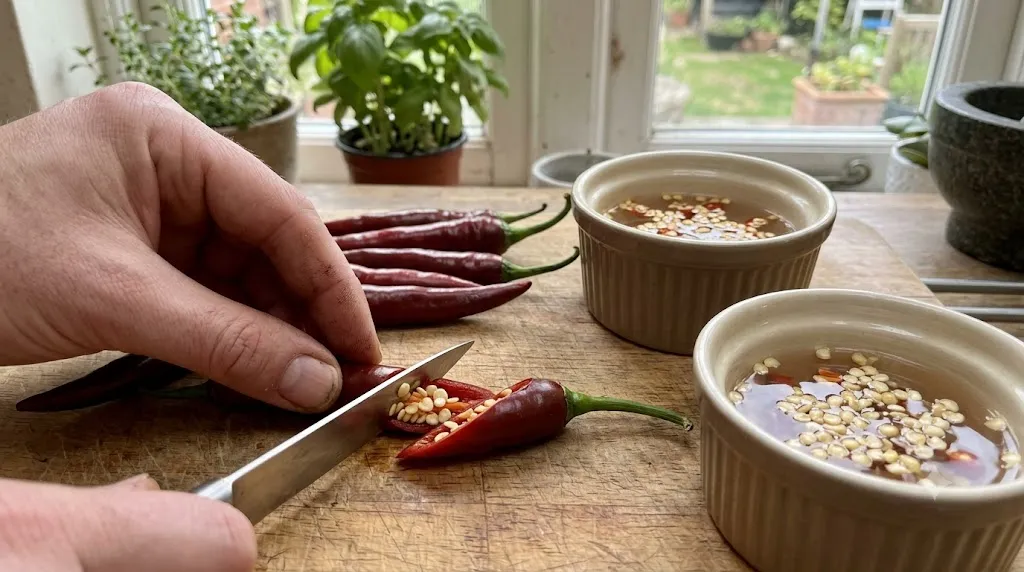
Illustration of How to Plant Chili / AI Generated
The first step that determines the success of growing chili from kitchen chili is the preparation of quality seeds. The quality of the seeds directly affects the growth of your chili plants later on.
To get the best seeds, choose chili that is fully ripe. The characteristics of ideal chili are bright red in color, still fresh, not wrinkled, and has a fresh green stem. Make sure the chili comes from a healthy parent plant so that its genetic potential is also good.
After selecting the chili, carefully cut it lengthwise and take the seeds from the middle part. The seeds located in the middle are often considered to have the best quality. It is important to perform this process gently so that the seeds are not damaged.
Then, dry the seeds that have been taken under direct sunlight until completely dry. You can use a tray or sieve for this drying process, which generally takes about 1 to 2 days. Perfect drying will prevent seeds from molding and enhance their germination ability.
To ensure seed quality, conduct a simple test. Soak the seeds in plain water or nutrient solution overnight. Seeds that sink are an indication of healthy, solid seeds ready for planting. Meanwhile, floating seeds should be discarded as they may be empty or damaged. Soaking seeds in warm water at 50°C overnight can also help speed up the germination process.
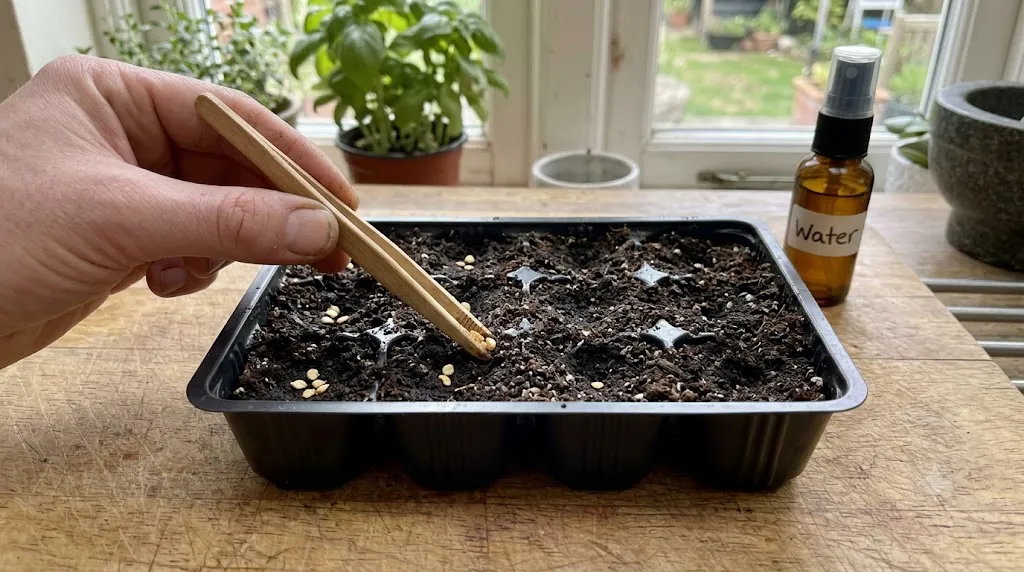
Illustration of How to Plant Chili / AI Generated
Sowing is a crucial phase in chili cultivation, as the quality of the seedlings produced will greatly determine future harvest success.
Prepare suitable seedling containers, such as seed trays, small polybags, or mini pots with drainage holes. The ideal planting media should be light, loose, and have good drainage capability. The recommended mix consists of fine soil, compost fertilizer, and burned husk in a balanced ratio of 1:1:1.
Before use, the planting media should be sterilized to avoid disease attacks. Sterilization can be done by steaming or sun-drying for several days. This process will kill any pathogens that may be present in the media.
Next, create planting holes about 0.5 to 1 cm deep using your finger or a small stick. Place one chili seed into each planting hole, then cover lightly with soil. Ensure that the distance between seeds is about 5 cm to provide enough growing space for the seedlings.
Carry out sowing in a shaded area, away from direct sunlight exposure, to maintain moisture in the planting media. Water the seedling medium until it is moist, but avoid overly wet conditions that can cause the seeds to rot. Regular watering every day using a fine mist spray will keep the moisture without disturbing the seed positions. To maintain moisture levels, you can cover the seedling container with clear plastic or a damp sack. Generally, chili seeds will start to germinate within 5 to 7 days.
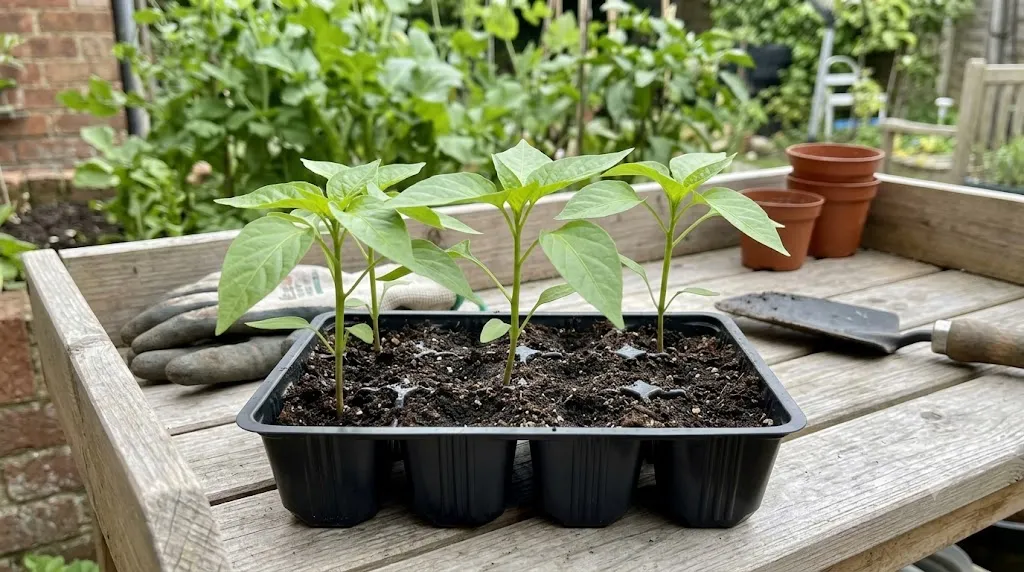
Illustration of How to Plant Chili / AI Generated
Once the chili seeds have successfully germinated and shoots begin to appear, the care of the seedlings becomes the next important stage to ensure strong growth before being transferred to larger planting media.
When the shoots start to become visible, immediately remove the cover from the seedling container so that the seedlings receive good air circulation. Place the seedlings in a location that receives adequate sunlight, but avoid exposure to direct, harsh sunlight during the early stages of their growth. Proper light exposure will help the seedlings grow sturdy and not become etiolated (thin and stretched).
Watering should be done regularly, ensuring that the planting medium remains moist but not waterlogged. Consistent moisture is essential for young seedlings, but standing water can lead to root rot. Monitor the condition of the planting medium daily and adjust the watering frequency as needed.
Initial fertilization can begin around the third week after sowing. NPK fertilizer with a balanced formulation, such as 16-16-16, can be used to provide essential nutrients needed by the seedlings for early growth. Apply fertilizer in very low doses and carefully to avoid damaging the still vulnerable seedlings.
Chili seedlings are ready to be transferred to the main planting medium when they have about five true leaves or are around 2 weeks old after sowing. Prepare a pot or polybag with an ideal size of about 35 cm, or adjust it according to the needs of the plant's growing space. Fill the pot with a mixture of loose planting media, such as soil, burned rice husks, raw rice husks, and manure until evenly distributed.
When transferring seedlings, do so very carefully to avoid damaging the roots. Lift the seedlings along with a bit of the surrounding planting media. Plant the seedlings in the center of the pot, then add more planting media to cover the entire root. After that, gently press the soil around the base of the seedlings to ensure they stand firm and do not easily topple over.
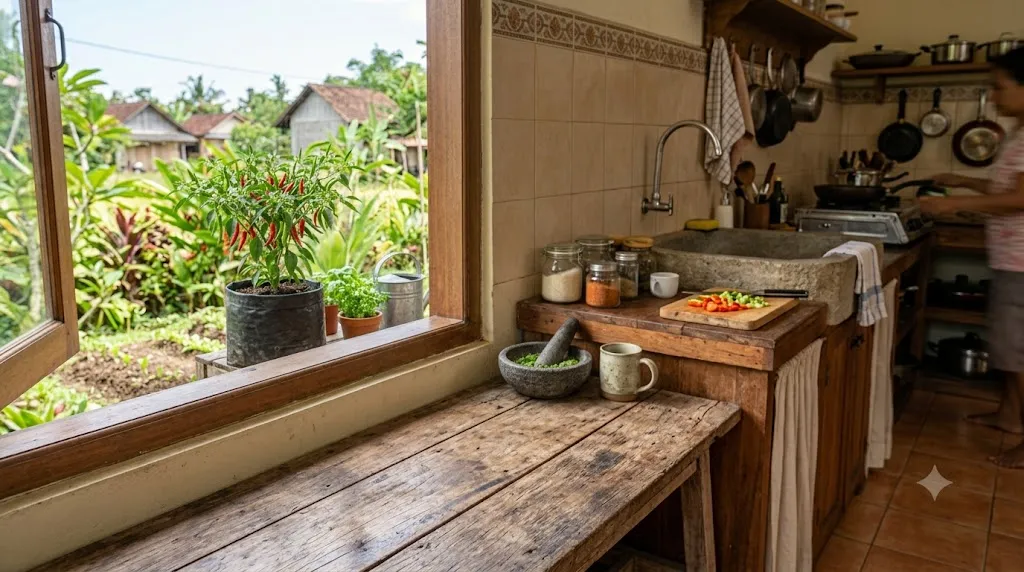
Illustration of How to Plant Chili / AI Generated
After the chili seedlings have been successfully transferred to permanent planting media, consistent follow-up care will be key to ensuring the plants grow lush and produce abundant fruit.
Chilies need direct sunlight exposure for at least 6 to 8 hours every day for optimal growth. If you are planting in a yard, make sure the area has loose, fertile soil with a neutral to slightly acidic pH. Before planting, it is highly recommended to enrich the soil by adding compost or manure to ensure adequate nutrient availability for the plants.
Watering chili plants should be done regularly every morning and evening, enough to keep the planting media moist. Additionally, follow-up fertilization should be done every 2 weeks. As a base fertilization before planting, add about 1 to 2 kg of manure or mature compost per planting hole. During the vegetative phase, which is 1 to 4 weeks after planting, provide fertilizer with a higher nitrogen content to encourage strong leaf and stem growth.
To maintain the health of your chili plants, cleanliness is an important factor to prevent them from easily being attacked by pests or diseases. Remove dried chili leaves or those showing signs of disease, and clean the planting media area from weeds such as grass that can compete for nutrients. If pest attacks are seen, use the appropriate pesticide or as a preventive measure.
As the chili plants grow larger and taller, the installation of supports is highly recommended. Use bamboo or small wood as supports so that the chili plants can stand firm, especially when bearing heavy fruit or during strong winds, thus preventing the stems from breaking.
Can seeds from kitchen chili be used to plant chili?
Yes, it is very possible to plant chili using seeds taken from ripe and high-quality kitchen chili.
How to choose good chili seeds from kitchen chili?
Choose chili that is mature, bright red, fresh, and not wrinkled. Take seeds from the middle part of the chili, then test by soaking them; seeds that sink are of good quality.
What type of planting media is recommended for germinating chili seedlings?
The ideal planting media is a mixture of fine soil, compost fertilizer, and burned rice husk in a ratio of 1:1:1, which is light, loose, and has good drainage. Sterilize the media before use.
When is the right time to transfer chili seedlings to a larger pot?
Chili seedlings are ready to be transferred to the main planting media when they have about five true leaves or are around 2 weeks old after the germination process.
What are the health benefits of consuming chili?
Chili can boost metabolism, act as a natural pain reliever, enhance the immune system, relieve nasal congestion, maintain heart health, and potentially fight cancer due to its nutritional content and the presence of capsaicin compounds.
(kpl/nti)
Cobain For You Page (FYP) Yang kamu suka ada di sini,
lihat isinya
Check out the complete guide to planting lychee for quick fruiting, from selecting superior seeds to optimal care for abundant results.

Discover various low-maintenance hair coloring techniques such as French Highlights to Balayage that offer stunning looks and save time.
Fixing soft rice to make it fluffy can actually be done with a few simple steps. Check out the causes and tips to ensure the rice always turns out just right.
Bed bugs can disrupt sleep comfort. Recognize the signs, learn how to eradicate them using physical and chemical methods, as well as proper bite treatment.
Learn how to safely plant fruit trees near the carport so that the roots do not damage the foundation and floor of the house.
Growing sweet starfruit in pots is an attractive option for those who want to enjoy their own harvest without having to own a large garden.
How to plant katuk to encourage budding needs to be considered from the planting process to its care.
How to plant cassava leaves for abundant shoots helps the plant produce more buds without interfering with tuber formation.
How to make cacti reproduce quickly with the right care so they grow healthy and produce many offsets.

Inspiration for house facades with yellow palms that make the residence look cooler, greener, and more elegant in various design styles.
Check out the plants that make your home more private while being beautiful to look at, from Japanese bamboo to tea plants.
