

 Follow
 Rekomendasi
How to Clean Marble Floors Without Wearing Them Down, Keeping Them Clean and Shiny
Learn how to clean marble floors without wearing them down to keep them clean, shiny, and durable.
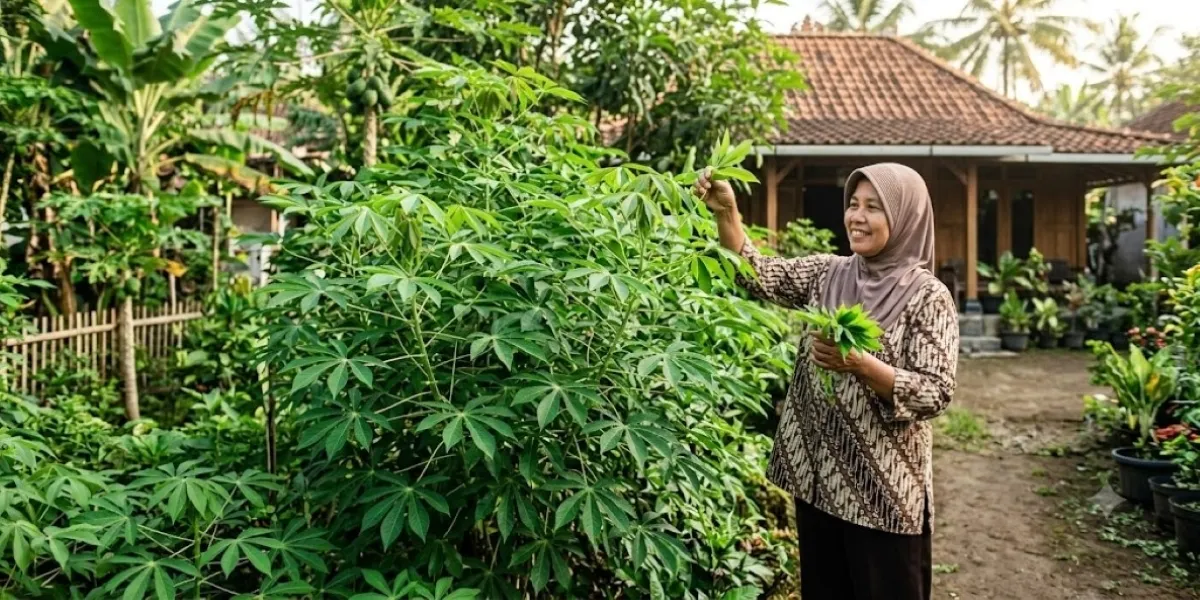
Kapanlagi.com - Cassava is known as a plant that produces tubers to be processed into various foods. However, its benefits do not stop there as its young leaves are also often harvested as vegetables. It's no wonder that many people seek ways to plant cassava leaves for abundant shoots so they can harvest leaves periodically without reducing the yield of tubers when harvest time arrives.
Many cassava plants grow tall, but the number of shoots that appear is actually few. This condition is often influenced by the selection of stem cuttings, planting methods, and care patterns after the seedlings start to grow. A small mistake at the early stage can affect the growth of shoots over a considerable period.
Understanding how to plant cassava leaves for abundant shoots can help the plant produce two benefits in one cultivation cycle. Here are the steps that can be applied so that cassava plants produce more shoots while also forming tubers well, summarized by KapanLagi.com from various sources, Tuesday (4/8/2026).
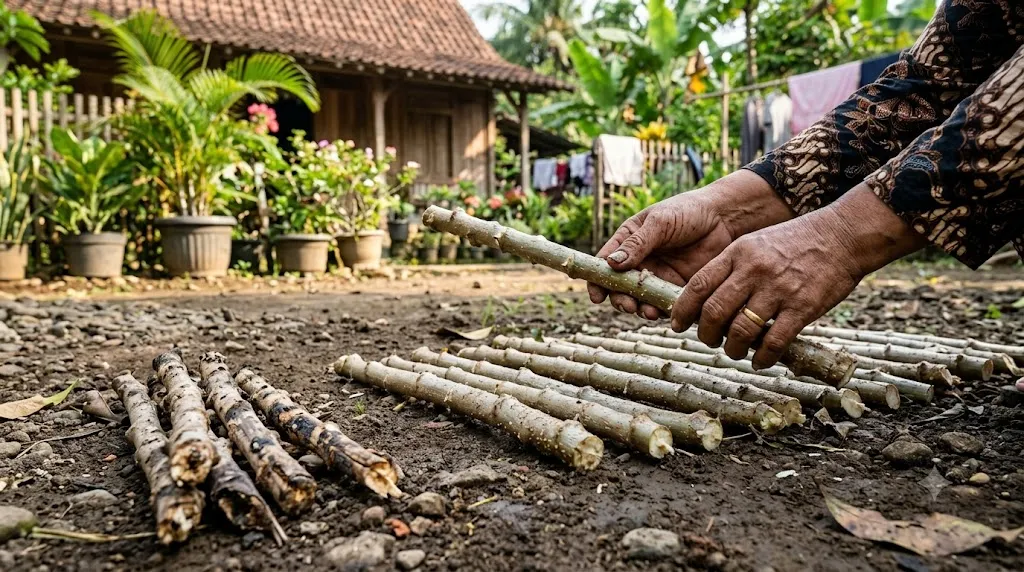
Choose Healthy Cuttings. (Image: AI Generated)
Cuttings are the initial determinant of cassava growth. Choose cuttings from plants that have been harvested and show no signs of damage. Avoid cuttings that are cracked, hollow, or have traces of pest attacks as they can hinder bud growth.
Use cuttings of medium size that have several nodes. Each node has the potential to produce roots or shoots after being planted. Cuttings that are too young are more prone to rot, while cuttings that are too old take longer to sprout.
Cut the cuttings to a length of about 20 to 30 centimeters using a clean tool. Store the cuttings in a shady place for one to two days before planting. This step helps the cut ends to dry, thereby reducing the risk of rot after planting.
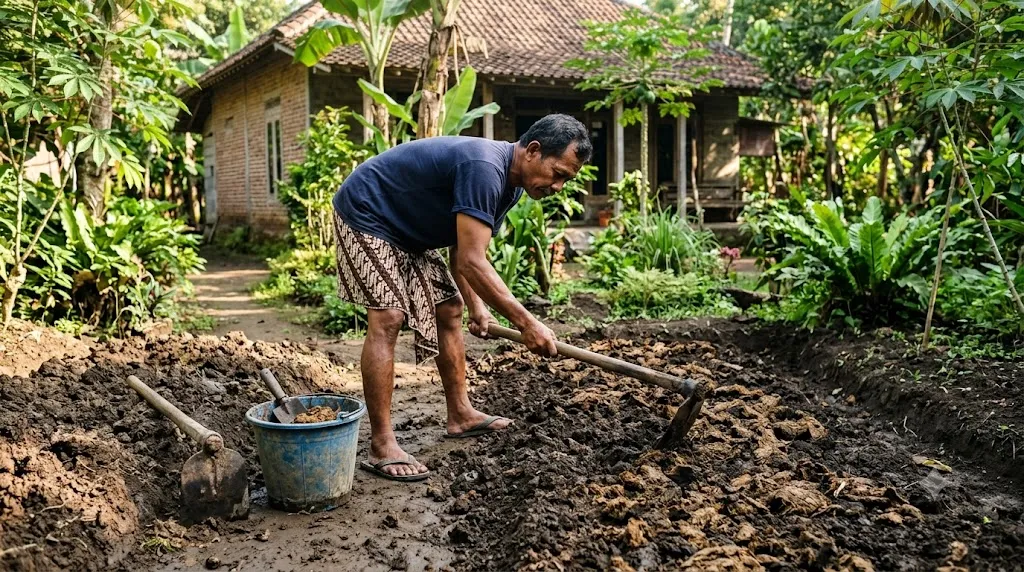
Prepare Planting Land that Supports Growth. (Image: AI Generated)
The land used should not be waterlogged after rain. Soil that has sufficient water flow helps the roots to develop and makes it easier for plants to absorb nutrients. This condition also reduces the risk of cutting stems rotting at the beginning of growth.
Clear weeds, grass, and other plant residues before planting begins. Clean land reduces competition for water and nutrients. Additionally, the planting area becomes easier to maintain when the plants start to grow.
Mix well-matured manure into the soil a few days before planting. This fertilizer helps provide nutrients while the plants form roots and new shoots. Level the soil surface to make the planting process easier.
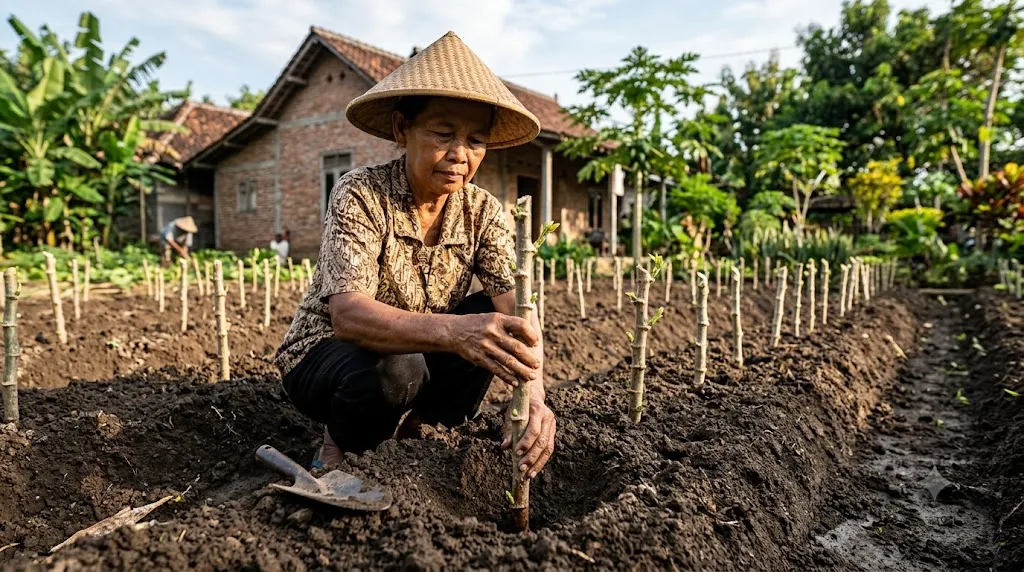
Plant Cuttings in the Right Position. (Image: AI Generated)
Insert the cutting into the soil in an upright or slightly tilted position. Some of the cutting should be in the soil, while some nodes remain above the surface. This position helps buds to emerge from the top part of the cutting.
Gently press the soil around the cutting so that it does not easily shift. Avoid pressing too hard as the roots need space to grow. After that, water sufficiently to keep the soil moist during the initial growth period.
Provide a planting distance of about one meter between cuttings. This distance gives space for branches and leaves to grow without overlapping. Air circulation also becomes smoother, allowing the plants to thrive.
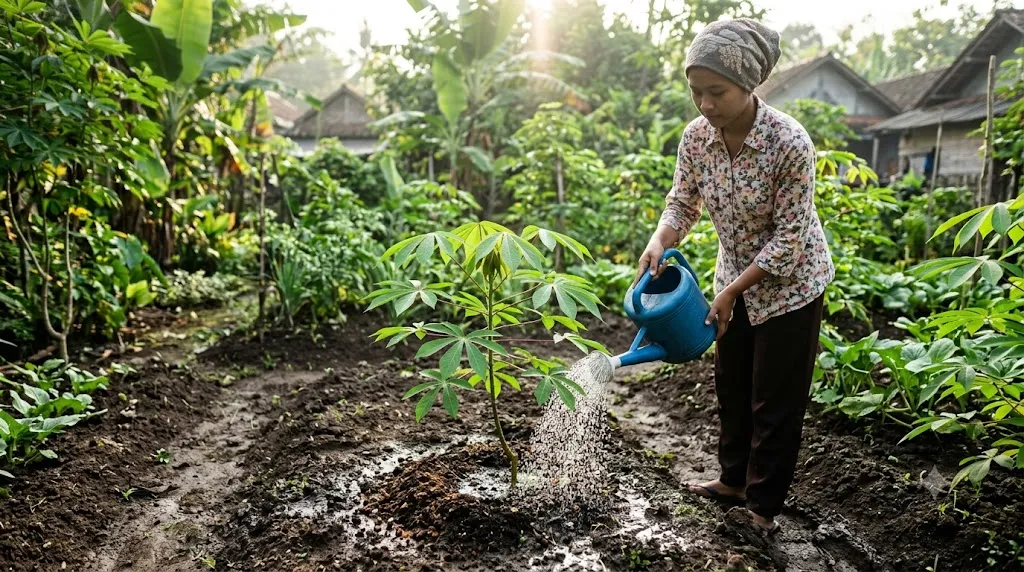
Regularly Water and Fertilize, (Image: AI Generated)
Watering is needed especially at the beginning of growth until the roots begin to develop. Water the plants when the soil starts to dry, especially when rainfall decreases. Avoid excessive watering as overly wet soil can affect root growth.
Add organic fertilizer regularly to help the formation of new shoots. Fertilizer can be applied around the base of the plant without coming into direct contact with the stem. After that, cover it back with soil to make it easier for nutrients to be absorbed.
If necessary, add fertilizer that contains nitrogen in amounts according to the plant's needs. This element helps in the formation of leaves and new shoots. Gradual fertilization is better than applying a large amount all at once.
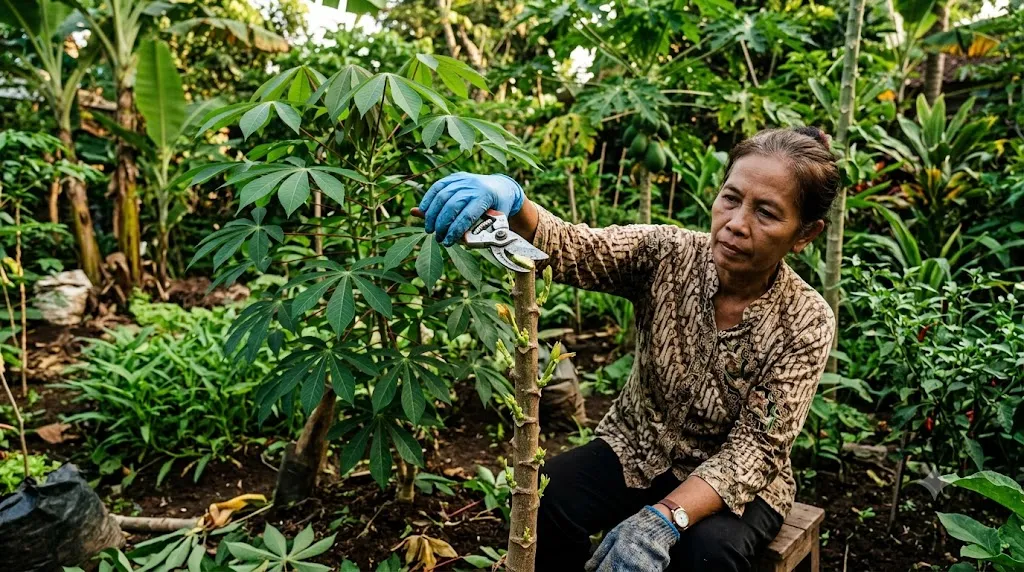
Trim the Stem Tip to Stimulate New Shoots. (Image: AI Generated)
Cassava plants that are allowed to grow without pruning tend to produce taller stems. This condition reduces the growth of new branches. Pruning helps redirect growth to the sides of the plant.
Cut the tip of the stem after the plant reaches a sufficient size. Use clean tools to prevent the cut wound from becoming an entry point for diseases. Pruning can be done gradually according to the plant's development.
After pruning, new shoots usually start to appear from several nodes on the stem. These shoots will develop into new branches that produce more leaves. This step is one of the common methods to increase the yield of cassava shoots.
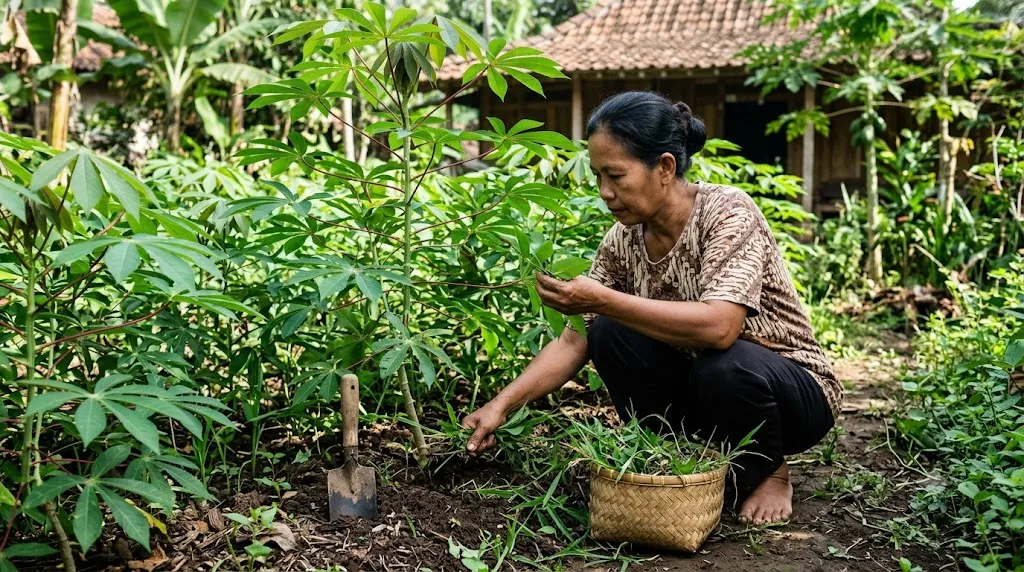
Control Weeds and Check Plant Conditions. (Image: AI Generated)
Weeds that grow around cassava can take water and nutrients from the soil. Therefore, perform weeding regularly so that the plants receive sufficient needs during the growth period.
Check the leaves, stems, and shoots to ensure there are no signs of pest or disease attacks. If damaged parts of the plant are found, cut them off immediately and separate them from the planting area to prevent the spread to other plants.
Cleaning the area around the plants also helps maintain air circulation. This step facilitates sunlight reaching all parts of the plant so that the growth of shoots continues sustainably.
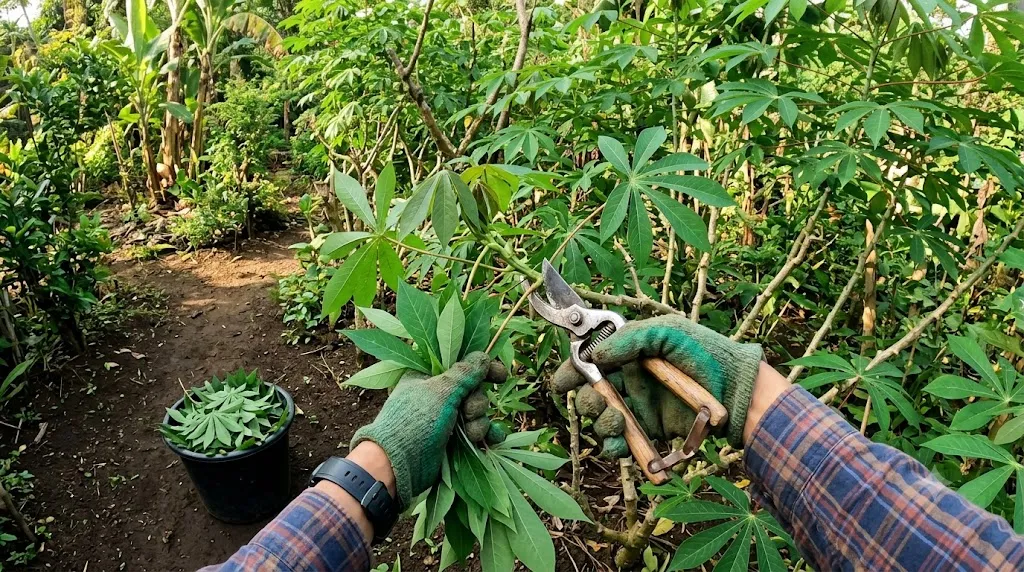
Harvest Cassava Shoots at the Right Time. (Image: AI Generated)
Cassava shoots can generally be harvested when new buds have grown with a sufficient number of leaves. Choose shoots that have developed without taking the entire part of the plant. This method helps new shoots continue to emerge after harvesting.
Use clean scissors or a knife when harvesting. Cut the shoot a few centimeters from the end of the branch so that the section below can still produce the next shoots. Avoid pulling the shoots directly as it can damage the stem.
Harvesting can be done periodically according to the growth of the plants. This way, the plants continue to produce new shoots without having to be uprooted. Care after harvesting also helps maintain shoot growth in the following season.
1. How long does it take for cassava leaves to be ready for harvest? Cassava shoots can generally be harvested about two to three months after planting, depending on the growth of the plant and the care provided.
2. Can cassava shoots be harvested repeatedly? Yes. Harvesting by cutting the shoots without damaging the stem allows the plant to produce new shoots for the next harvest.
3. Does cassava require a lot of watering? No. Watering should be done when the soil starts to dry. Cassava plants do not require constantly wet soil.
4. Why do cassava shoots grow sparingly? The number of shoots can be affected by the quality of the cuttings, planting distance, fertilization, pruning, and land conditions during the growth period.
5. When is the best time to prune cassava stems? Pruning can be done after the plant has grown with a sufficient number of nodes. This step helps stimulate the emergence of new branches and shoots.
(kpl/bim)
Cobain For You Page (FYP) Yang kamu suka ada di sini,
lihat isinya
Learn how to clean marble floors without wearing them down to keep them clean, shiny, and durable.
How to make cacti reproduce quickly with the right care so they grow healthy and produce many offsets.

Inspiration for house facades with yellow palms that make the residence look cooler, greener, and more elegant in various design styles.

Check out the plants that make your home more private while being beautiful to look at, from Japanese bamboo to tea plants.
Create a mini garden at home by planting starfruit in used gallon containers. Follow the complete guide from seed selection to care for abundant fruit throughout the year.

For those of you who can't wait to feel warm and fuzzy and smile to yourselves, just check out the following romantic anime recommendations. From IJIRANAIDE, NAGATORO-SAN to KIMI NO NAWA, you can choose according to your taste.
Experience the freshness and health benefits with 7 herbal recipes for lowering cholesterol that can be enjoyed cold! Each recipe offers a combination of natural ingredients that are not only refreshing but also help keep your cholesterol levels balanced. Get ready to enjoy delicious and beneficial healthy drinks!

Pineapple juice is not only refreshing but also beneficial for lowering cholesterol! However, for optimal results, continue to support it with a healthy lifestyle.

What if a single pill or serum could change a person's destiny in a matter of seconds? This concept serves as the backdrop for various top science fiction films. Here are the recommendations for you, KLovers.

From legendary wizards to worlds filled with mystical creatures, this genre offers thrilling storylines. Here are the recommendations for you, KLovers.

On the day of Eid al-Fitr, sending Eid words with touching messages can be sent to family, friends, or colleagues. Here are references for Eid words 2025.

Learn the correct prayer and procedure for Eid al-Fitr prayer to celebrate victory after Ramadan. For more details, check here KLovers.
