

 Follow
 Rekomendasi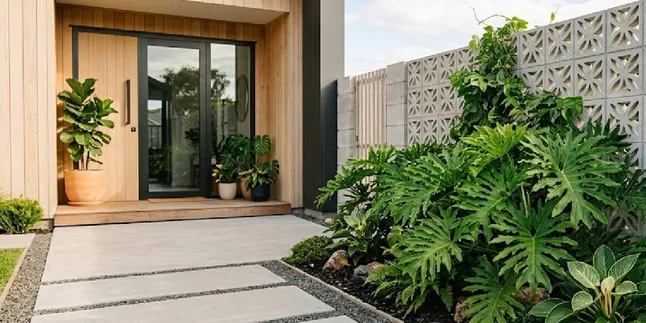
6 Inspirations for Home Gardens with Concrete Roster and Philodendron, Making the Tropical Look More Modern
The combination of concrete roster and philodendron can create a cool and modern home garden. Check out six inspiration layouts below.
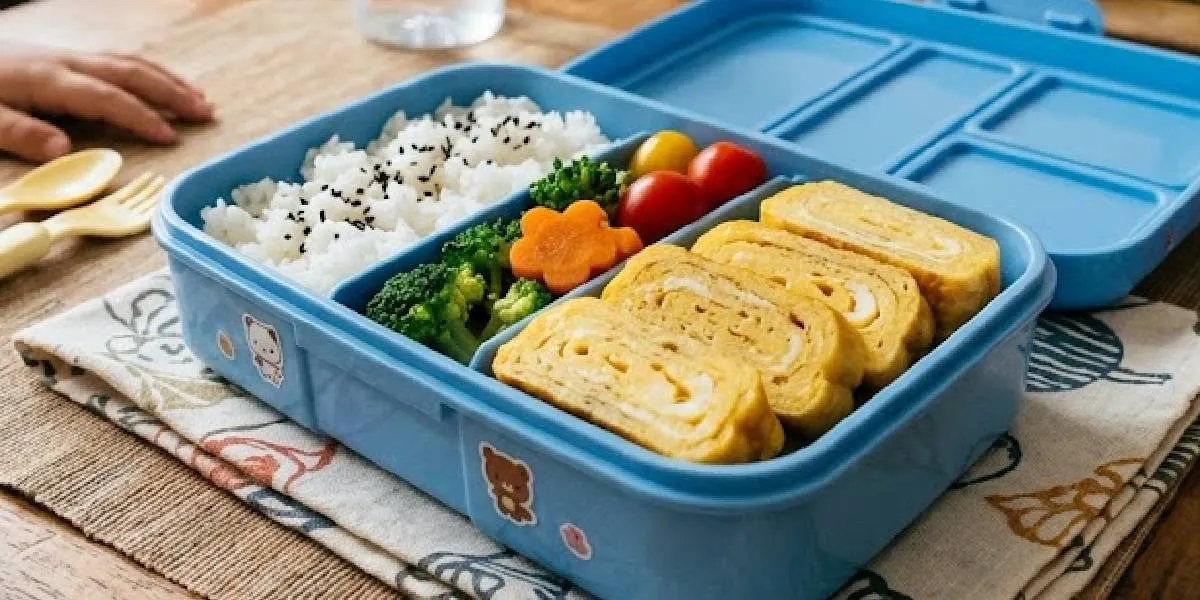
Kapanlagi.com - Tamagoyaki has become one of the menus for school lunches that is practical and nutritious. This Japanese rolled omelette has a soft texture with a combination of sweet and savory flavors, making it popular among children and can be prepared in about 10 minutes.
In addition to being easy to make, Tamagoyaki also relies on simple ingredients. For six servings, this dish uses eggs as a source of protein that helps meet children's nutritional needs while they are active at school. Fillings like carrots, green onions, sausages, or cheese can also be added to enhance its flavor and nutrition.
The cooking process does require a step-by-step rolling technique, but the steps are quite easy to learn. With proper preparation and the right heat, Tamagoyaki can produce neat, soft layers that remain appealing when served as a lunch.
To make six servings of Tamagoyaki, prepare 6 medium-sized chicken eggs as the main ingredient. This amount is adjusted to ensure there is enough for several bento boxes at once.
Add 3 tablespoons of water or liquid milk to make the egg texture softer. Also mix in 1.5 tablespoons of granulated sugar, 1 tablespoon of soy sauce (shoyu), and ¼ teaspoon of salt to create the sweet and savory flavor that is characteristic of Tamagoyaki.
Provide enough cooking oil to coat the pan. As an addition, the batter can also include 2 tablespoons of finely chopped or grated carrots, 1 stalk of finely sliced green onion, 1-2 chopped sausages, ½ teaspoon of non-MSG broth powder, or ½ teaspoon of dashi powder if you want to bring a stronger umami flavor.
To ensure the cooking process goes quickly, prepare all the ingredients before starting to make the batter. The preparation time is about 3 minutes and the cooking time is 7 minutes, so the entire process can be completed in approximately 10 minutes.
Use a non-stick pan, either a square one specifically for Tamagoyaki or a regular round pan. Also, prepare a large bowl, chopsticks or a flat spatula for rolling the eggs, as well as kitchen tissue or a silicone brush to apply a thin and even layer of oil on the surface of the pan.
When making the batter, crack all the eggs into the bowl, then add water or milk, granulated sugar, soy sauce, and salt. If using additional ingredients like carrots, green onions, sausages, powdered broth, or dashi, add them together before whisking all the ingredients until well combined.
Avoid whisking the batter too vigorously until it becomes frothy. Just stir gently until the yolks and egg whites are blended so that the texture of the Tamagoyaki remains soft. If a smoother result is desired, the batter can also be strained using a fine sieve before cooking.
Heat the pan over medium to low heat, then lightly coat the surface with a little oil. Pour about one-third or one-quarter of the batter, then spread it out to cover the bottom of the pan.
Cook until the bottom part of the egg starts to set, while the top surface is still slightly wet. This semi-cooked condition is important so that each layer can stick together during the rolling process. If air bubbles appear, pop them using chopsticks before the egg is rolled.
Once the first layer reaches a half-cooked state, immediately roll the egg using a flat spatula or wooden chopsticks. Fold the egg about 3–5 times slowly from one side to the other to form a solid roll that does not easily break.
Shift the egg roll to one end of the pan, then brush a little oil on the empty part of the pan. If necessary, lift the egg roll slightly so that the oil can spread underneath it.
Pour about one-third or one-quarter of the batter back into the empty space in the pan. Let some of the batter flow underneath the egg roll so that the new layer can combine with the previous layer when rolled.
When the new layer is back to a half-cooked state, roll the egg following the direction of the previous roll to form the next layer. Repeat this step until all the batter is used up.
To ensure a solid and neat final result, gently press the roll using a spatula during the rolling process. Avoid allowing each layer to cook completely, as the egg will be harder to stick together when rolled.
After all the batter is cooked, remove the Tamagoyaki from the pan and place it on a cutting board or bamboo mat. Let it sit for a few minutes until its temperature drops slightly, making it easier to cut.
If you want a more square and compact shape, the warm Tamagoyaki roll can be wrapped in plastic wrap or bamboo mat, then pressed gently for a few minutes before cutting.
Cut off the uneven ends of the roll, then slice the Tamagoyaki into pieces about 1.5–2 cm thick. From one roll, you can get about 6–8 pieces ready to be placed in the lunchbox.
As a complement to the school lunch, Tamagoyaki can be served with white rice, fruit slices, boiled vegetables, or homemade nuggets for a more balanced menu. To make it more visually appealing, the Tamagoyaki pieces can also be shaped using a bento mold or cut diagonally.
In addition to the basic recipe, you can try various filling variations such as chopped spinach, bell peppers, mushrooms, grated cheese, minced meat, or sausages. If you want to present a Nori Tamagoyaki variation, place a sheet of nori on top of the half-cooked egg layer before rolling it up. Meanwhile, adding dashi broth will result in Dashimaki Tamago with a stronger umami flavor.
(kpl/mda)
Cobain For You Page (FYP) Yang kamu suka ada di sini,
lihat isinya
The combination of concrete roster and philodendron can create a cool and modern home garden. Check out six inspiration layouts below.
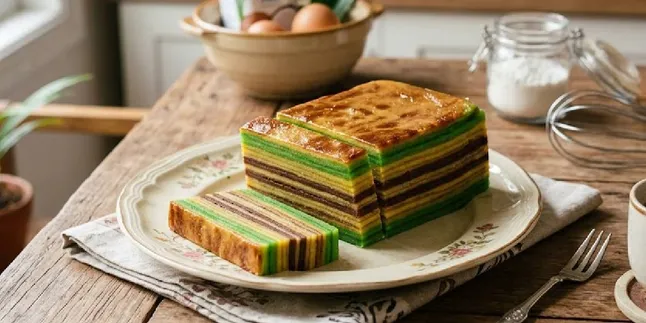
Want to make a layer cake without tapioca flour? Try this recipe that combines hunkwe flour and wheat flour to create a soft and chewy texture.
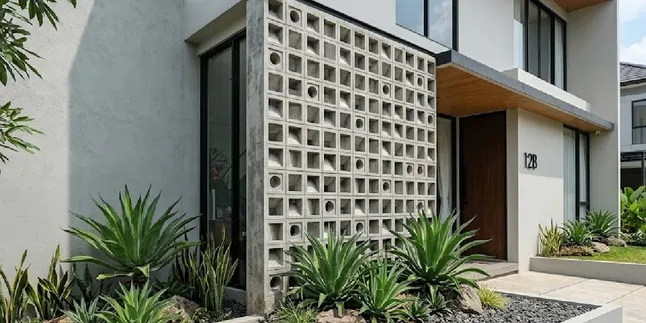
The combination of concrete roster and agave plants can beautify the house facade without requiring complicated maintenance. Check out various inspirations suitable for different housing styles.
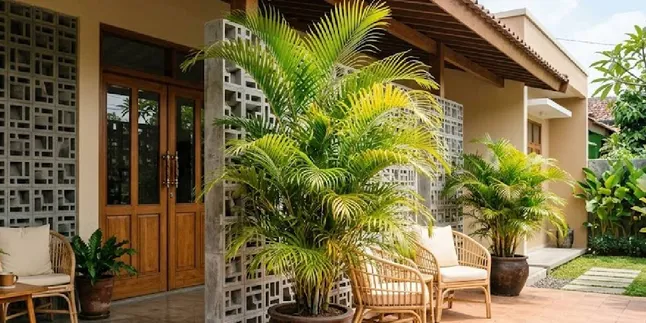
The combination of concrete roster and yellow palms can make the terrace feel cooler and tidier. Here are eight inspirations that can be adapted to various house styles.

From INSANE to YADANG: THE SNITCH, this lineup of Korean films presents mystery, thrillers, and plots that keep changing until the end of the story. What are they? Let's take a look.

This series of rural-themed dramas presents village, coastal, and Jeju Island settings with stories of romance, family, and journeys to find the meaning of life.

Stories of friendship in Thai films come in various genres, from school dramas to psychological horror. Check out nine recommendations here.

A series of Korean disaster films presents survival stories from earthquakes, epidemics, tsunamis, to major accidents with thrilling conflicts.

Foods for longevity prioritize nutritious ingredients such as vegetables, fish, and grains. Learn about food choices and how to create a balanced daily plate.

Maintaining a clean home environment can start with simple daily habits, from cleanliness and air quality to energy conservation and pest prevention.
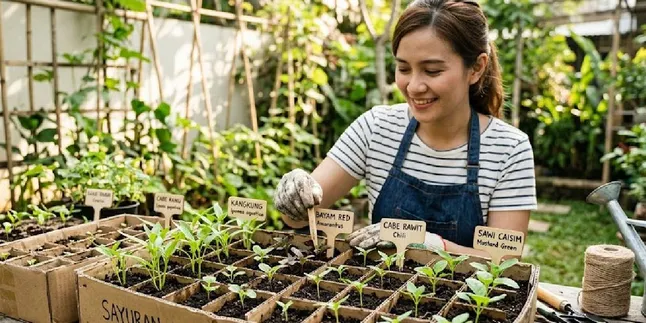
Used cardboard can be utilized as a cheap and biodegradable medium for sowing vegetables. Check out how to make it, care for it, and the process of transplanting the seedlings.
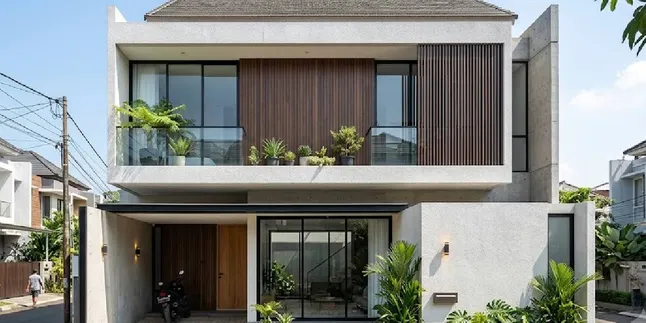
A minimalist facade helps homes on limited land remain spacious. Check out six design inspirations along with important elements to consider.
