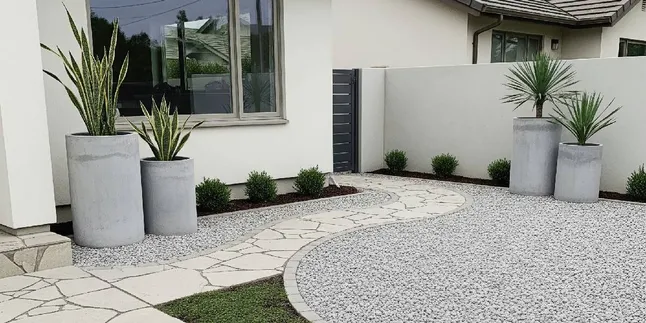
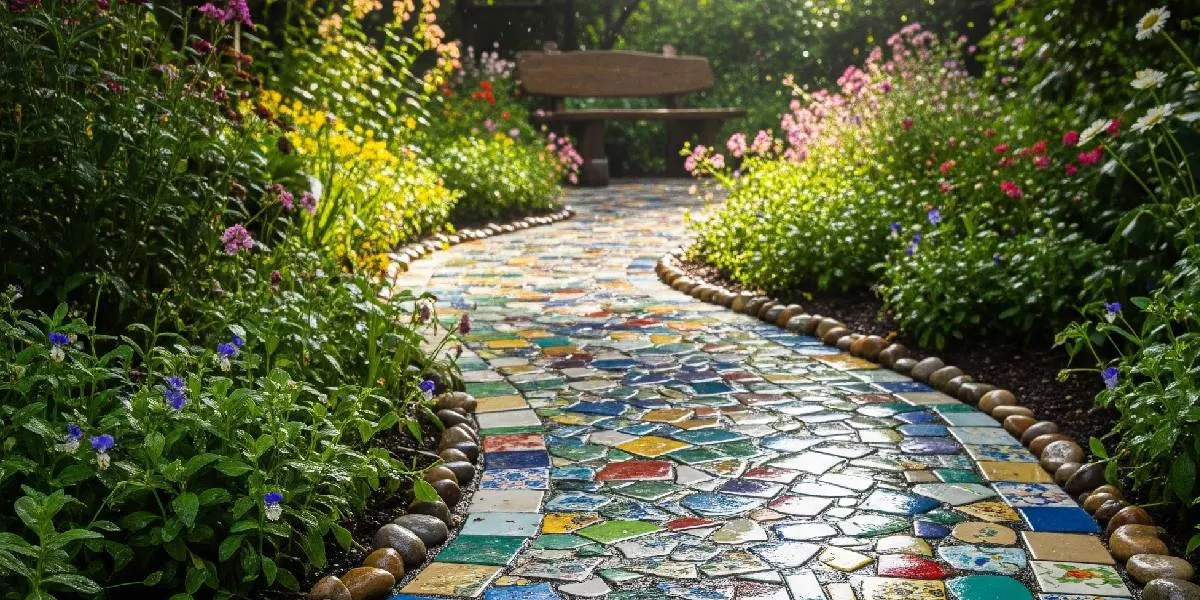
Kapanlagi.com - Creating a garden path does not always require expensive new materials. Used ceramic fragments can actually be repurposed into a garden path with a unique appearance while also helping to reduce construction waste at home.
In addition to serving as a walking access, the garden path can also beautify green areas. With the right arrangement, ceramic fragments can create a resort-style garden atmosphere without incurring high costs.
Here are some steps to ensure that a garden path made from used ceramic fragments looks neat, is comfortable to use, and has good durability.
1. Choose Ceramic Fragments That Are Still Usable
The first step is to sort the ceramic fragments by color, pattern, and size. Neutral colors like white, gray, cream, and brown can create a natural impression, while blue or green accents make the path look fresher.
Try to use fragments with relatively the same thickness to keep the surface even. Height differences between fragments can make the path less comfortable to walk on.
Before installation, clean all fragments from leftover cement, adhesive, and dust. Clean ceramics will adhere better to the new mix, resulting in a stronger outcome.
2. Determine the Path Shape According to the Garden Conditions
First, design the shape of the path according to the size of the yard. A straight path gives a modern impression, while a curved path presents a more natural feel like a tropical garden or resort.
A path width of about 60–90 cm is generally comfortable enough for one person to walk. If the path is often used to carry gardening tools, the size can be made slightly wider.
Use string, chalk, or a garden hose as a guide before you start digging the ground. This method helps maintain the path's shape neat during the working process.
3. Create a Foundation for a More Stable Path
Excavate the ground to a depth of about 10–15 cm, then level the base before adding a layer of crushed stone, gravel, or coarse sand as a foundation.
After that, compact the foundation using a manual compactor or a wooden beam. A strong foundation helps reduce the risk of the path shifting or cracking when in use.
If the garden is in an area that often experiences rain, create a slight slope in the foundation so that water can flow and not pool on the surface of the path.
4. Arrange Ceramic Fragments in an Interesting Pattern
Ceramic fragments can be arranged randomly to create a natural impression or shaped into specific patterns such as waves, circles, or geometric motifs.
Before gluing them with cement, first arrange all the fragments on the ground. This step makes it easier for you to see the combination of colors and shapes before permanent installation.
Ensure that the spacing between fragments remains consistent to keep the path looking neat while also helping to maintain its structural strength.
5. Use the Right Cement Mix
A mixture of cement and sand with the appropriate composition will provide good adhesion for every piece of ceramic. Ensure that the mix is not too runny or too thick.
When installing the ceramics, press each piece gently until the surface is level. Use a water level or straight board to ensure the path is comfortable to walk on.
Allow the mix to dry according to the recommended time before the path is used so that the position of the ceramics does not easily shift.
6. Fill Gaps for a More Durable Path
After all the ceramics are installed, fill the gaps using outdoor-specific grout or a fine cement mixture. This step helps lock the position of the ceramics while also preventing water from entering beneath the surface.
As an alternative, you can also use white gravel, black coral stones, or decorative sand to create a more natural look.
In addition to enhancing the appearance, good gap filling also helps inhibit weed growth, making the path easier to maintain.
7. Add Plants and Garden Lights
Complete the pathway with ornamental plants on the right and left sides, such as Paris lily, ferns, calathea, hosta, or ornamental grasses to make the garden feel more lush.
Install solar-powered garden lights or warm white LED lights to illuminate the path at night while highlighting the mosaic pattern that has been created.
To keep it clean and durable, perform routine maintenance by cleaning dried leaves, moss, and dirt that stick to the ceramic surface.
(kpl/mda)
Disclaimer: This translation from Bahasa Indonesia to English has been generated by Artificial Intelligence.


 Follow
 Rekomendasi