

 Follow
 Rekomendasi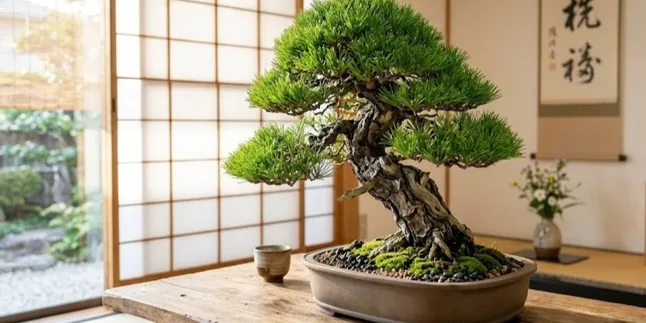
7 Ornamental Plants Suitable for Shallow Pots to Beautify Your Room
Check out 7 ornamental plants that are suitable for planting in shallow pots to beautify your home's corners. A contemporary aesthetic solution for limited spaces!
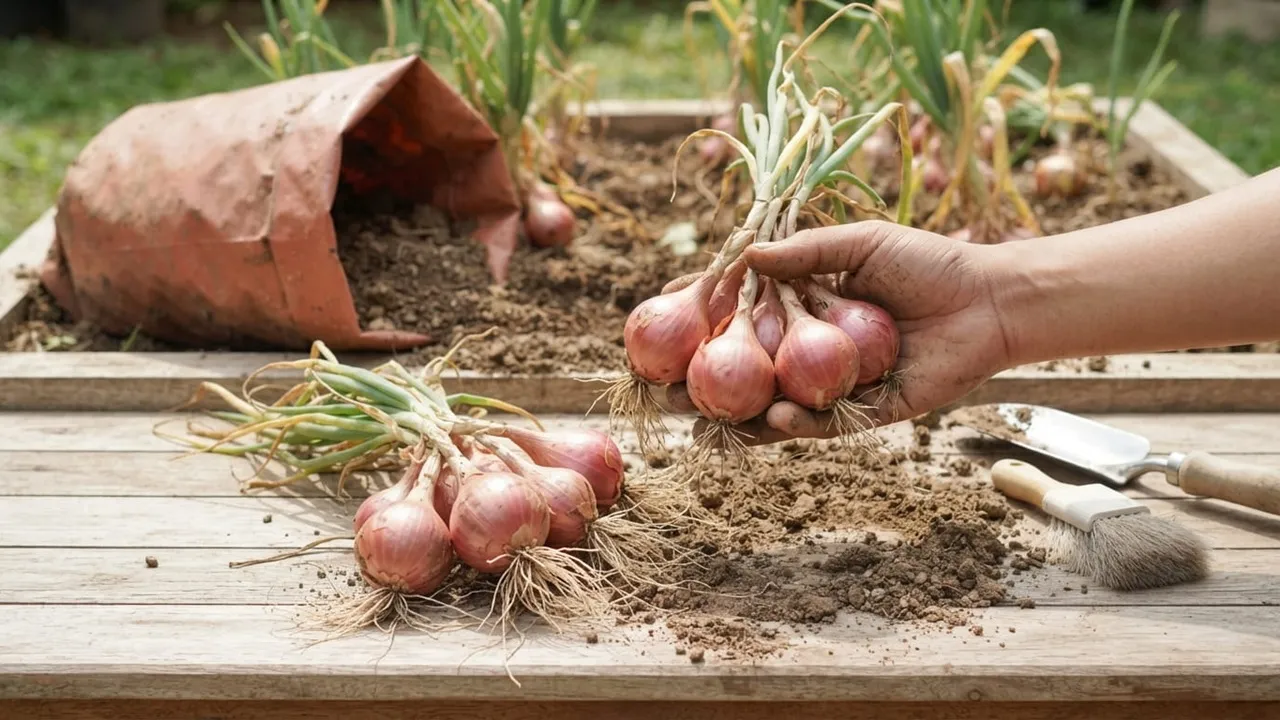
According to practical home horticulture cultivation guides, the key to successfully planting red onions from sprouting bulbs lies in the preparation of seeds and the arrangement of loose planting media. A porous and nutrient-rich planting media composition will help the roots develop optimally without the risk of rot due to waterlogging. In addition, choosing a planting location that receives full sunlight is essential to prevent stunted plant growth.
Through this article, we will discuss in-depth the practical steps in sequence on how to plant red onions from sprouting bulbs. By carefully following this guide, you can enjoy a healthy and abundant harvest of red onions right from your own backyard.
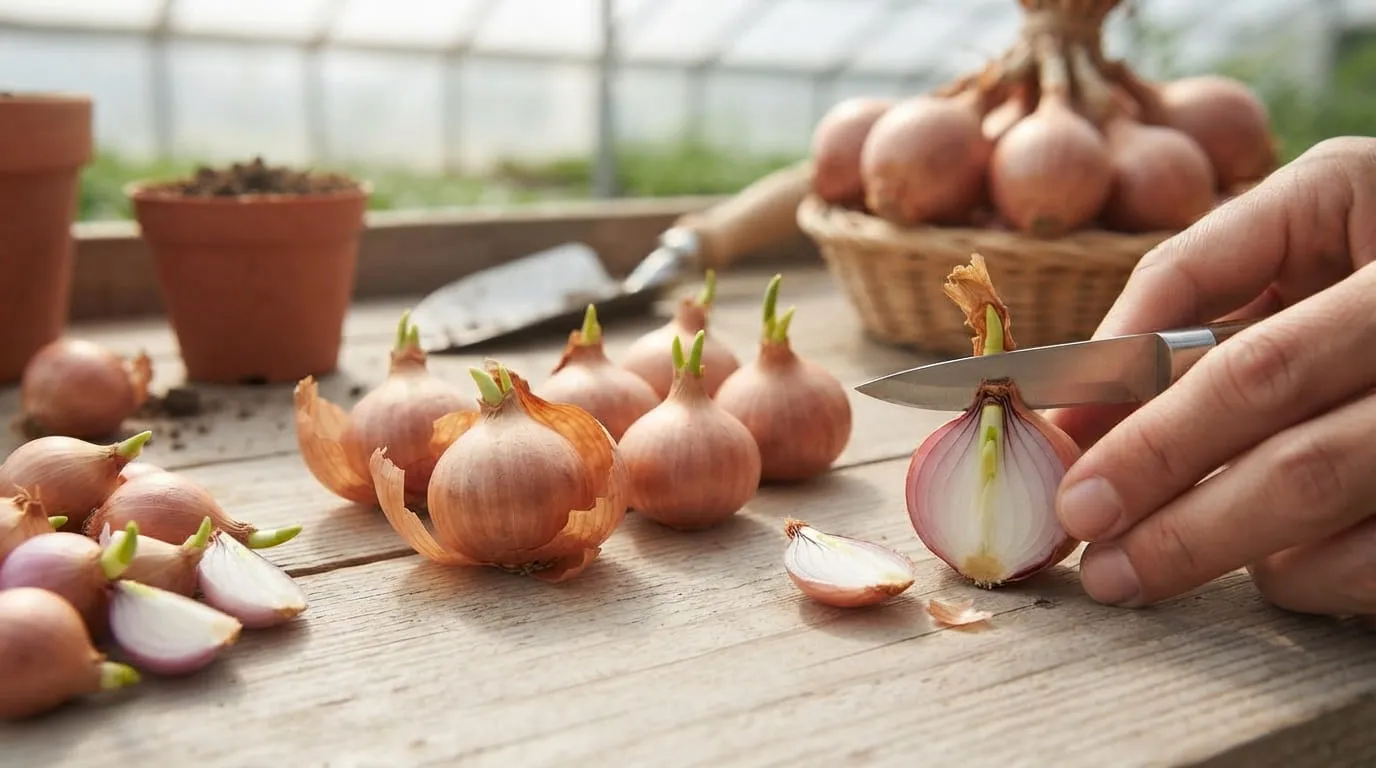
Preparation of Red Onion Bulb Seedlings and Cutting of Shoots. Photo: AI Generated
The most important initial step in planting red onions from sprouting bulbs is selecting and preparing the seedlings. Choose red onion bulbs that have shown small sprouts, then clean the loose outer dry skin to prevent it from becoming a breeding ground for mold.
Next, cut off one-third of the top of the bulb using a clean knife. Based on agricultural cultivation practices, this shoot cutting aims to break the dormancy of the bulb and stimulate the growth of new sprouts to grow simultaneously and much faster.
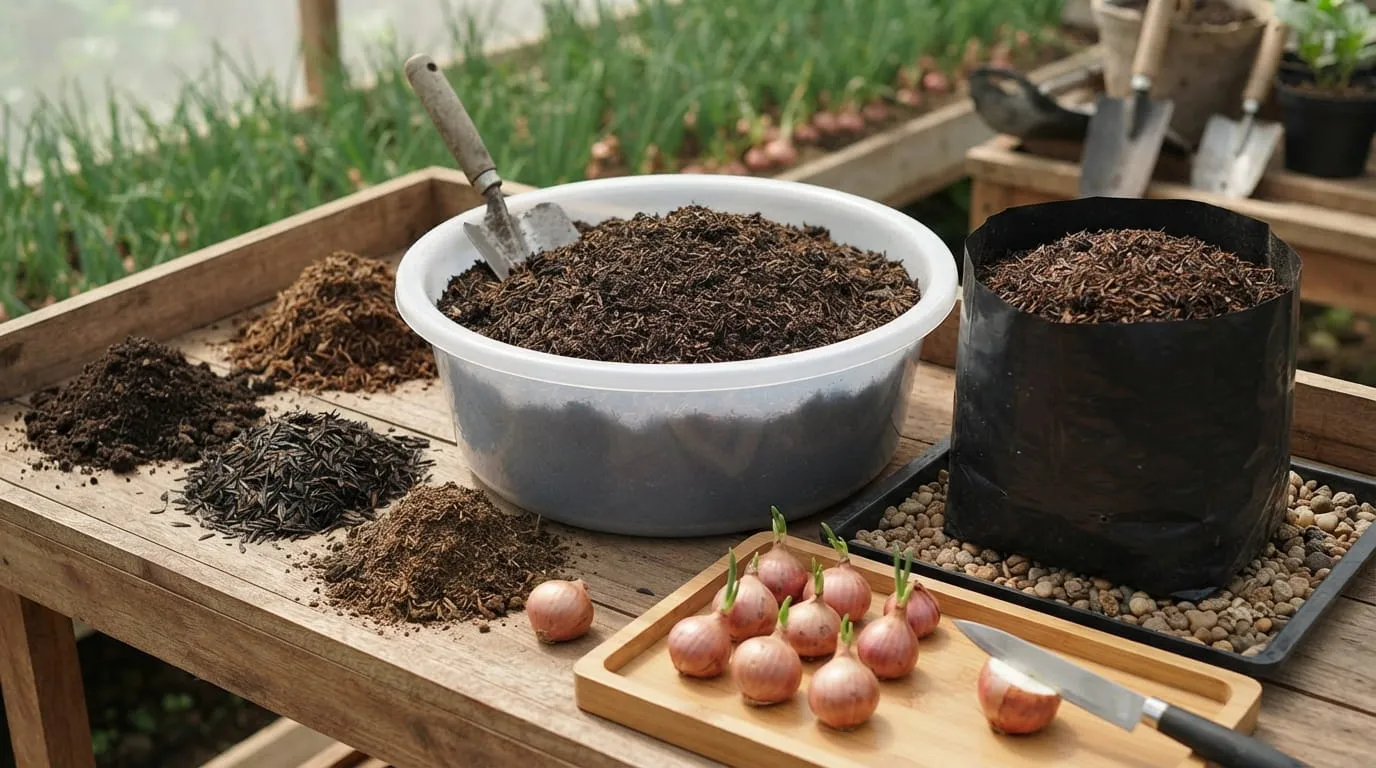
Preparation of Loose and Nutrient-Rich Growing Media. Photo: AI Generated
The success of bulb growth heavily depends on the quality of the planting media used in pots or polybags. Prepare the planting media by mixing loose soil, rice husk (raw husk or burnt husk), and manure or compost in an average ratio of 1:1:1 or 2:1:1.
Mix all these materials evenly, then place them into medium-sized polybags (such as 25x25 cm or 40x40 cm) that have drainage holes at the bottom. Ensure the planting media is loose to allow for good air circulation in the soil, supporting optimal bulb development.
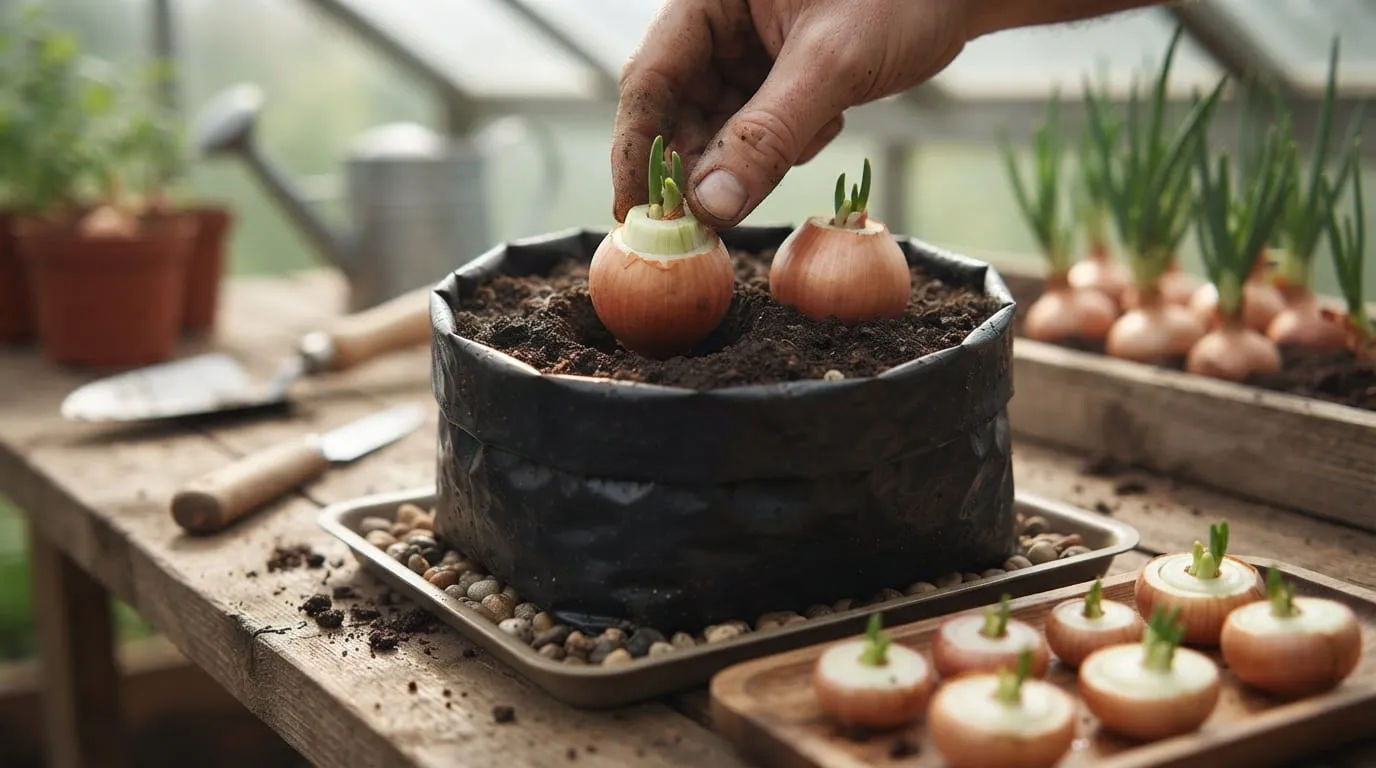
The Process of Planting Tubers into Polybags. Photo: AI Generated
Before planting the tubers, first moisten the growing media in the polybag sufficiently to maintain its moisture. Take the shallot tuber with the cut tip, and then insert it in the center of the polybag with the cut part facing upwards.
Submerge about two-thirds of the tuber into the growing media, while one-third of the top is left protruding above the surface. If you are using a relatively large polybag, you can plant two cloves of tubers in one container at a balanced distance.
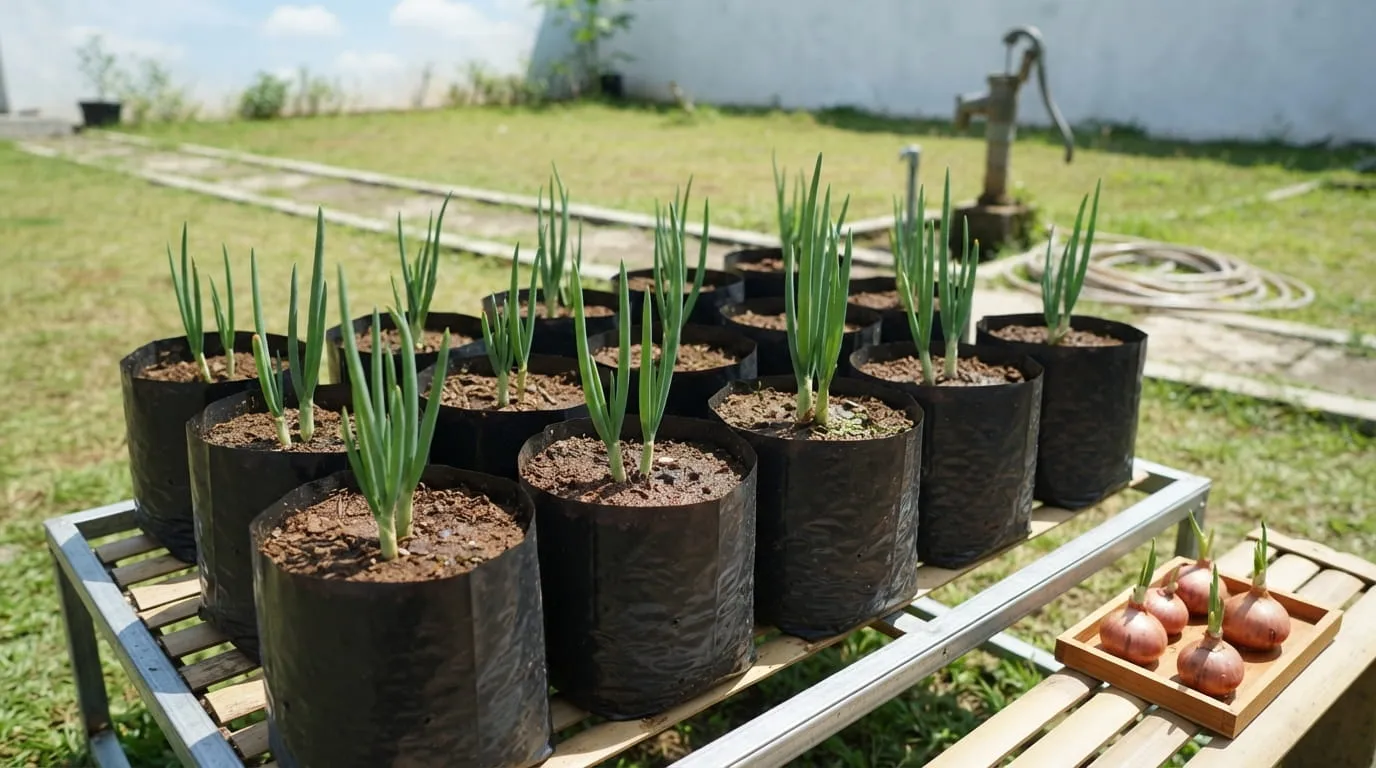
Placement in an Area with Full Sunlight. Photo: AI Generated
After the planting process is complete, place the polybag in an open area that receives full sunlight, ideally from morning until afternoon. The optimal sunlight requirement is crucial for the photosynthesis process of shallot plants to ensure that the stems grow strong and do not experience etiolation (stunted or thin due to lack of light).
According to agricultural technical guidelines, shallot plants require direct sunlight intensity to trigger the formation of solid and high-quality tubers. Place the polybag in an open shelf area or yard that is free from the shade of tall trees.
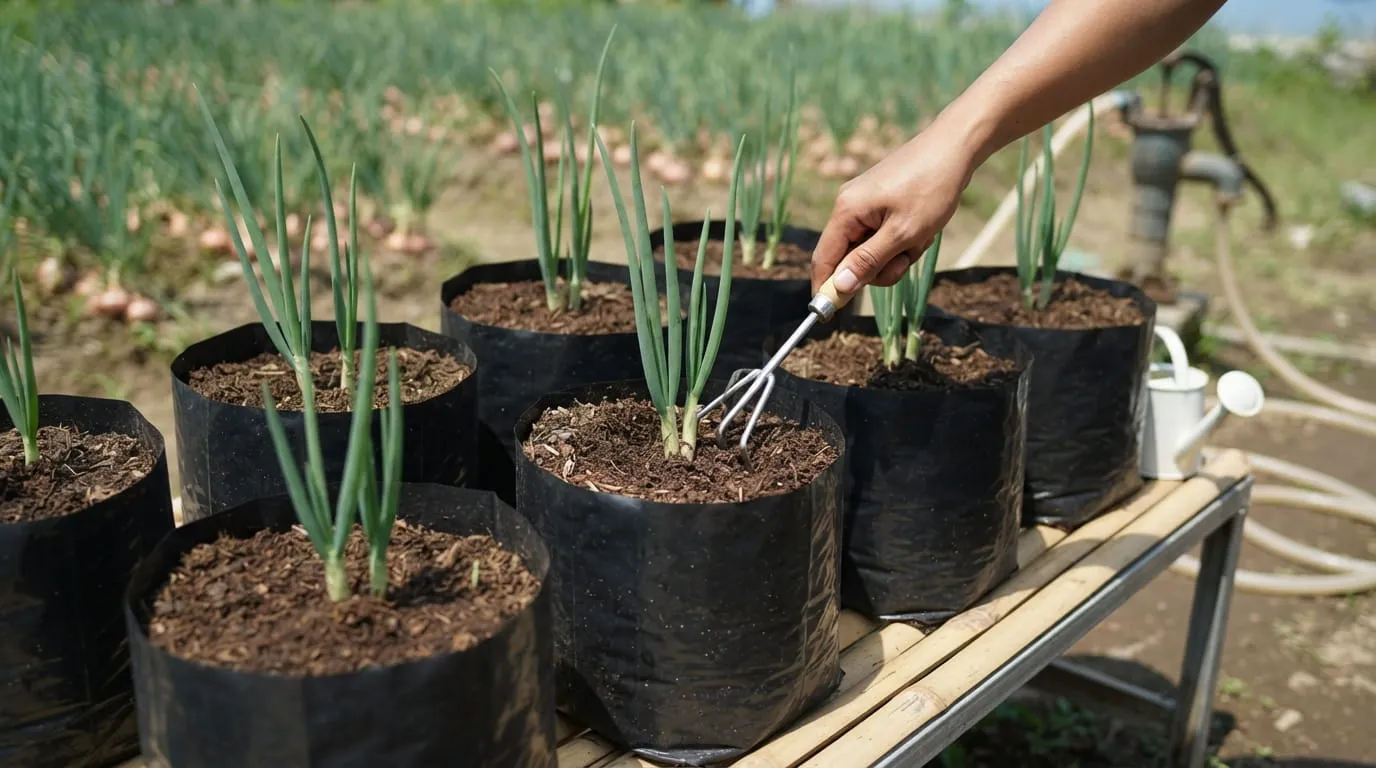
Routine Care and Regular Watering. Photo: AI Generated
Entering the early growth stage (around 4 to 10 days after planting), green shoots will begin to emerge higher from the surface of the tuber. Water regularly every day or adjust according to the moisture conditions of the planting medium to avoid being too dry or too wet.
In addition to watering, perform light loosening of the surface of the planting medium around the plants when they are about 10 days old to improve soil aeration. Keep the area around the polybag clean from weeds or wild grass that can absorb the main plant nutrients.
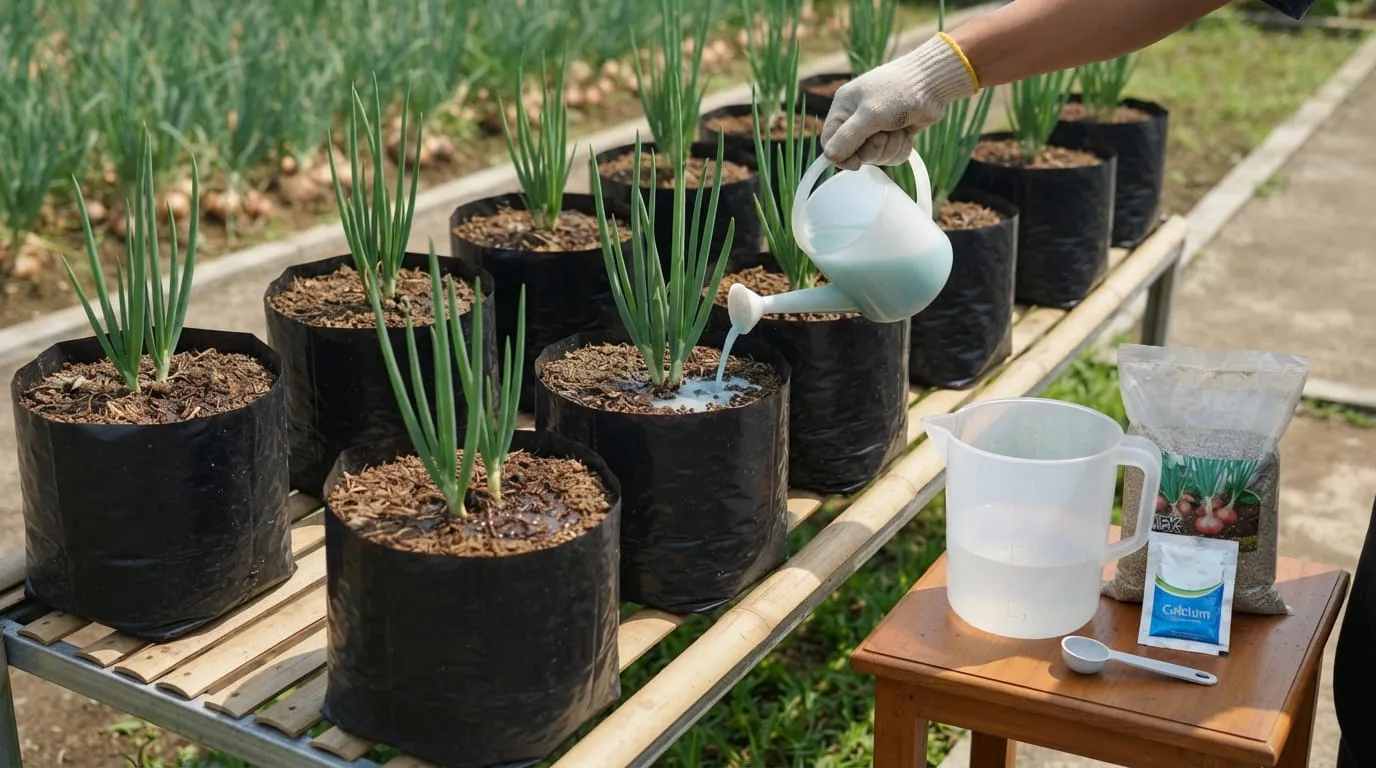
Nutritional Maintenance Through Periodic Fertilization. Photo: AI Generated
To support vegetative growth and accelerate tuber enlargement, the plants require additional nutrient intake. Provide supplementary fertilizer regularly, such as a 16:16:16 NPK fertilizer solution with a dosage of one tablespoon dissolved in 3 liters of water, then water evenly once a week starting when the plants are two weeks old.
During the tuber enlargement phase (around 25 to 30 days old), you can also combine fertilization with additional micronutrients such as calcium to strengthen plant tissues to withstand wind and extreme weather conditions.
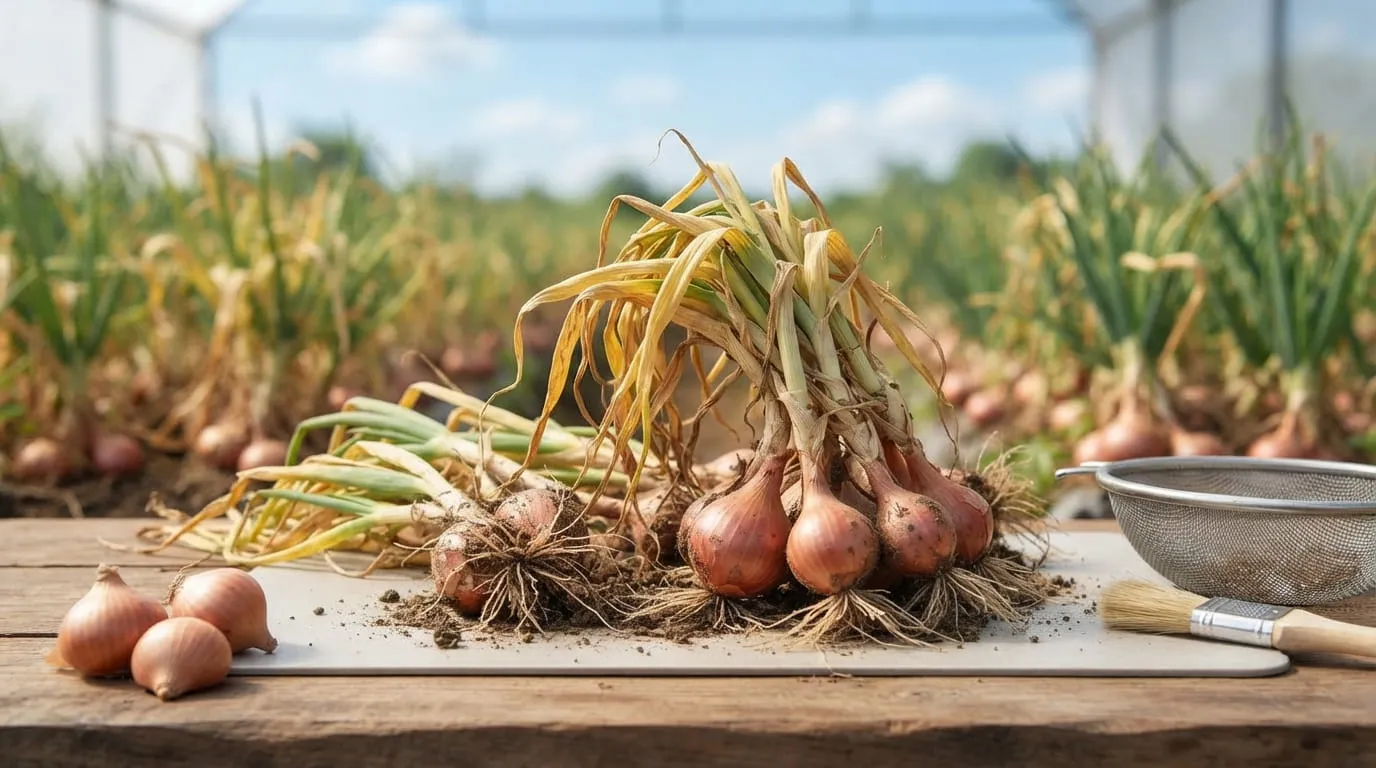
The Right Stage for Harvesting Red Onions. Photo: AI Generated
Red onions planted from bulbs generally have a relatively short life cycle and can be harvested approximately 55 to 60 days after planting. The physical characteristics of the plant ready for harvest are marked by yellowing leaves and stems, as well as lying down on the ground.
To harvest, you simply need to gently pull the red onion plants out of the polybag, then clean off any remaining soil attached to the roots. From one quality bulb planted, it can generally produce a new cluster containing 5 to 7 bulbs ready for consumption.
Q: Is it necessary to cut the top part of the bulb before planting?
A: Yes, cutting one-third of the top part of the bulb is highly recommended as it has been proven effective in breaking dormancy and accelerating the emergence of new shoots simultaneously.
Q: What is the most ideal planting medium for growing red onions in polybags?
A: The most ideal planting medium is a mixture of loose soil, rice husks (raw/burnt), and manure or compost in equal proportions (1:1:1) that has good drainage.
Q: When is the right time to harvest red onions from the bulbs?
A: Red onions are usually ready to be harvested at around 55 to 60 days after planting, indicated by the physical condition of the plant with yellowing and drooping leaves.
(kpl/mab)
Cobain For You Page (FYP) Yang kamu suka ada di sini,
lihat isinya
Check out 7 ornamental plants that are suitable for planting in shallow pots to beautify your home's corners. A contemporary aesthetic solution for limited spaces!

Students who are victims of bullying rise up against it. This series of dramas presents inspiring stories about their struggles to take revenge cleverly and strategically.

Explore a variety of baked cheese potato cake recipes, from sweet and soft versions, classic savory dishes, to delicious practical patty creations.
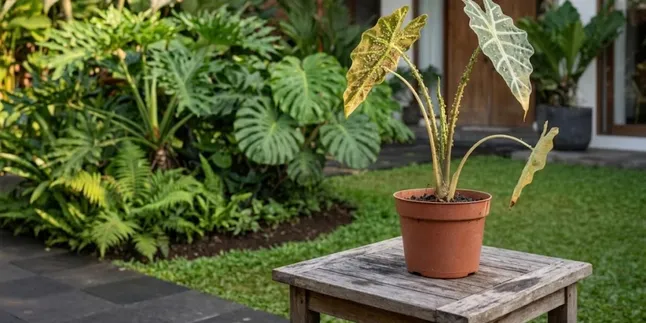
Protect your plant collection from pest attacks! Learn the important steps to separate infected plants to prevent spreading to others, from identification to care.
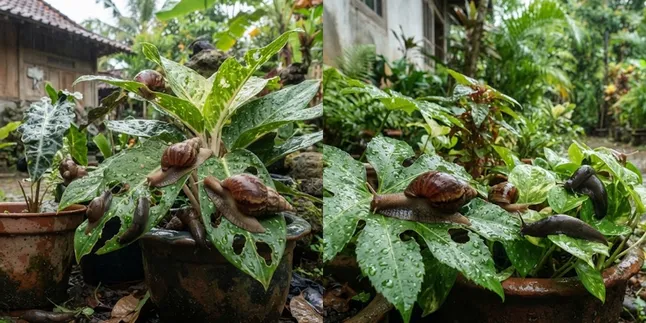
How to create a pot area that is less attractive to snails and slugs with simple steps to keep the plants safe.
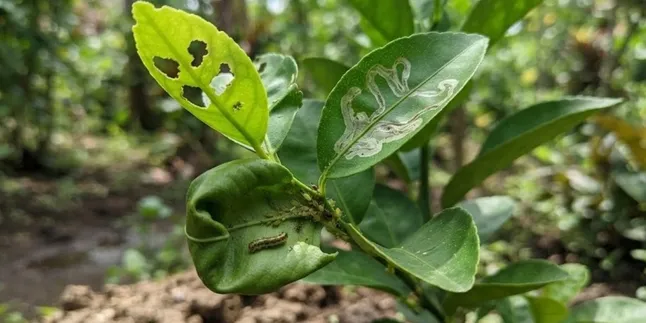
Find out the causes of holes and curling in citrus leaves, ranging from caterpillars, snails, to the leafminer pest that often attacks.
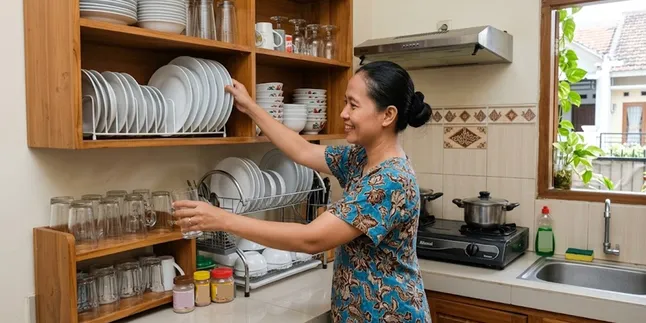
Discover effective ways to arrange plates and glasses in the kitchen to keep them neat, save space, and look more aesthetic. Starting from sorting items to using special racks.

10 popular movies about villains getting karma, from betrayal to endings that feel very satisfying.
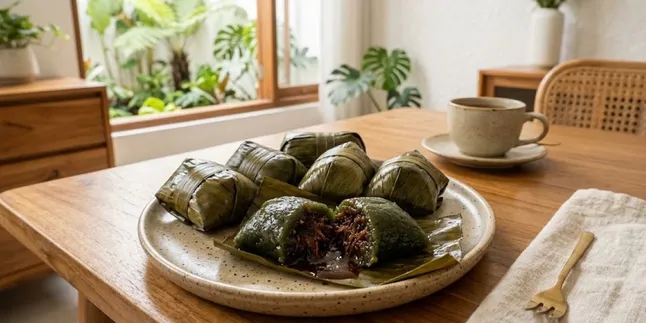
Recipe for glutinous rice cake filled with coconut and brown sugar, a popular traditional snack also known as Kue Bugis or Awug-Awug, with a chewy texture and a sweet, rich filling that tempts the palate.

Discover nine dolphin and ocean life themed movies that touch the heart, complete with synopses and ratings for your inspirational viewing.

Recommendations for Korean dramas about extended families with complicated relationships, from Reborn Rich to Our Golden Days, that keep you intrigued until the end.
