

 Follow
 Rekomendasi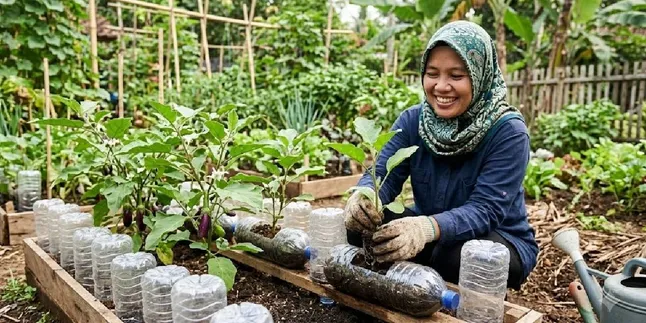
How to Properly Plant Eggplants in Used Bottles, Cost-Effective and Environmentally Friendly
How to properly plant eggplants in used bottles can be a cost-effective gardening solution. Here are the complete steps.
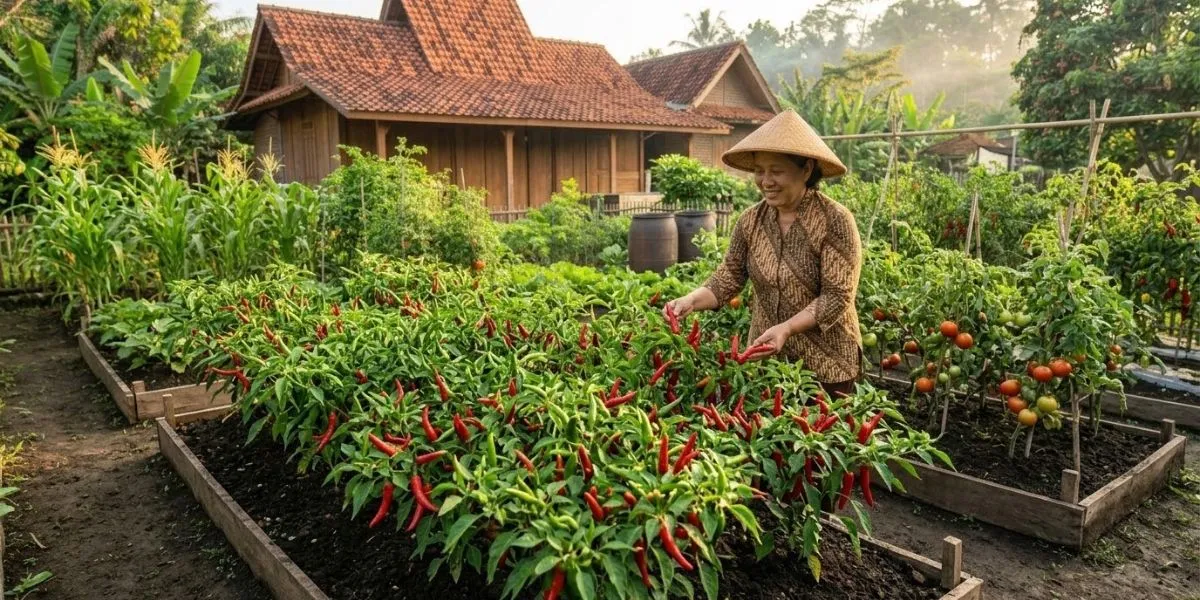
Kapanlagi.com - Planting chili peppers to grow lushly and produce an optimal harvest is the main goal for both farmers and gardening enthusiasts. This horticultural commodity has a high demand throughout the year in Indonesia, making its cultivation very promising. Success in planting chili peppers to grow lushly is greatly determined by a series of planned steps and consistent care, starting from the earliest stages.
The cultivation process of chili peppers requires special attention at every phase of their growth, from seed selection to post-harvest handling. Each stage plays a crucial role in ensuring that chili plants can develop optimally, avoid diseases, and bear abundant fruit.
By following the right guidelines, the potential for a plentiful chili harvest can be achieved. This article will discuss various important aspects of how to plant chili peppers for lush growth, from selecting superior seeds to advanced care strategies, as reported by KapanLagi.com from various sources, Tuesday (28/7/2026).
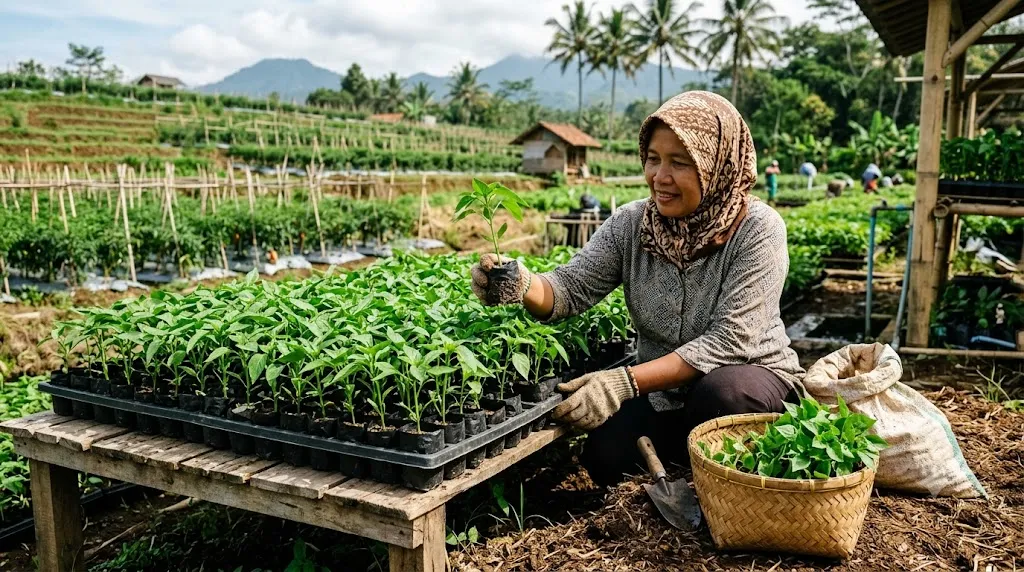
Illustration of Chili Seed Selection/AI Generated
The main step is to ensure that the seeds used are of the best quality. Superior seeds will be the foundation for healthy and productive plant growth. Good seeds can be recognized by their intact physical characteristics, uniform size, non-wrinkled surface, and feel solid when touched. These traits indicate that the seeds have adequate food reserves to support the germination process and early growth.
To further test the quality of the seeds, soaking them in warm water for 15–30 minutes can be done. Seeds that float generally indicate poor quality and should be set aside, while seeds that sink tend to be denser and healthier, making them suitable for planting. Additionally, treating the seeds before sowing is also important to accelerate germination and provide early protection from disease attacks.
Soaking seeds in a Trichoderma solution for 15–30 minutes can help protect against root rot diseases, as Trichoderma is a beneficial biological agent. Another alternative is to soak the seeds in a Previcur N fungicide solution at a dose of 1-2 cc per liter of water for one week before sowing to prevent fungal attacks.
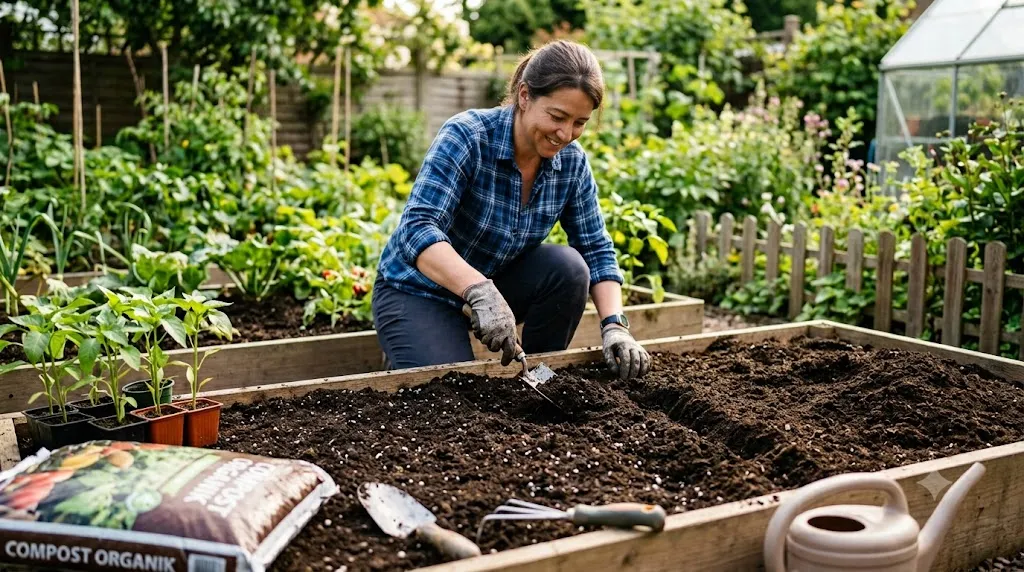
Fertile planting media and proper land processing are important pillars in how to plant chili so that it grows vigorously. The recommended composition of planting media is a mixture of soil, manure or compost, and husk in a ratio of 2:1:1. Other variations include a soil and manure ratio of 1:1, or a mixture of fertilizer, husk, and humus soil in a ratio of 2:1:3. For planting in polybags, a mixture of soil, compost, and sand in a ratio of 1:1:1 is also effective.
Chili plants require soil that is crumbly, loose, not clayey, not too porous, and rich in organic matter. The ideal soil acidity level (pH) ranges from 5.5 to 6.5. If the soil is too compact, adding burnt husk in a ratio of 3:2:1 (soil:manure/compost:burnt husk) can help improve the soil structure.
Land processing begins with tilling the soil to a depth of 30-40 cm to loosen it and remove remnants of plants or weeds. Next, making beds with a width of 1-1.2 meters, a height of 30 cm, and a distance between beds of 30 cm is highly recommended. Providing base fertilizer is also crucial; manure or compost can be applied before planting, such as chicken manure (15-20 tons/ha) or compost (5-10 tons/ha) along with SP-36 (300-400 kg/ha) about 0-7 days before planting. Liquid organic fertilizer or manure can also be added before harvest to provide nutrients and facilitate air circulation in the soil.
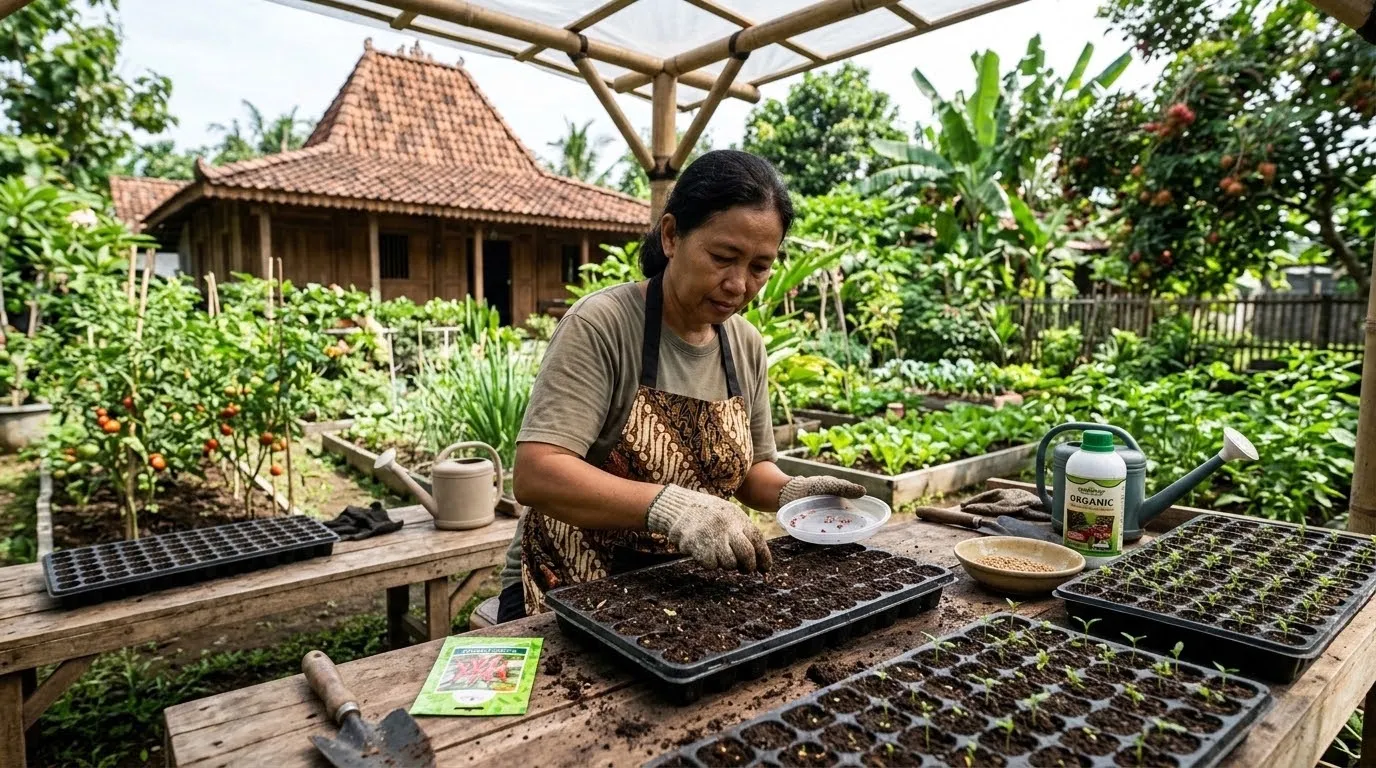
Illustration of Chili Planting/AI Generated
Germination is a crucial phase before chili seedlings are transferred to permanent planting media, ensuring that the seedlings have a strong start to grow vigorously. The germination media can use a tray or small containers filled with a mixture of soil and manure. For germination in beds, a mixture of organic fertilizer, soil, and ash in a ratio of 1:1:3/4 that has been sterilized can be used.
Seeds are planted in small holes and then lightly covered with the germination media. After that, the containers are placed in an area with sufficient light but not direct sunlight. To maintain humidity, the germination can be covered with plastic bags, burlap, or banana leaves.
During the germination process, watering is done with a spray system to prevent overwatering the seeds. After 5-7 days, when the seeds begin to sprout, the germination cover is opened, and the seedlings are sun-dried under sunlight with barriers such as shade netting or anti-UV plastic. Seedlings are ready to be transferred to permanent land after 2-4 weeks or when they have 4-5 leaves.
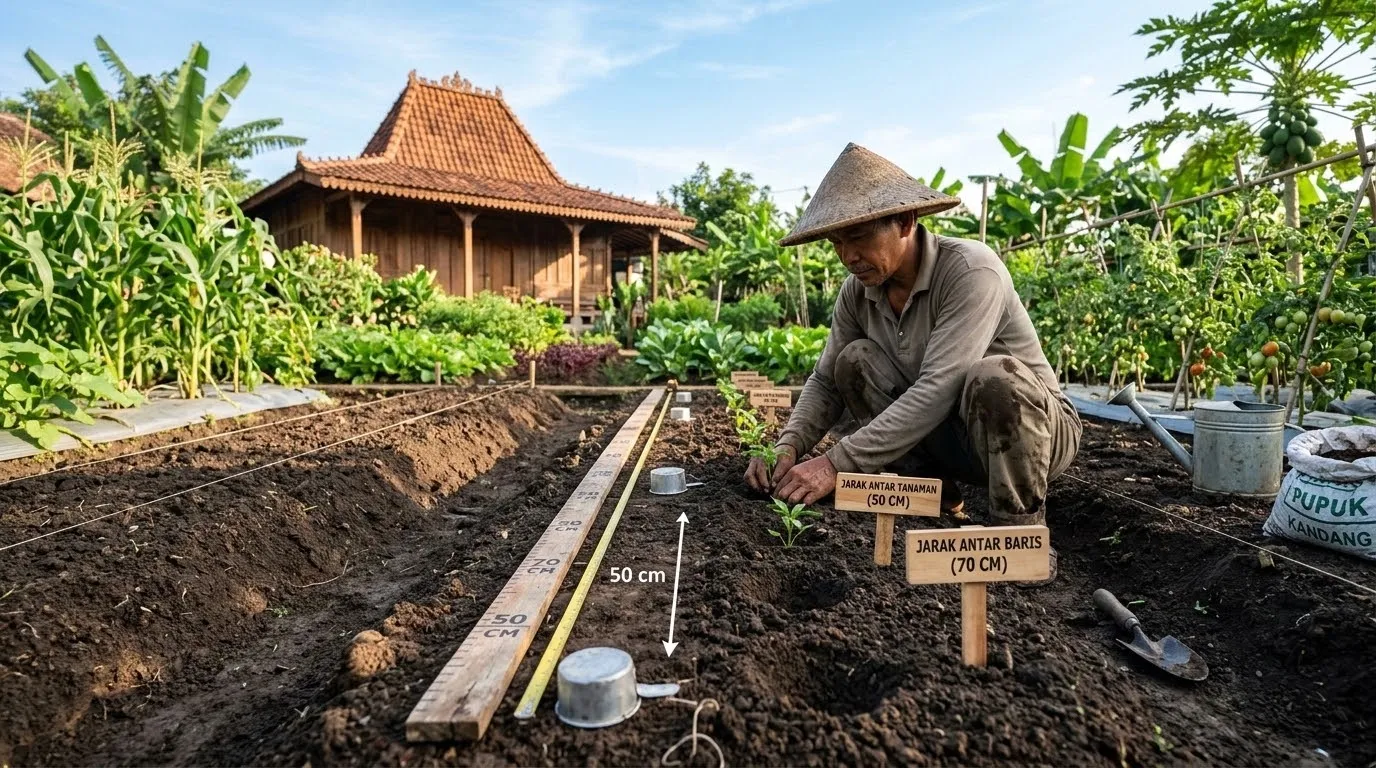
Illustration of Chili Planting/AI Generated
Transferring seedlings using the correct technique is the next important step in how to plant chili peppers for healthy growth. The best time to plant chili seedlings is in the afternoon. This allows the seedlings to adapt to the new environment and reduces stress from high sunlight intensity.
Planting holes should be made in the center of the polybag or bed with a depth of about 5 cm. The seedlings must be placed carefully to avoid root damage, then the surrounding soil should be compacted. The recommended planting distance is 50 x 60 cm or 40 x 50 cm. If planting is done during the rainy season, the planting distance can be widened, for example, 40 x 45 cm or 50 x 60 cm, to ensure more sunlight can enter and facilitate the spraying process.
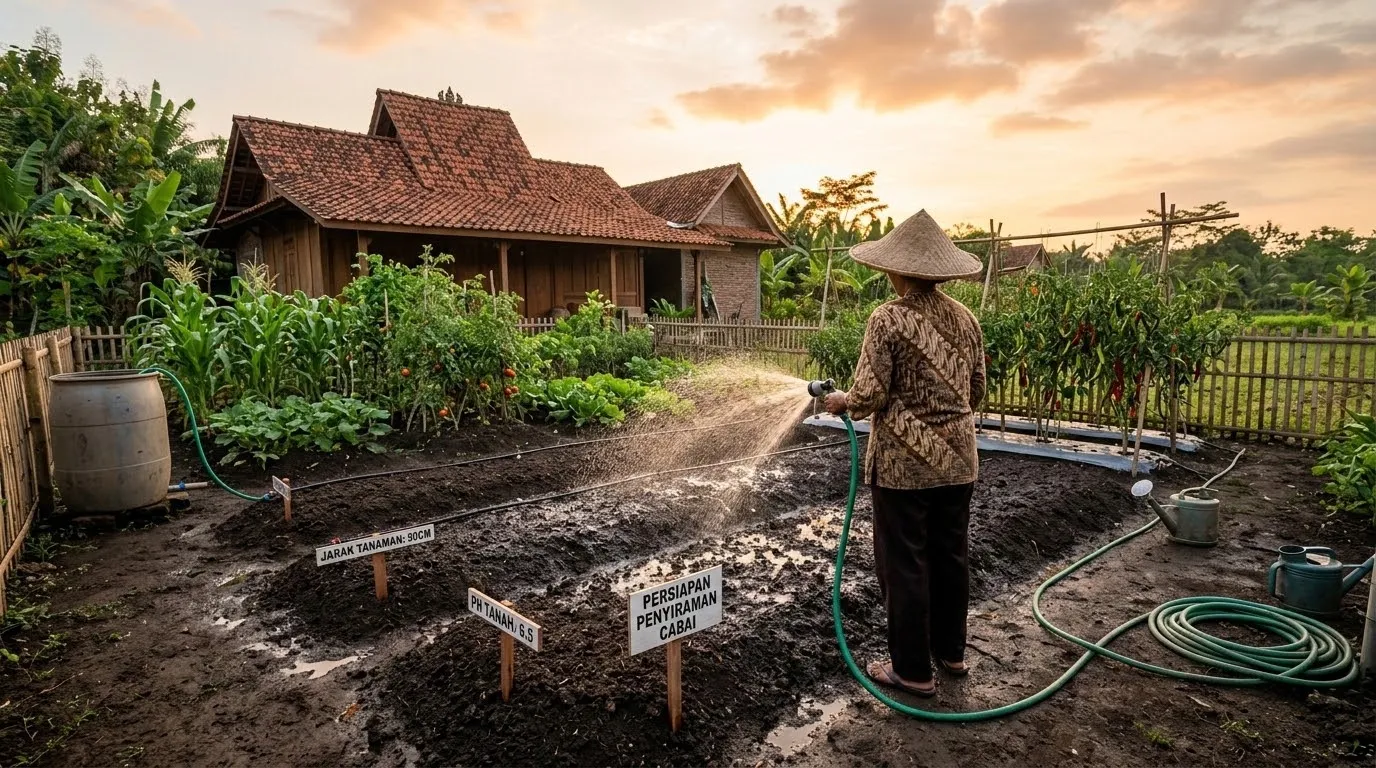
Illustration of Watering Chili Plants/AI Generated
Proper and regular watering is crucial for the success of growing chili plants to thrive. Chili plants require a sufficient water supply, but excessive watering that can lead to waterlogging should be avoided.
Watering should ideally be done 1-2 times a day, especially during the dry season. During the seedling phase (0-20 days), watering 1-2 times a day should be adjusted according to the needs or soil conditions. As the plants reach 21 days to 2 months old, the watering frequency can be reduced to once a day, depending on the climate. As harvest time approaches, the frequency of watering should be decreased.
The best time to water is in the morning, around 06:00–09:00, or in the evening. Watering in the morning helps reduce the risk of fungal diseases because the leaves have time to dry before nightfall. It is important to avoid watering during the day when the sun is strong, as water can evaporate too quickly or even cause a lens effect that burns the leaves. The watering technique should also be considered; water directly to the root zone to prevent fungal diseases and maintain stable root moisture. Avoid using strong water sprays as they can damage the growing medium and cause flowers to drop. Water at room temperature, such as rainwater, is the best choice.
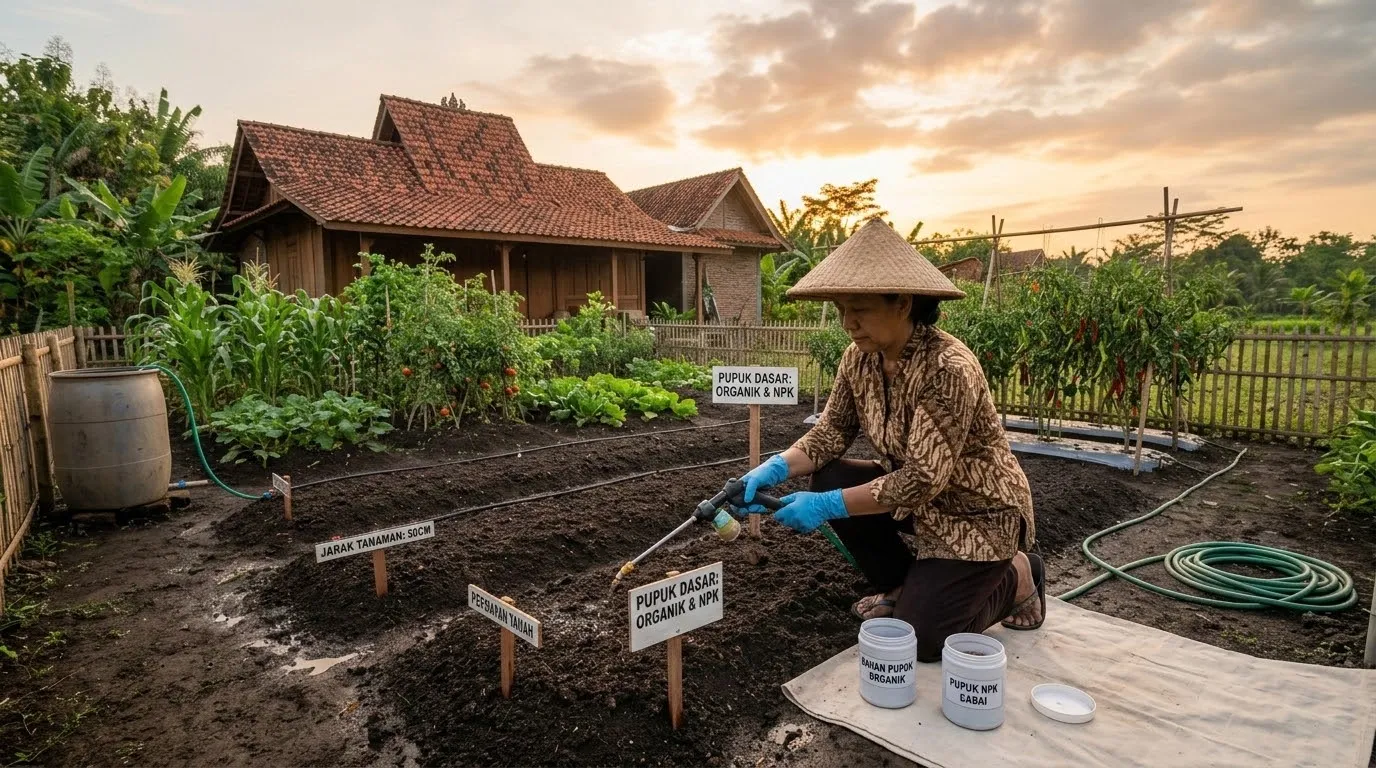
Illustration of Fertilizing Chili Plants/AI Generated
Fertilization is a crucial element in the way of planting chili to ensure it grows lush and bears abundant fruit. A combination of organic and inorganic fertilizers is highly recommended.
Organic fertilizers, such as manure from cattle, goats, ducks, or chickens, are rich in N, P, and K nutrients. This fertilizer should be applied during seedling (5-26 days after planting). Compost also contains N, P, K, as well as Mg and Ca, and is very important during the early planting phase until the chili is one month old. Meanwhile, inorganic fertilizers such as urea (high in nitrogen), SP-36 (a source of phosphorus), and KCl (a source of potassium) are commonly used single fertilizers. Balanced compound fertilizers such as pearl NPK or NPK 16-16-16+TE are also effective and should be applied after the plants receive organic fertilizers at the beginning of planting.
The schedule and dosage of fertilization need to be considered. For basic fertilization, 10 tons/ha of manure, 100-120 kg/ha of nitrogen, 80 kg/ha of phosphorus (P2O5), and potassium (K2O) should be applied at the beginning of planting. Subsequent fertilization should be done periodically; liquid NPK fertilizer can be applied weekly starting from 7 days after planting, then every two weeks. Follow-up fertilizers can also be applied at 40 and 70 days after planting using NPK, ZA, and KCl. Fertilizer can be applied by dissolving it and drenching it into the soil around the plants, or by making holes near the stem, adding the fertilizer according to the dosage, and then covering it back with soil.
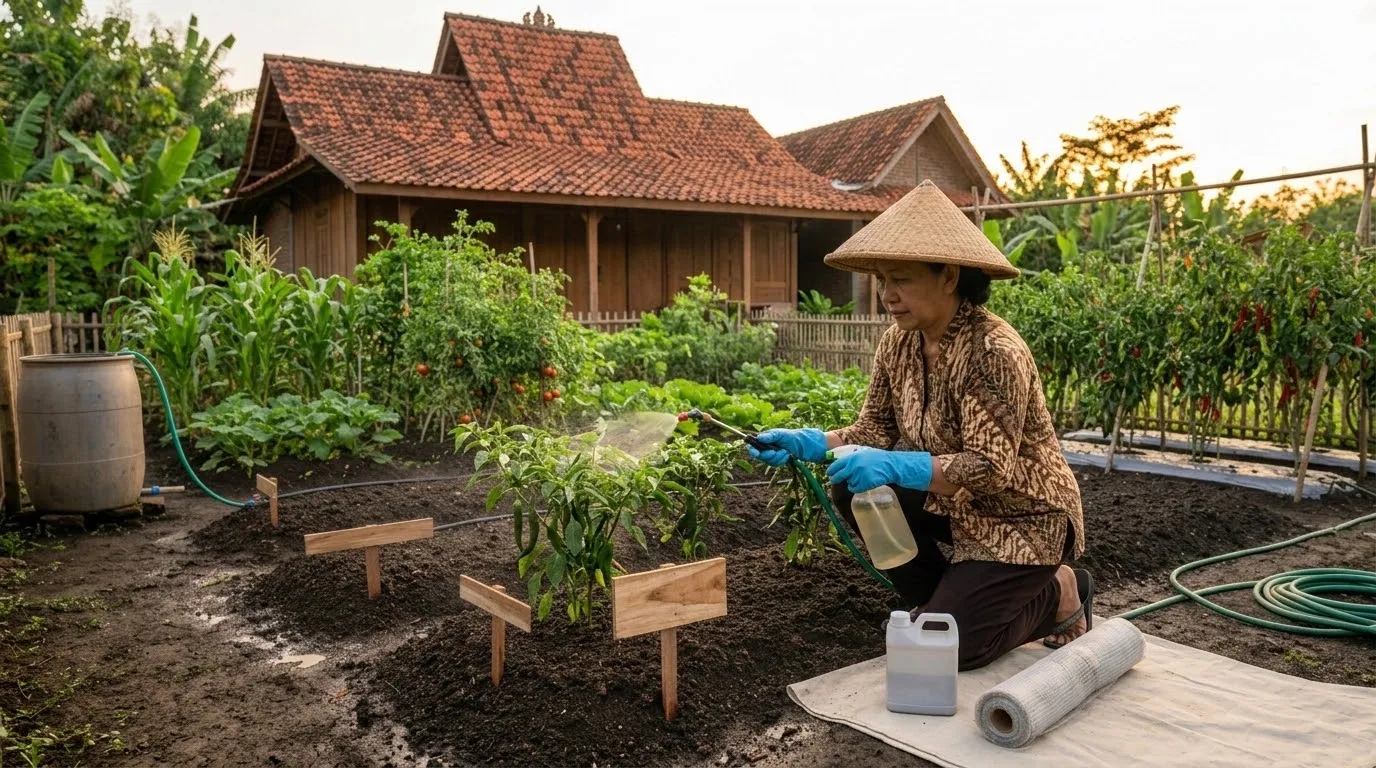
Illustration of Pest and Disease Control of Chili Plants/AI Generated
Effective pest and disease control is an integral part of how to grow chili peppers so that they thrive. Pests that often attack chili plants include cutworms (Agrotis ipsilon), armyworms, fruit worms, whiteflies, aphids, thrips, and mites. Thrips, for example, can cause leaves to curl and act as a vector for viruses.
Common diseases in chili peppers include yellow virus, anthracnose fruit rot, fusarium wilt, bacterial wilt (Ralstonia solanacearum), cercospora leaf spot, and damping off. Fusarium wilt is characterized by leaves wilting from the bottom to the top, yellowing, and the appearance of white, cotton-like mycelium on the infected parts. Bacterial wilt causes leaves to wilt, and if the stem is cut crosswise and then dipped in water, it will release a cloudy slime.
Control strategies can be carried out culturally, by maintaining garden cleanliness, improving drainage, selecting healthy seeds, and practicing crop rotation. Mechanical control involves uprooting and destroying diseased plants. For biological control, the use of antagonistic agents such as Trichoderma spp and Gliocladium spp as a base fertilizer can be effective in addressing fusarium wilt. Meanwhile, chemical control using insecticides for pests (for example, Turex WP, Direct 25ec, Raydok 28ec for cutworms and armyworms; Winder 100EC, Promectin 18ec, Cyrotex 75sp for fruit flies) and fungicides for diseases (according to recommendations for fusarium wilt) must be carried out wisely.
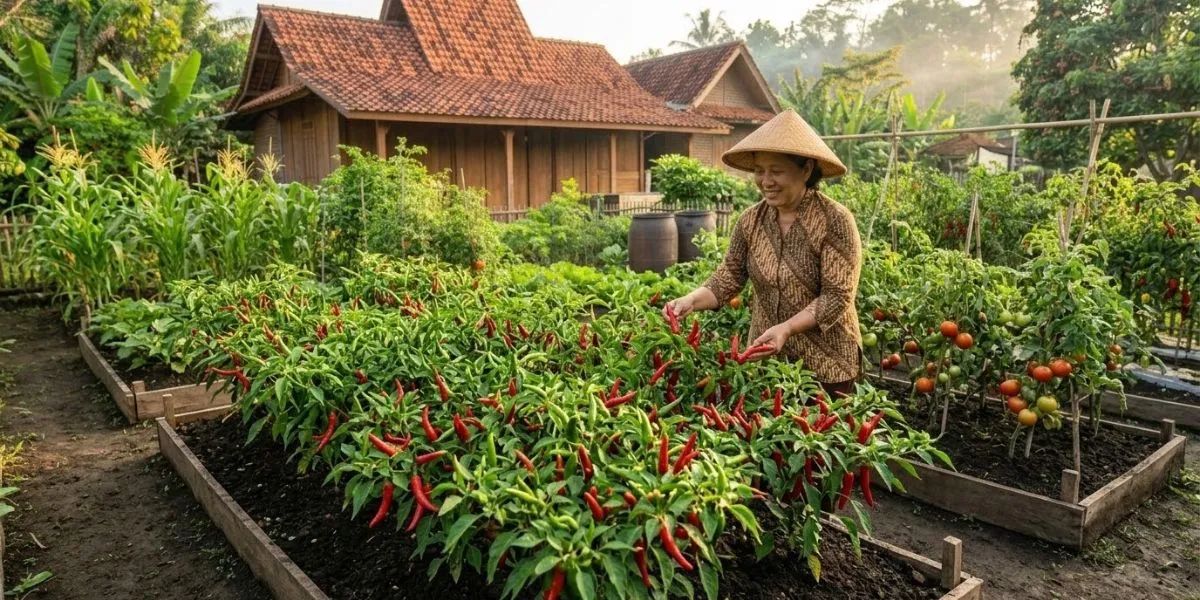
Illustration of Chili Plant Care/AI Generated
To ensure that chili plants grow vigorously and sustainably, post-planting maintenance is also very necessary. Pruning of young shoots that have just grown should be done starting from 20 days after planting (DAP), every 3 days until branches are formed. Pruning can also be done once a month, but it is important to avoid cutting young leaves or small fruits.
Installing stakes or supports made of bamboo or small wood is very important so that chili plants can stand firm. These supports prevent the plants from falling or breaking due to strong winds. In addition, protecting the plants from extreme weather is also a key factor in supporting vigorous growth and maximizing yields.
What is the most important first step in planting chili for a thriving harvest?
The most important first step is selecting high-quality chili seeds and proper seed treatment before sowing.
What is the ideal composition of the growing medium for chili?
The ideal growing medium is a mixture of soil, manure or compost, and rice husk in a ratio of 2:1:1, or soil, compost, and sand in a 1:1:1 ratio.
When is the best time to water chili plants?
The best time to water chili plants is in the morning (around 06:00–09:00) or in the evening; avoid watering during the heat of the day.
What type of fertilizer is recommended for optimal chili growth?
A combination of organic fertilizer (manure/compost) at the beginning of planting and inorganic fertilizer (NPK, Urea, SP-36, KCl) periodically is highly recommended.
What pests and diseases most commonly attack chili plants?
Common pests include cutworms, armyworms, thrips, and aphids, while common diseases are yellow virus, anthracnose fruit rot, fusarium wilt, and bacterial wilt.
(kpl/nti)
Cobain For You Page (FYP) Yang kamu suka ada di sini,
lihat isinya
How to properly plant eggplants in used bottles can be a cost-effective gardening solution. Here are the complete steps.

A complete list of recommended time travel themed movies to fix mistakes. Synopsis reviews, cast, and relevant latest film categories for Indonesian viewers.
Planting red onions in small polybags can be a solution for home gardening. Check out 7 ways to ensure the bulbs grow large and are ready for harvest quickly.
Discover effective steps in planting an avocado tree in a pot for quick fruiting with this guide.
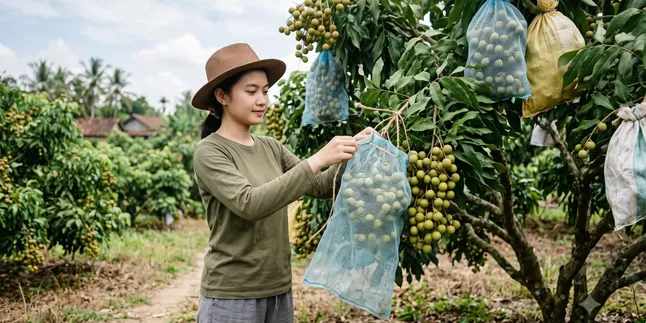
Don't just plant! Discover the secrets of how to grow longan to yield abundant fruits using booster methods and targeted routine care here.
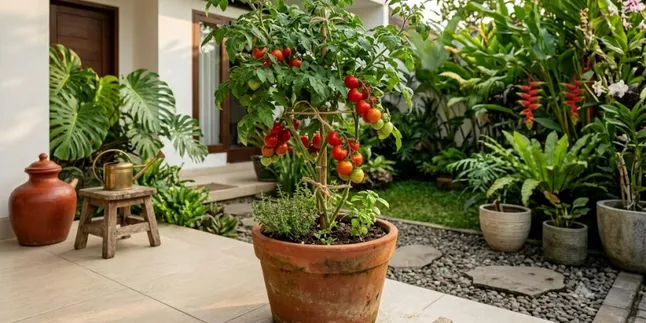
Growing tomatoes in small pots is a smart solution for limited land. Follow the complete guide from pot selection, variety, planting media, to care for a bountiful harvest.

A series of touching and emotional films about single fathers, especially when a father has to take on the role of a single parent.

Discover 10 recommendations for heartwarming pet-themed movies that teach us to care more for our pets.

A series of Korean films themed around school and bullying that present stories full of conflict, struggle, and deep emotions.

Movies without villains often offer a different viewing experience, yet still manage to deliver deep tension and excitement.

Discover recommendations for Indian films with social themes and caste critiques that hit hard, from true stories to inspiring dramas that raise issues of discrimination and the struggle for justice.

Villain characters in films are often more captivating and memorable than the main characters. Dive into the reasons behind the complexity, charisma, and unique motivations that make them pop icons.
