Kapanlagi.com - Nowadays, laptops are used by various groups of people. Not only for workers, but also used by elementary, junior high, high school students, college students, and many others. For those who often use laptops for various activities, they must know many things, one of which is how to connect Wifi to a laptop.
Yup! There are various ways to connect Wifi to a laptop, KLovers. If you have difficulty connecting to WiFi, there are several methods you can try. The method used is also quite easy and doesn't take much time. Knowing this will make your work easier, especially when using the Internet.
Now, for those of you who are looking for ways to connect Wifi to a laptop, here are some easy and practical ways to do it. Let's check it out, KLovers.
1. Through Windows Mobility Center

Illustration (credit: Pixabay)
The first way to connect Wifi to a laptop is by using the mobility center. This method is not difficult, KLovers, you can do it easily. Here are some ways to connect WiFi to a laptop using the mobility center:
1. First, for those of you who are using Windows 7, you can click the Start button on the left side of the taskbar and select the Control Panel option.
2. Meanwhile, for Windows 8, swipe the cursor to the right corner of the screen, select the Settings option, and then select Control Panel.
3. Next, after entering the Control Panel, you can select the "Adjust commonly used mobility settings" option under the "Hardware and Sound" category.
4. Then, a window will appear containing various icons such as volume, display, and others. For the WiFi section, you can click the "Turn wireless on" button.
5. Next, you can see the right side of the taskbar, if there is a wireless logo, it means your WiFi connection is already on.
2. Using the WiFi Button

Illustration (credit: Pixabay)
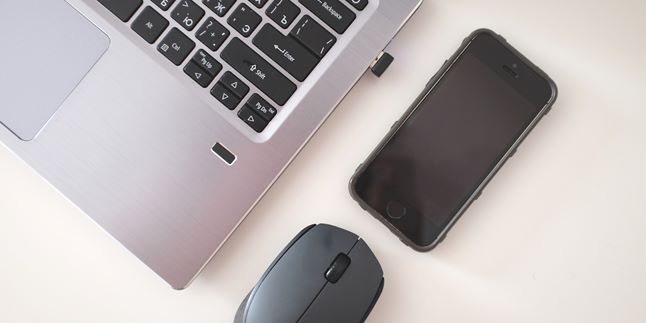
The second way to connect WiFi to a laptop is by using the WiFi button. Yup! This method is one of the easiest compared to other methods. Usually, some types of laptops provide a special button to turn on and off WiFi.
You can see that this button is usually located above or beside the keyboard, depending on the laptop used. And here are some easy and practical ways to connect WiFi to a laptop using the WiFi button:
1. First, look for the button at the top, which has a symbol like a signal.
2. Once you find it, you just need to press that button.
3. The WiFi button usually also comes with an indicator light that will turn on when WiFi is active.
4. Once pressed and the light is on, WiFi is connected to your laptop.
5. To turn it off, you just need to press that button again until the light goes off. Pretty easy and practical, right KLovers.
3. Activating WiFi Adapter
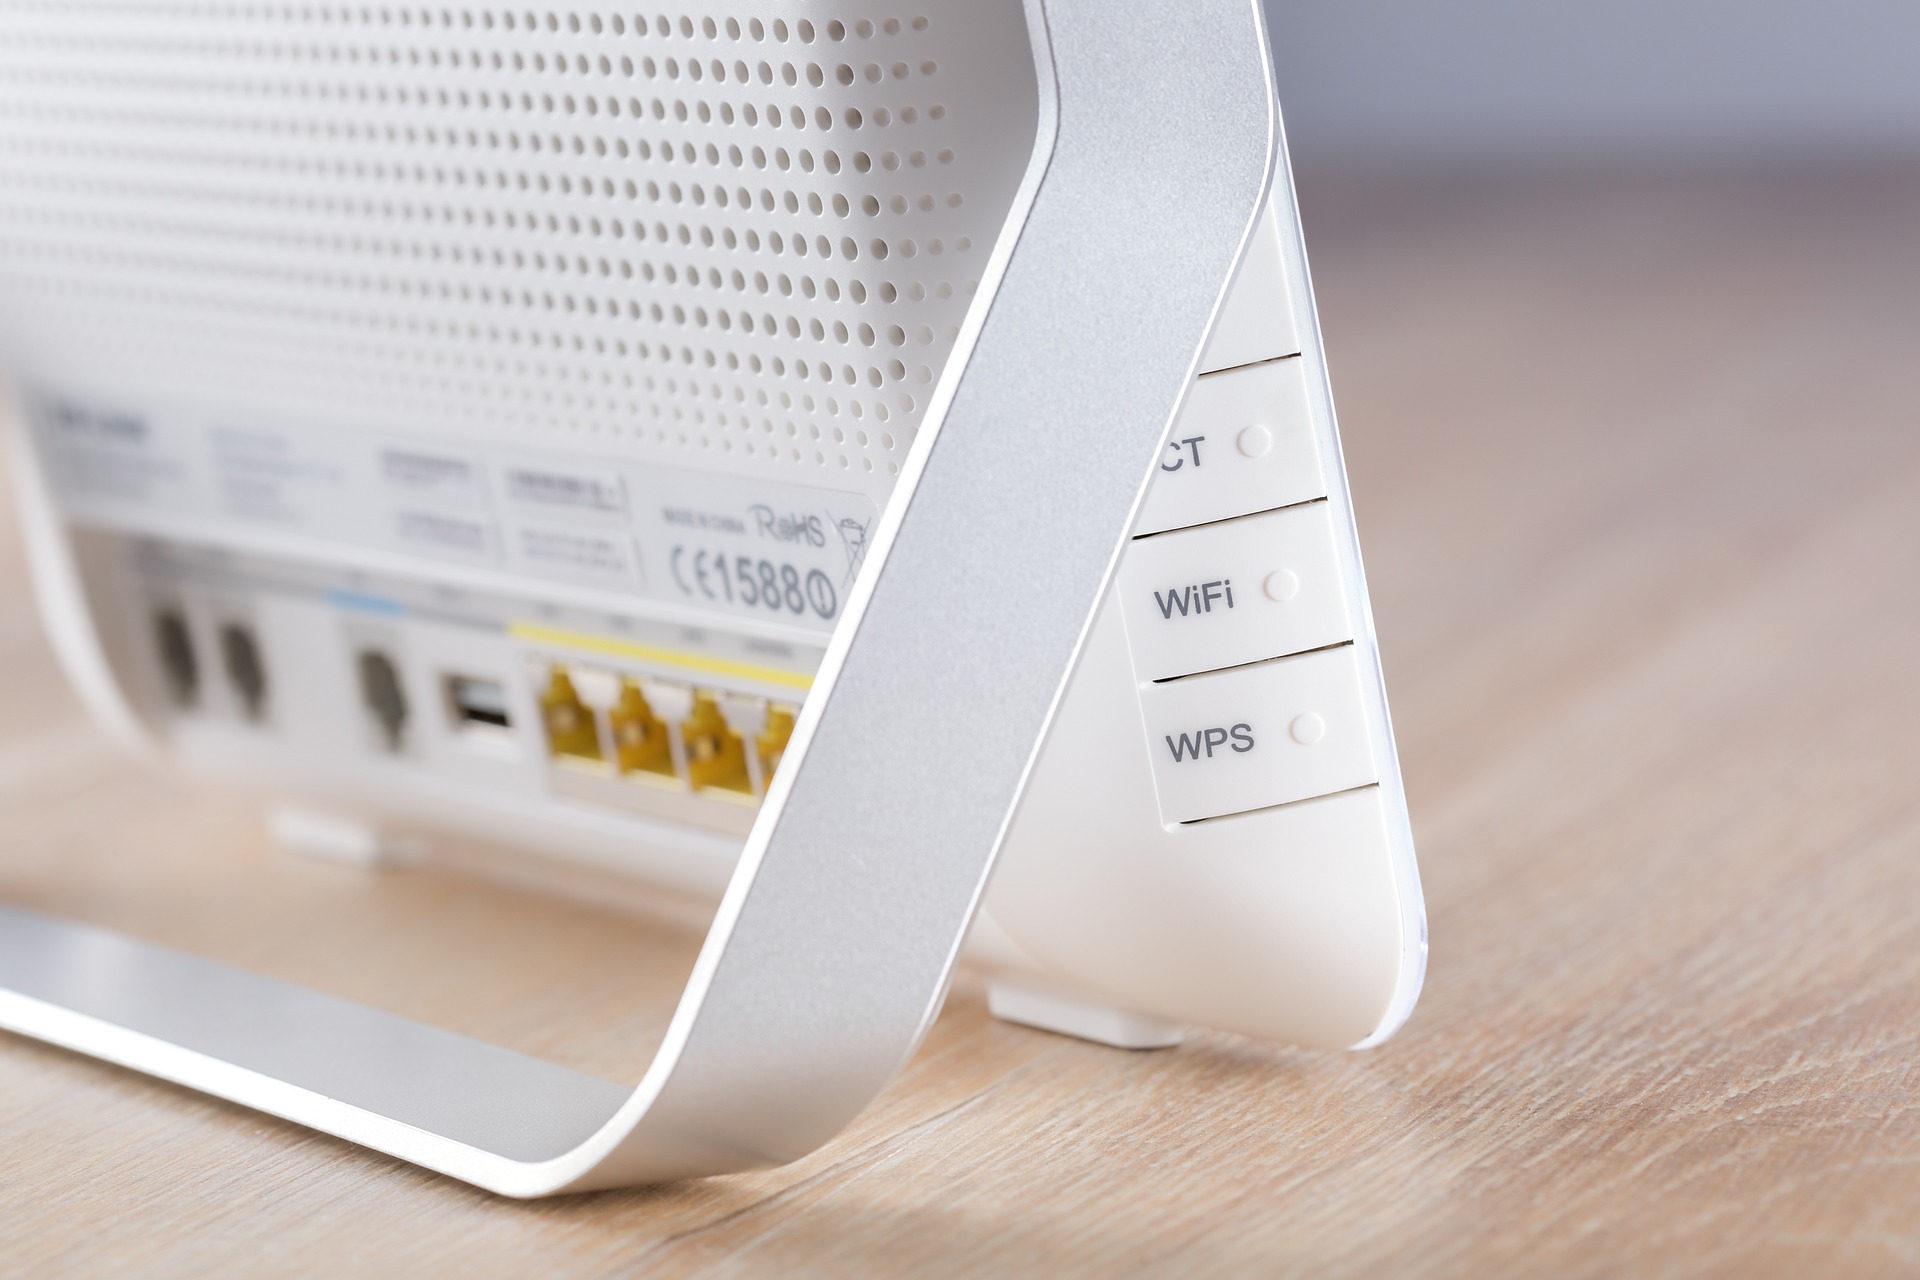
Illustration (credit: Pixabay)
You can also activate WiFi using a WiFi adapter. It's also quite easy for you to do. Here are some ways to connect WiFi to a laptop using a WiFi adapter:
1. First, you can open the Start Menu and select Control Panel.
2. After that, you can open the "Network and Internet" category, then select the "Networking and Sharing Centre" option.
3. Then, in the menu on the left column, select the "Change adapter settings" option.
4. Next, find the wireless icon that you will use. Then right-click and select the "Enable" option.
5. Done, now your WiFi connection can be used.
4. Using the FN Button

Illustration (credit: Pixabay)
The FN button may still be unfamiliar to some people, but it turns out that this button is one way to connect WiFi to laptops. And it's also not difficult for you to do. Here are some ways to connect WiFi to a laptop using the FN button:
1. The first way is to find out which function button has the WiFi symbol above it.
2. If you're confused, for example, if the WiFi icon is on the F10 button, the way to activate it is simply by pressing the Fn and F10 buttons together.
3. To find out if WiFi is already connected, usually there is an indicator light above the function button that indicates that WiFi is turned on.
4. And to turn it off, you just need to press the Fn and F10 buttons together again.
5. In addition to pressing both buttons, there are also laptops that can turn on WiFi by directly pressing the WiFi logo button for a few seconds without the need to press it together with the Fn button.
5. How to Connect to Wifi on Windows 8

Illustration (credit: Pixabay)
For those of you who use Windows 8 laptops, you can use the following method to connect to WiFi. Here's how to connect Wifi to your laptop if you're using Windows 8 easily and practically:
1. First, you can move the cursor on the laptop to the right of the screen until the charms bar appears.
2. After that, you can select Settings.
3. Then select the option "Change PC Settings", then select "Network".
4. If the "Airplane Mode" is on, please disable it first. This is because WiFi cannot be turned on when Airplane Mode is active.
5. Then, in the "Wireless Device" section, please turn on the "WiFi" option.
6. Done, you can activate the available WiFi.
6. How to Connect to Wifi on Windows 10
Illustration (credit: Pixabay)
Not only can you connect to WiFi using Windows 8, but you can also easily and conveniently connect to WiFi in Windows 10. Here are some ways to connect WiFi to your laptop for Windows 10 users:
1. First, you can click on the network icon in the Taskbar. Usually, the button is in the shape of a WiFi signal logo.
2. If Airplane Mode is on, please turn it off first by clicking on the Airplane Mode icon. This is because WiFi cannot be turned on when Airplane Mode is active.
3. After that, you can turn on WiFi by clicking on the WiFi icon.
4. Done, you can enable the available WiFi.
Those are some easy and practical ways to connect WiFi to your laptop. It won't take long for you to do this, good luck KLovers.
(kpl/gen/dhm)
Disclaimer: This translation from Bahasa Indonesia to English has been generated by Artificial Intelligence.