

 Follow
 Rekomendasi
8 Ornamental Plants That Are Easy to Propagate for Sale, Often Sought After by Buyers
Ornamental plants that are easy to propagate for sale can be a choice for beginners who want to start a plant business from home.
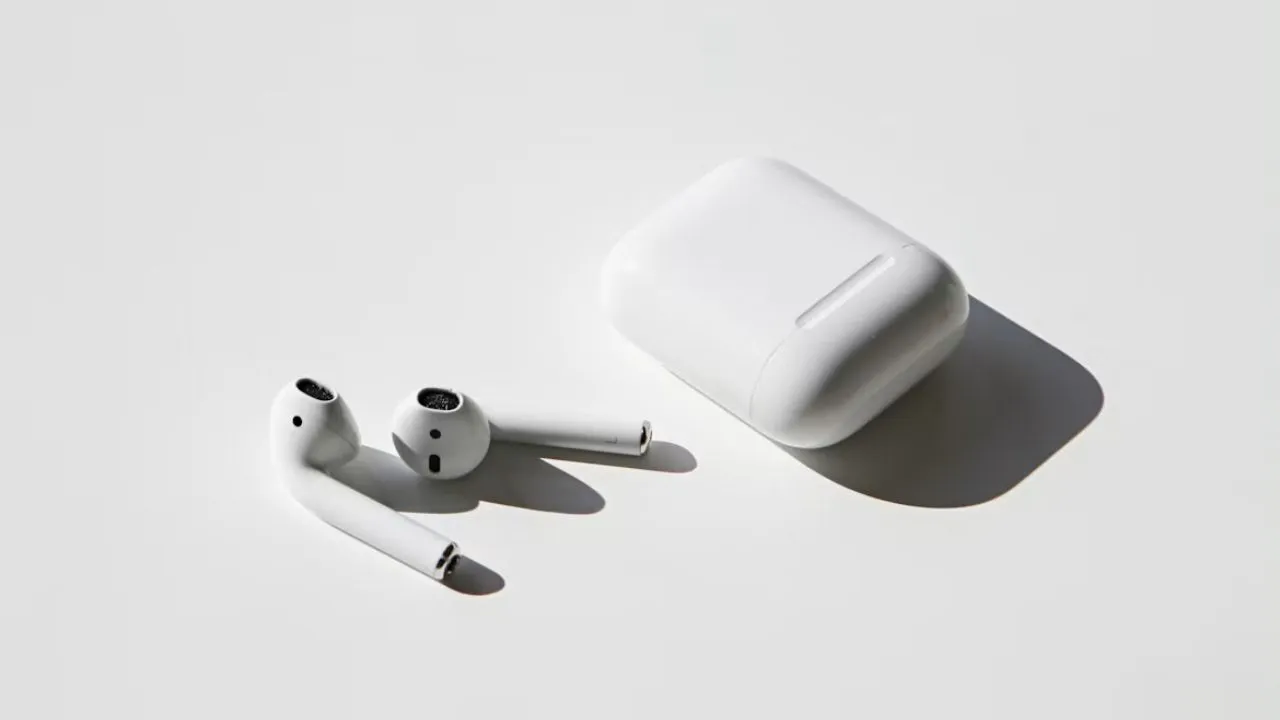
Kapanlagi.com - Have you ever felt that the sound from your headset suddenly becomes crackling or is not detected at all on your phone? Don't rush to blame the headset; the culprit might be a dirty headset jack. Keeping this audio port clean is not just about aesthetics, but it is also crucial for maintaining audio quality and prolonging the lifespan of your beloved device. Fortunately, there is an easy way to clean the headset jack that you can do yourself at home.
In fact, if this jack is dirty, not only will the sound be disrupted, but the function of your headset can also become suboptimal. Accumulated dirt can cause various problems, ranging from poor sound quality to permanent damage to your device.
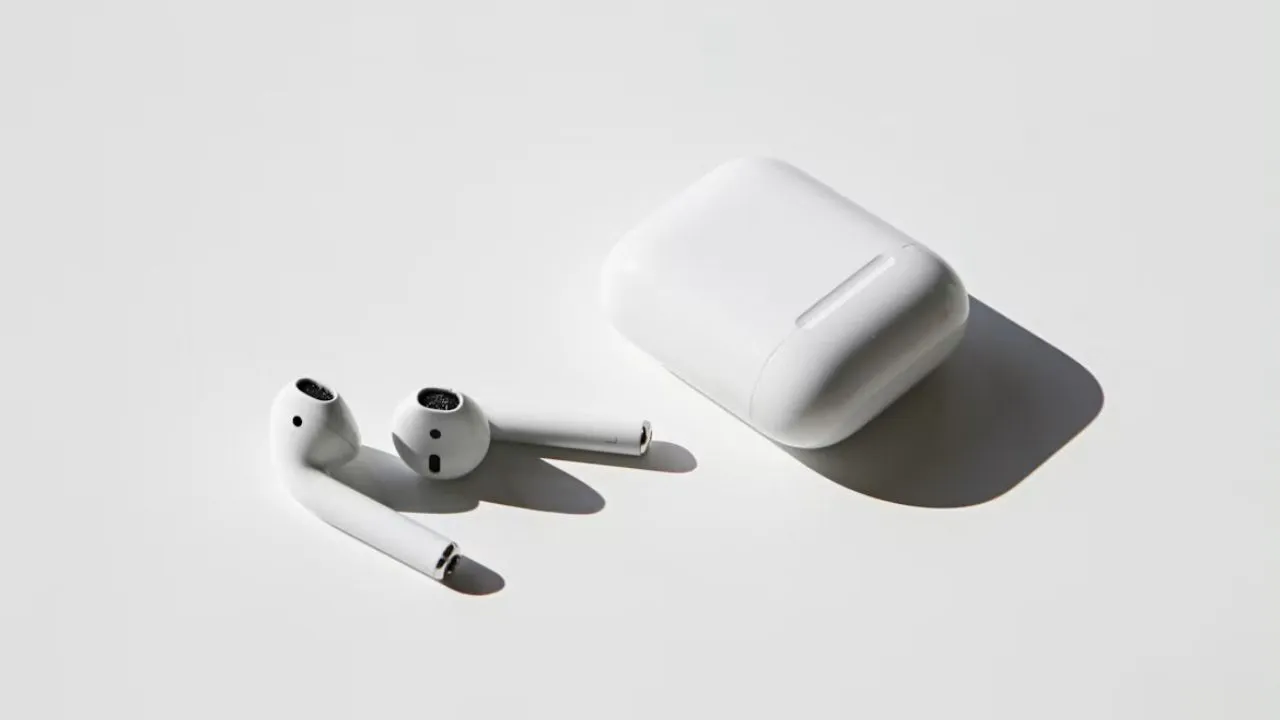
Headset/Photo by Dagny Reese on Unsplash
The headset jack on electronic devices like phones or laptops is indeed like a magnet for dirt. Dust, fabric fibers from pants pockets, small debris, and even moisture can easily sneak in and accumulate inside. This condition is exacerbated by our habit of frequently putting our phones in and out of our pockets.
The accumulation of dirt is not just a trivial issue. Its impact can significantly disrupt your experience of listening to music or making calls. In addition to compromising sound quality, dirt can also obstruct the connection between the headset and the device, causing the headset to go undetected or the connection to become intermittent. Furthermore, "Dirty and hard-to-clean headsets can become a breeding ground for bacteria, posing risks to ear health," according to erablue.id. In fact, the continuous buildup of dirt can potentially damage your device's internal components.
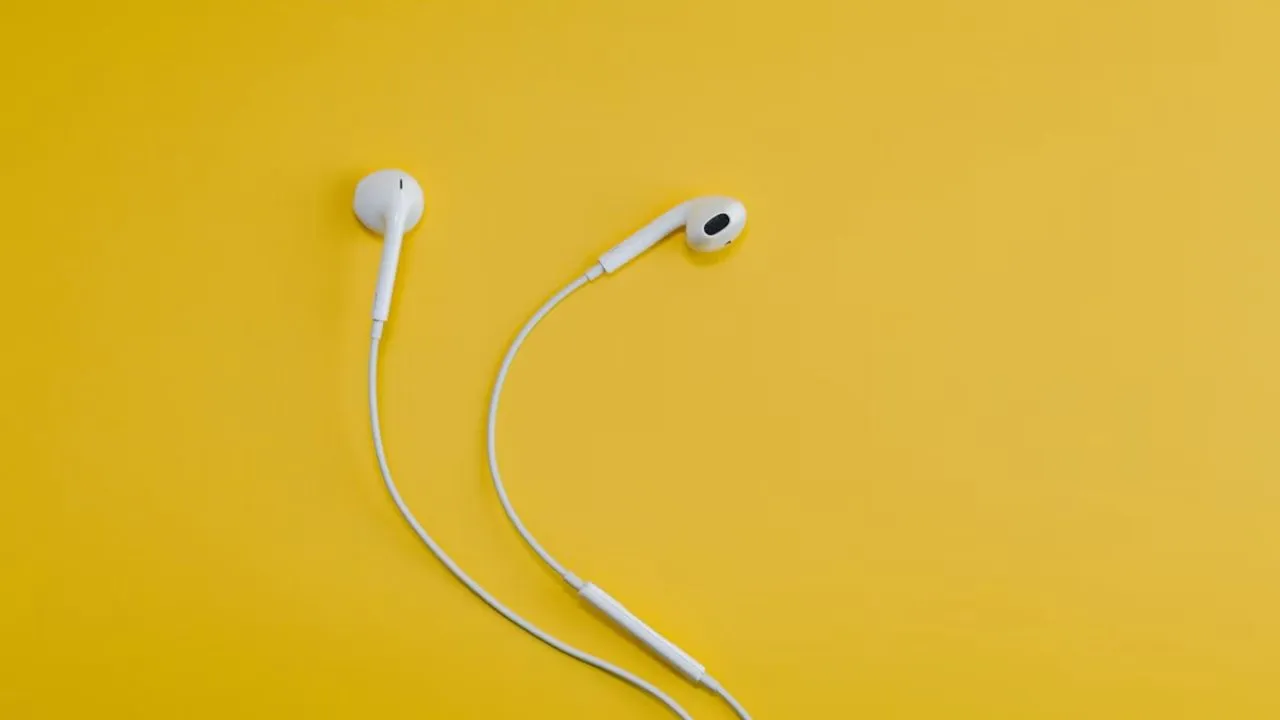
Headset Illustration/Photo by Dagny Reese on Unsplash
First, turn off the device
Use a cotton bud or a toothpick
Use compressed air for fine dust
Use a soft-bristled brush
Carefully use a toothpick or a safety pin
Try using masking tape
Use a little alcohol on the headphone jack
Avoid cleaning in a hurry
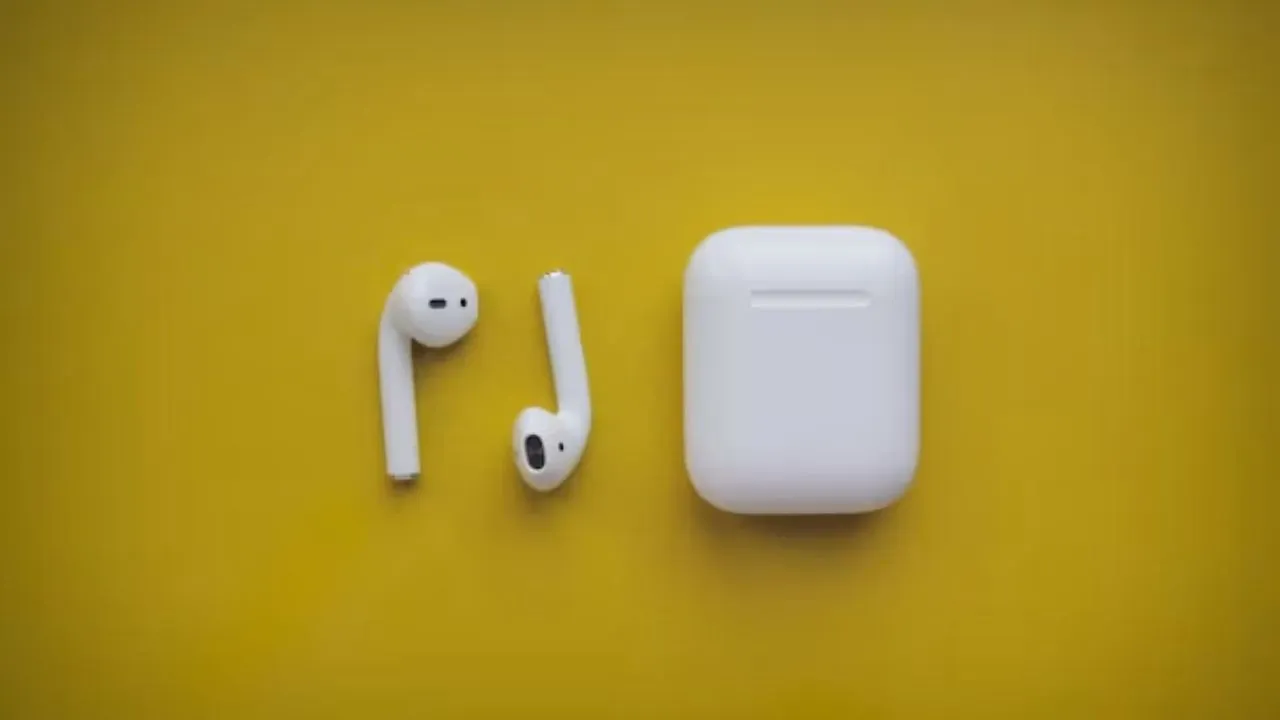
Illustration of Headset/Photo by Lala Azizli on Unsplash
To ensure the cleaning process of the headphone jack goes smoothly and safely, there are some additional tips you should pay attention to. First, always use sufficiently bright lighting. This will help you see dirt clearly and ensure that no debris is left behind.
Second, avoid excessive liquids. Never spray cleaning liquid directly into the headphone jack, as excess liquid can damage the electronic components inside. Third, do not use sharp metal objects like needles. These items can scratch or damage the connectors inside the jack, which could lead to permanent damage. After cleaning, take the time to check your headphone jack again to ensure there is no remaining dirt.
By regularly and carefully applying the easy methods to clean the headphone jack, you not only maintain the sound quality of your device but also extend its lifespan. Don't let small dirt ruin your audio experience.
Why is it important to regularly clean the headphone jack?
It is important because dirt can interfere with sound quality, cause connection problems, damage internal components, and even become a breeding ground for bacteria that are harmful to ear health.
What tools are safe to use for cleaning the headphone jack?
Safe tools include small cotton buds, soft brushes, compressed air specifically for electronics, blunt pins or toothpicks (with caution), and masking tape.
What should be done before starting to clean the headphone jack?
Before cleaning the headphone jack, make sure to turn off your device to avoid the risk of short circuits or damage.
Is it permissible to use alcohol to clean the headphone jack?
Yes, isopropyl alcohol (70% or higher) can be used by lightly moistening a cotton bud, but avoid excessive use or spraying directly into the jack as it can cause corrosion.
What are the dangers of cleaning the headphone jack with sharp metal objects?
Using sharp metal objects can scratch or damage the connectors inside the headphone jack, which can lead to permanent damage to the device.
(kpl/nti)
Cobain For You Page (FYP) Yang kamu suka ada di sini,
lihat isinya
Ornamental plants that are easy to propagate for sale can be a choice for beginners who want to start a plant business from home.

Want your home to look luxurious without the hassle? Discover a range of decorative plants with an exclusive appearance that are surprisingly easy to care for, perfect for beginners and a modern lifestyle.
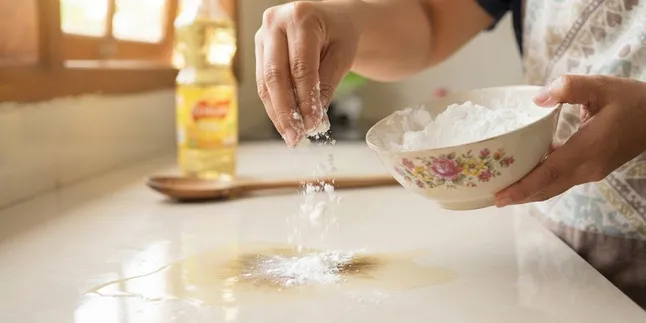
Clean stubborn oil stains at home easily using cornstarch! Check out these 7 practical and effective methods.
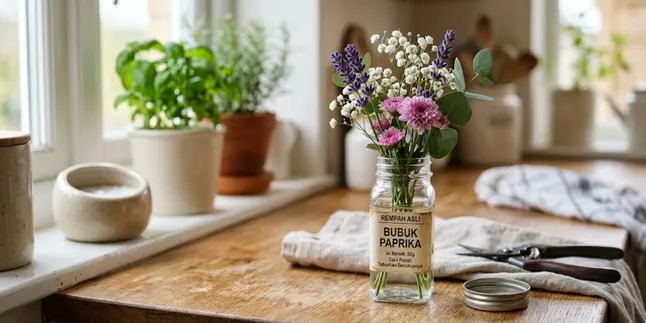
Don't rush to throw away used spice jars; they can be transformed into useful items, ranging from daily spice containers, mini vases, to DIY aromatherapy candles.

A complete guide to choosing the right pot, from size, material, to aesthetics so that plants thrive and the terrace looks more beautiful.

Confused about choosing the right pants? Find a complete guide to choosing pants according to apple, pear, hourglass, square, and inverted triangle body shapes to appear proportional and confident.
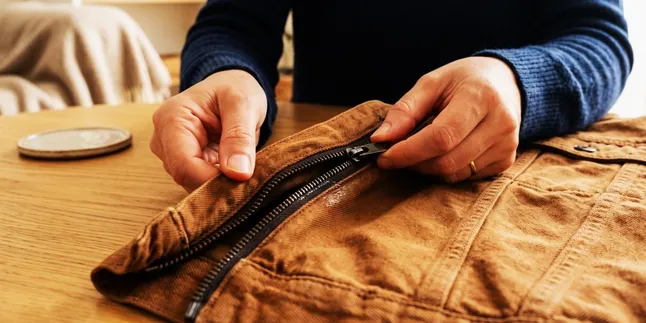
Coconut oil can actually be a lifesaver for stuck zippers! This natural lubricant is effective in reducing friction and restoring the movement of the zipper without damage.

Inspirations for minimalist TV rack models, ranging from space-saving hanging designs to multifunctional ones with hidden drawers.
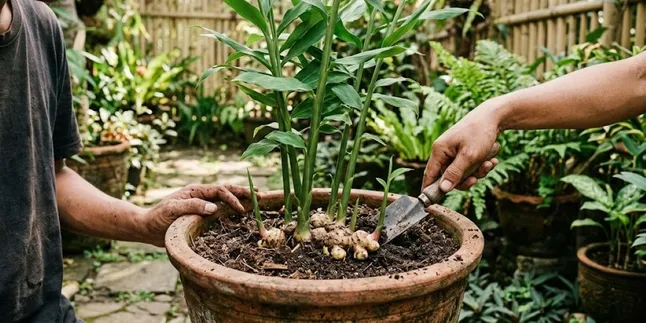
Learn how to care for ginger in pots to grow quickly and be harvested at home. A practical gardening guide for beginners in limited spaces.
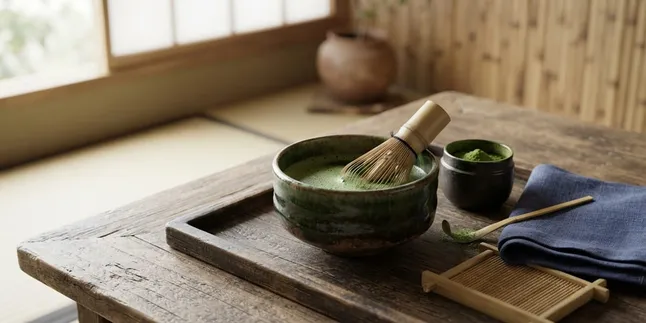
Want glowing skin with pure matcha as a beauty drink? Check out 8 important scientific facts about the benefits, absorption methods, and consumption rules of matcha for beauty here!
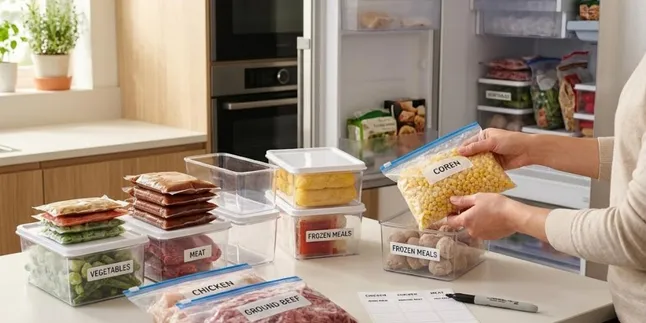
Not all foods are suitable for freezing. Some ingredients can actually ruin their texture and taste after being frozen, and may even pose health risks. Let's take a look at the complete list!

Discover an easy guide to planting lemongrass in your yard, from selecting seeds to optimal care for healthy and aromatic lemongrass.
