Kapanlagi.com - Hello KLovers! The trend of gardening in limited spaces is becoming increasingly popular as it can save kitchen expenses while also channeling hobbies. One of the most favorite herbs to cultivate independently is ginger due to its rich health benefits.
Did you know that domestic demand for ginger has surged by dozens of percent each year, while agricultural land is becoming more limited? Fortunately, you don't need a large garden to produce thick, plump, and premium quality ginger rhizomes.
Although it seems easy, many beginners fail because their rhizomes rot or their growth is stunted due to improper handling. Here are the ways to care for ginger in pots to grow quickly and be harvested at home from various sources, Thursday (20/8/2026).
1. Biological Characteristics of Ginger
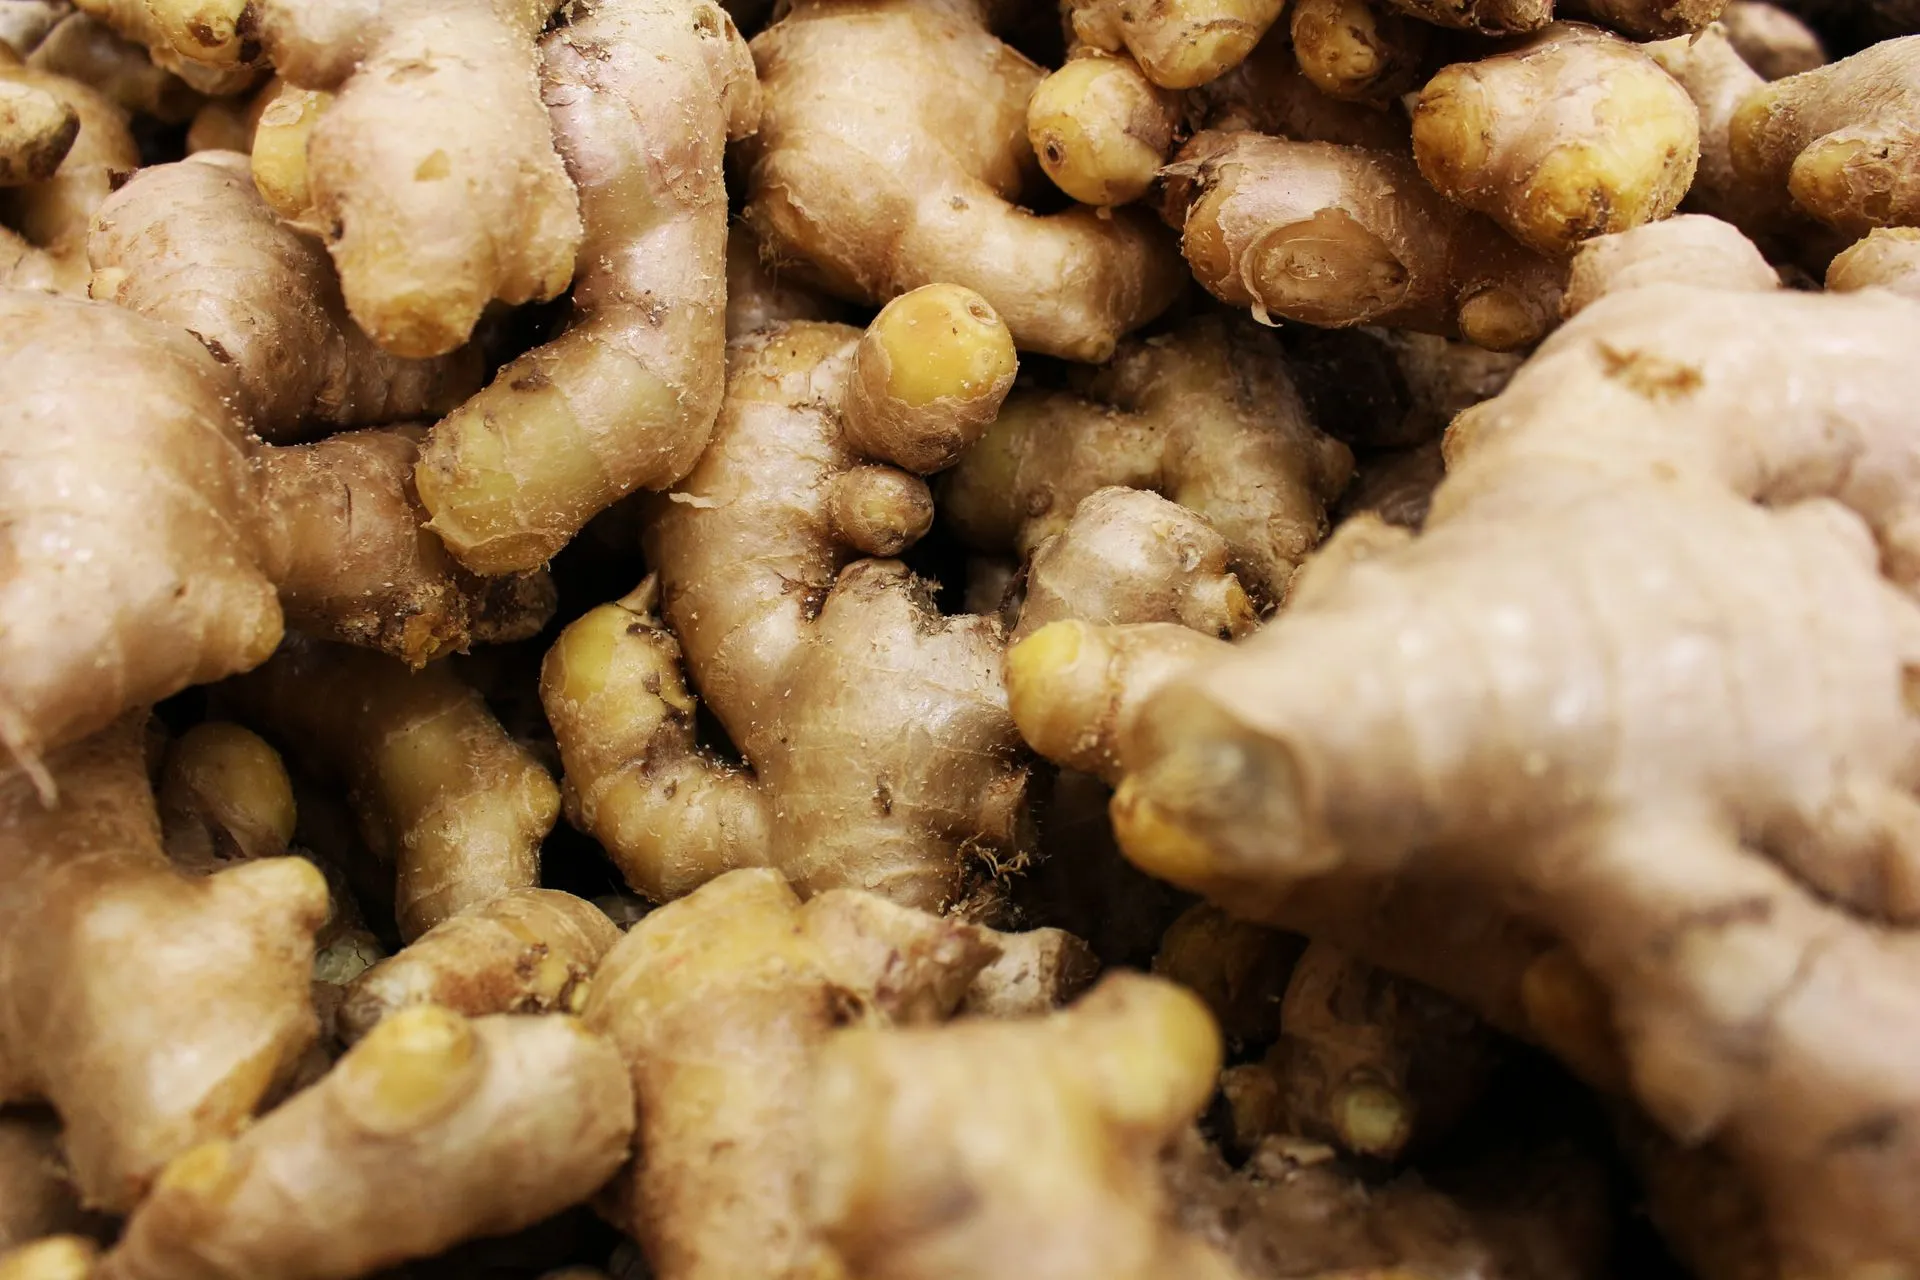
Biological Characteristics of Ginger (Pexels)
Many people think that ginger (Zingiber officinale) is an ordinary root plant that can grow anywhere as long as it is watered. A unique perspective that beginners rarely realize is that ginger is actually a secondary tropical forest plant. It loves high humidity, but cannot tolerate standing water. In its natural habitat, ginger grows under the shade of large trees that protect it from direct sunlight.
According to the book Ginger: The Genus Zingiber (2002) written by P.N. Ravindran and K. Nirmal Babu, the growth of ginger rhizomes is greatly influenced by the physical conditions of the soil. Ginger rhizomes grow horizontally or laterally, rather than downward like carrots or cassava. This is why caring for ginger in pots requires special methods to ensure the rhizomes have enough space to grow.
2. 1. Selection of Containers and Growing Media that
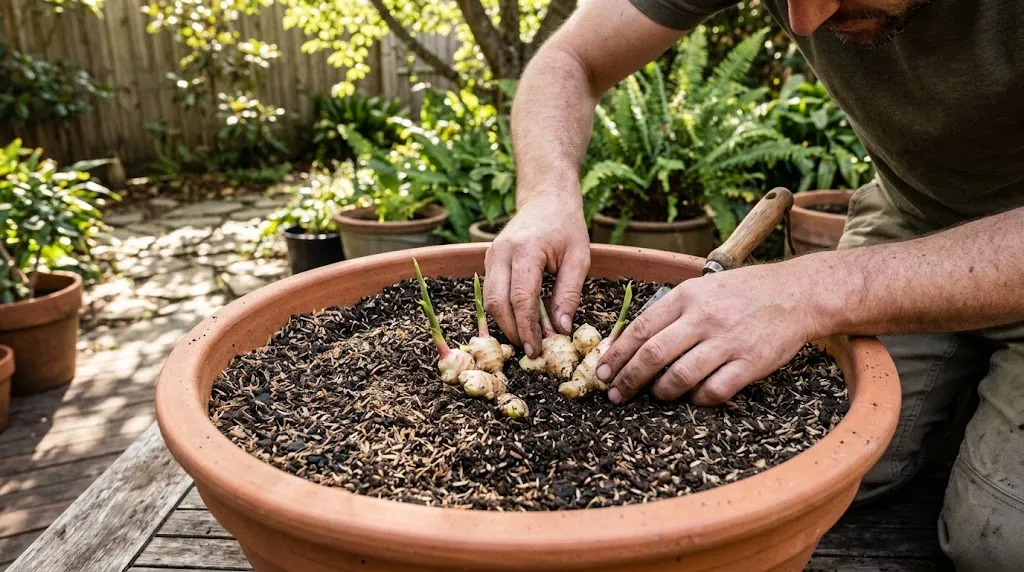
The most important first step is to determine a home for your ginger. Do not use a pot that is too deep but narrow. Choose a pot or planter bag that widens sideways with a minimum diameter of 40 cm and a depth of about 30 cm. Remember, ginger grows horizontally!
The planting medium should not carelessly use compact garden soil. Compact soil will hinder the growth of new rhizomes and make them prone to rot because water is retained too long. Use the following well-draining planting medium mix:
- 1 part fertile topsoil
- 1 part mature compost or casting (worm manure)
- 1 part burned husk or perlite to help with water and air drainage
This mixture helps maintain good air flow in the pot, allowing roots and rhizomes to grow healthily.
2. Lighting Strategy: Do Not Let Ginger Be Exposed to Sunlight for Too Long
This is where many beginners make a mistake by leaving the ginger pot in the blazing sun all day long. According to research in the scientific journal Scientia Horticulturae (2014) by G.R. Smith et al., ginger plants show good photosynthetic growth when receiving light around 60% to 70%.
If exposed to direct, intense sunlight, ginger leaves will turn yellow, dry at the edges, and shrivel. Place your ginger pot in an area that receives full morning sunlight (from 6 AM to 10 AM), then provide protection from sunlight during the day. Using shade netting (paranet) or placing it under a terrace roof is the best option for caring for potted ginger to grow quickly and be harvestable at home.
3. Watering Management Based on Moisture
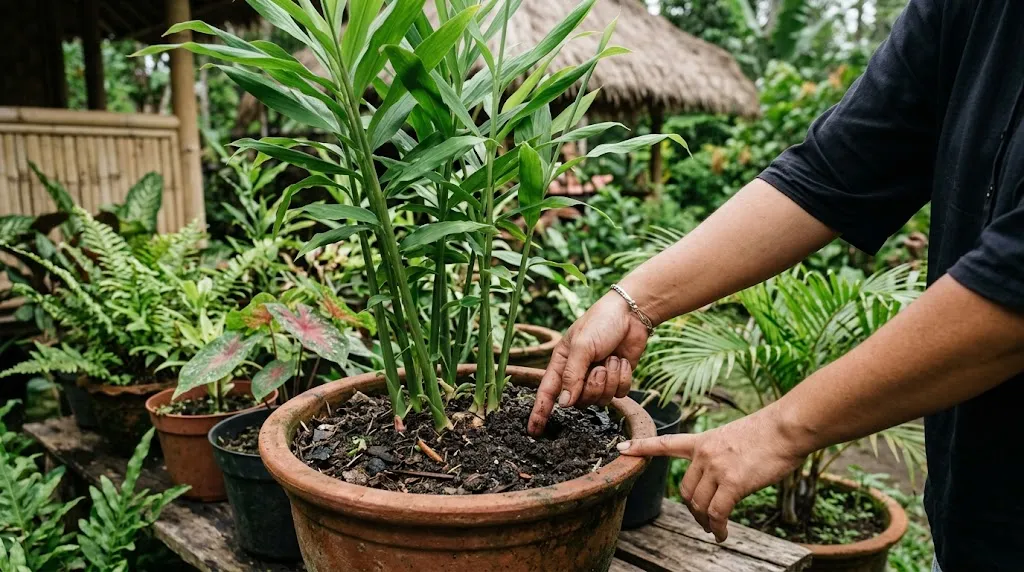
Watering ginger on a fixed schedule like "twice a day" is a big mistake. The water needs of the plants can vary, depending on the air temperature each day. Ginger requires consistently moist media, like a wrung sponge, not muddy and waterlogged soil.
The easiest way to check is by using the finger poke method. Insert your index finger 3-5 cm deep into the potting media. If it feels dry, water evenly until water drains from the bottom of the pot. If it still feels wet and cold, delay watering to avoid the risk of rhizome rot due to fungal attack.
4. Techniques for Adding Soil Around Ginger that Are Often Forgotten
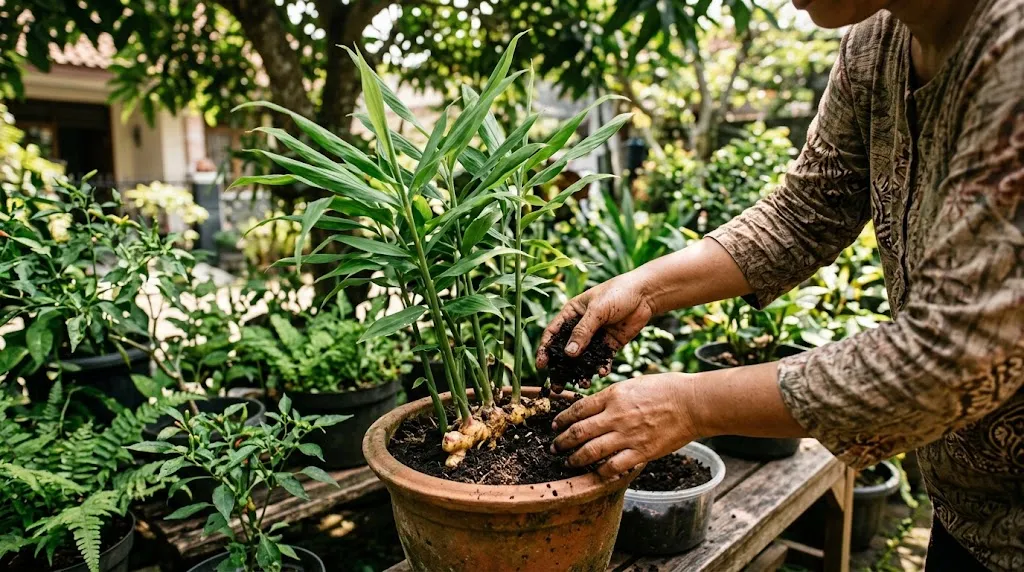
This is one of the important methods often used by ginger farmers. Have you ever seen ginger rhizomes poking out of the potting soil? If left exposed to air and sunlight, the rhizomes will harden, change color to green, and their growth may be disrupted.
The hilling process must be done every 2 or 3 months. The method is very simple: add a mixture of compost and new fertile soil about 5-10 cm thick into the pot to cover the rhizomes that are starting to become visible.
This step not only protects the rhizomes but also helps the growth of new shoots and provides additional nutrients around the actively growing parts of the plant.
5. Periodic Nutrition: Organic vs Chemical
To obtain solid and strongly aromatic ginger, nutrient intake must be maintained in balance. Ginger is a plant that requires a lot of nutrients. During the leaf and stem growth period (from the 1st to the 4th month), provide fertilizer rich in Nitrogen (N) such as chicken manure or liquid organic fertilizer (POC) from moringa leaves to support leaf growth.
Shortly after entering the 5th month, the plant's focus shifts to the formation of rhizomes underground. At this stage, the plants need a high intake of Potassium (K) and Phosphorus (P). KLovers can add wood ash, bone meal, or commercial organic fertilizers specifically for fruits and tubers.
According to guidelines from the University of Florida Extension (2021), providing micronutrients like Magnesium (Mg) can also help increase the natural oil content that makes ginger spicier and more fragrant compared to ginger sold in the market.
6.Cleaning the Pot: Weeding and Pest Protection
Since it grows in a limited pot environment, ginger should not share nutrients with weeds or wild grasses. Remove any wild plants growing in the pot as soon as possible so that more fertilizer nutrients can be absorbed by the ginger.
Be wary of ginger's main enemies in pots, namely aphids and leaf roller caterpillars. Preventing pest attacks is better than treating them. Spray organic pesticides based on neem oil or garlic water periodically every two weeks.
This natural spray is relatively safe to use in home environments while also helping to keep the leaves green and healthy.
5. 7. Signs That Ginger is Ready for Harvest
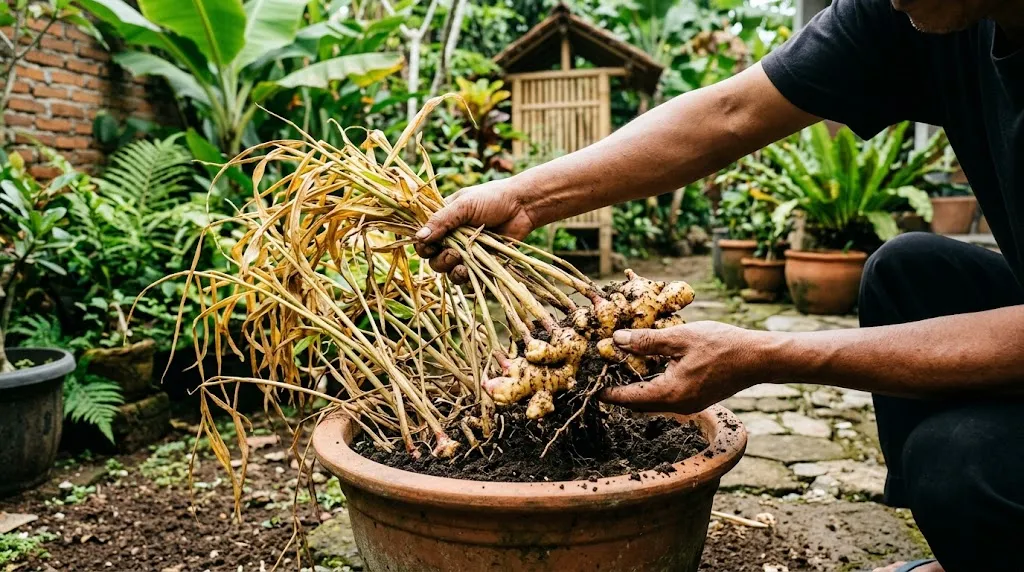
Ginger. [AI Generated]
Patience is the key factor in how to care for ginger in pots so that it grows quickly and can be harvested at home. The life cycle of ginger ranges from 8 to 10 months to reach full maturity. As the harvest time approaches, the ginger plants will show natural changes as they enter the end of the growth period.
The green leaves that were once upright will gradually start to yellow, dry out, and then the stems will droop down to the ground. Don't panic, KLovers! This is not a sign that the plant is dying from disease, but rather a sign that most of the energy and nutrients from the leaves have been channeled down to help enlarge the rhizome.
When 80% of the upper part of the plant has dried out, reduce watering for a week so that the rhizome skin hardens, then the ginger is ready for you to harvest and enjoy!
6. Questions and Answers About Planting Ginger
How long can ginger in pots be harvested since the initial planting period?
Ginger can be harvested for young consumption (vegetable ginger) at 5-6 months old, but to obtain large, mature, fibrous, and long-lasting rhizomes, the best time to harvest is when the plants are 8 to 10 months old.
Why are my ginger leaves turning yellow even though I water them diligently every day?
Daily watering too frequently can actually make the growing medium too saturated with water, causing the roots and rhizomes to rot due to lack of air. The initial symptoms are usually marked by yellowing leaves followed by wilting.
Can we plant ginger directly from leftover kitchen ginger bought at the market?
Yes, choose old kitchen ginger rhizomes that have smooth skin and are not wrinkled, are large in size, and already have small sprouting eyes protruding at the ends as the starting point for growth.
(kpl/ibr)
Disclaimer: This translation from Bahasa Indonesia to English has been generated by Artificial Intelligence.


 Follow
 Rekomendasi