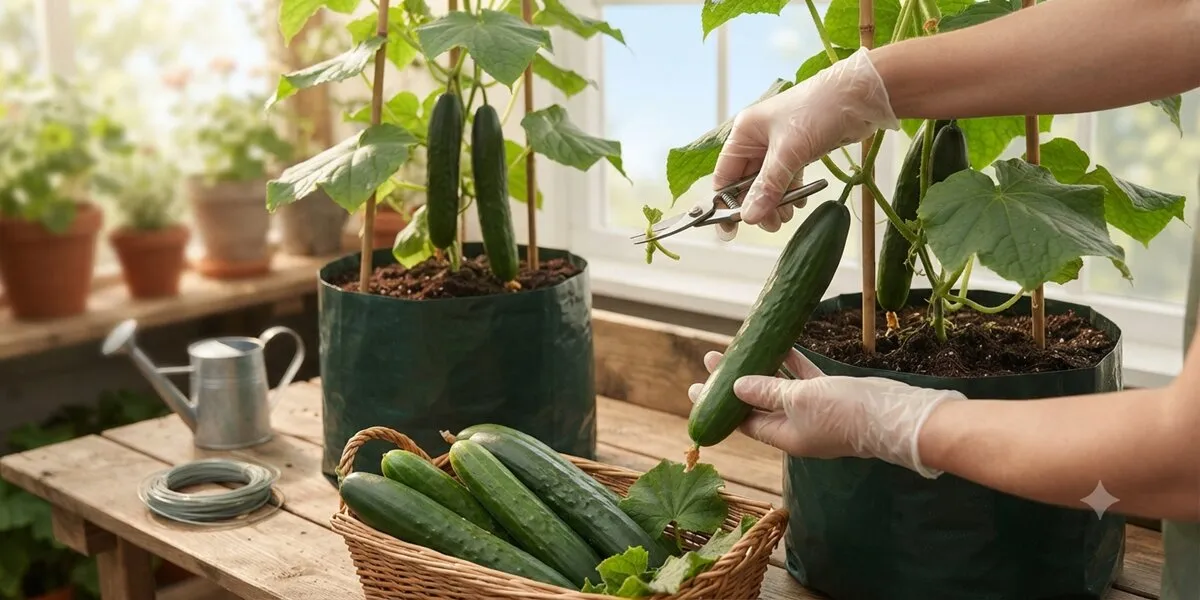
Kapanlagi.com -
Kyuri or Japanese cucumber is becoming increasingly popular in Indonesia and is commonly found in various dishes such as Japanese restaurants, sushi, salads, and even pickles. This fruit is favored for its sweeter taste and much crunchier texture compared to local cucumbers.
However, many people often feel like trying to grow it themselves at home but are hindered by limited space or lack of knowledge on how to start. In fact, cultivating this plant is not as difficult as imagined.
The good news is that growing kyuri at home is actually very easy to do because you can utilize polybags or pots in your yard, and it can even be grown climbing on your fence. This article will discuss in depth how to grow Japanese cucumbers (Kyuri) at home in 8 easy steps starting from the preparation stage to the harvest period. Here is a complete guide on how to grow Japanese cucumbers (Kyuri) at home that anyone can easily practice.
1. Preparation of Tools and Materials
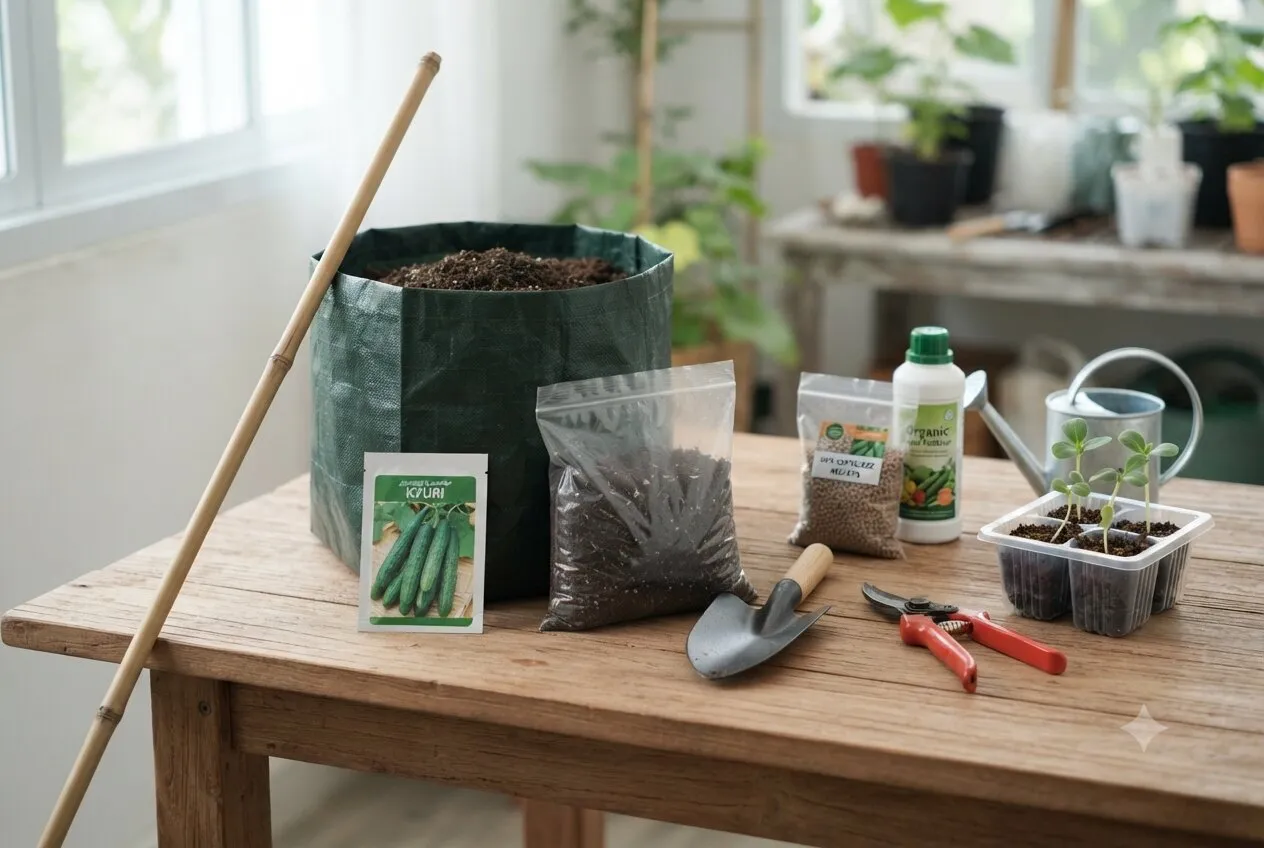
Preparation of Tools and Materials. Photo: AI Generated
The preparation of tools and materials is the main foundation before starting plant cultivation. Make sure you complete all the necessary equipment so that the planting process runs smoothly without significant obstacles.
Here is a list of tools and materials needed for planting Japanese cucumbers in polybags:
Kyuri seeds: Choose certified superior seeds from agricultural stores
Polybag/pot: Minimum size 30×30 cm or larger
Growing media: A mixture of loose soil : compost/manure : rice husk charcoal (1:1:1)
Trellis/stakes: Bamboo or wooden slats 1.5–2 meters tall as a climbing support
Fertilizer: NPK or liquid organic fertilizer
Garden scissors: For harvesting fruit
2. Seed Germination
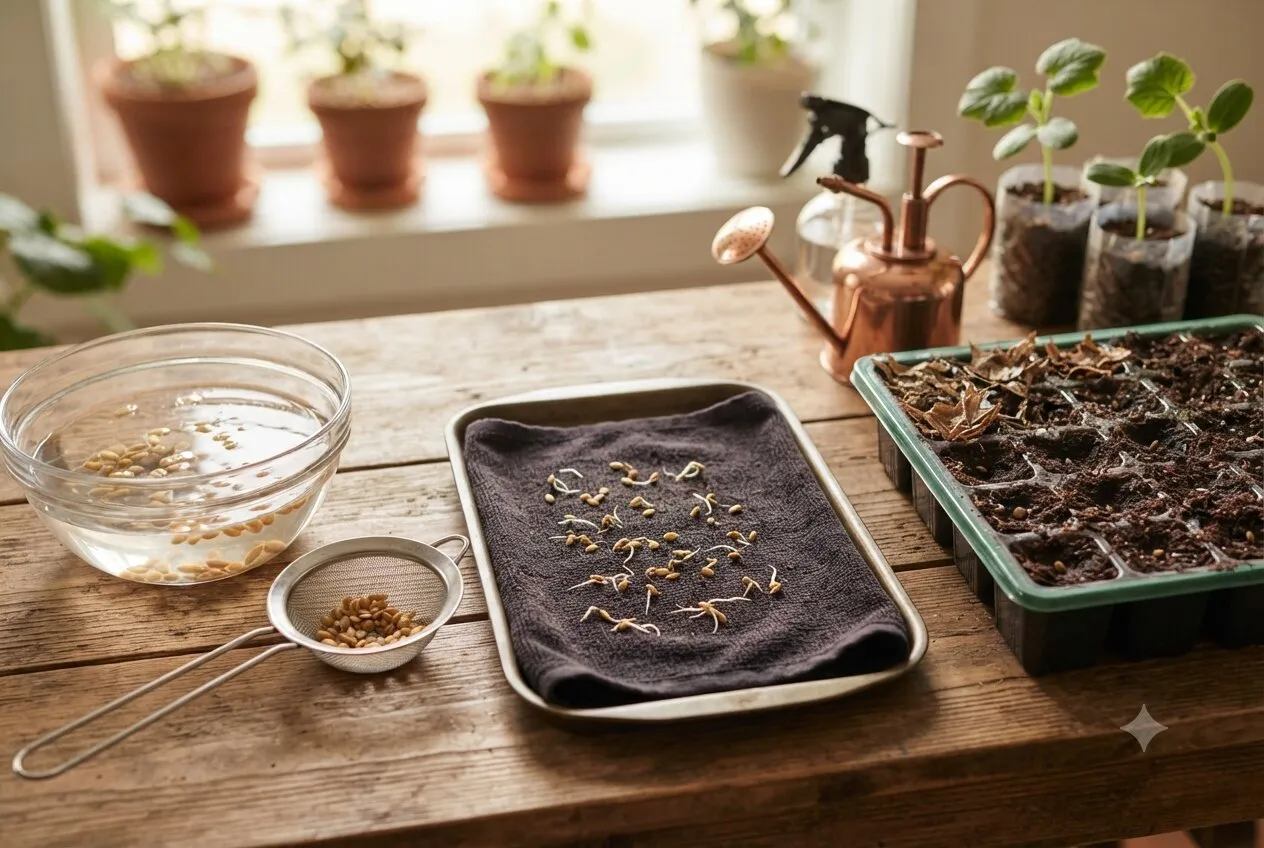
Seed Germination. Photo: AI Generated
The initial stage in the method of planting kyuri starts with the selection and soaking of seeds to ensure a high germination rate. Soak the seeds in warm water for 15 minutes, then discard the floating seeds and use only the ones that sink.
After that, soak the seeds again for 14 hours, then place them on a damp towel for 12 hours until the root sprouts appear. Sow the seeds in a seed tray or small polybag filled with planting media, cover the surface with thin dry leaves, and water them once every 1 to 2 days. Wait for 10 to 14 days until the seedlings have two true leaves and are ready to be transplanted.
3. Preparing Planting Media and Location
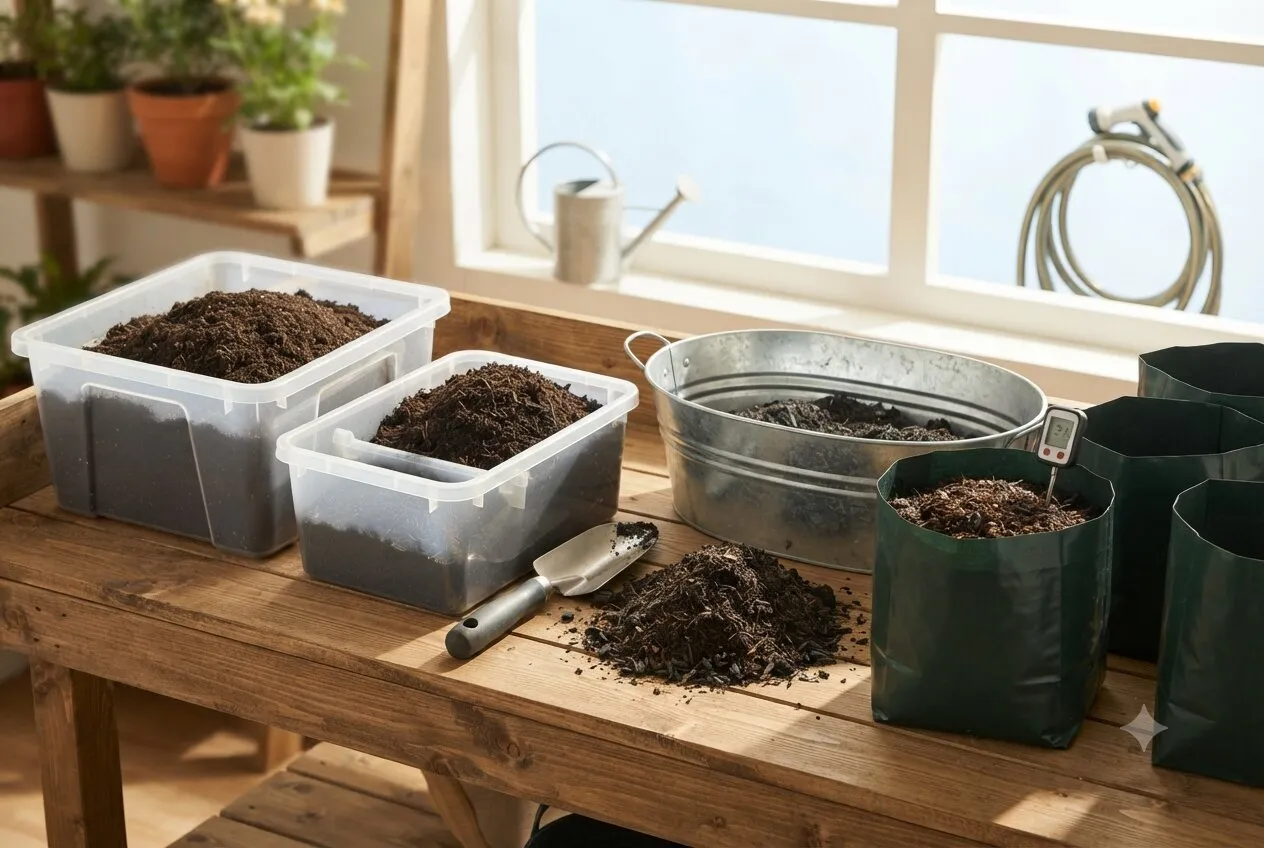
Preparing Planting Media and Location. Photo: AI Generated
Fertile and loose planting media is crucial for optimal root growth of the plants. Mix the planting media with a ratio of loose soil, compost or manure, and rice husk charcoal in a ratio of 1:1:1.
Fill the polybag with the planting media and leave about 5 cm of space from the top surface of the polybag. Choose a planting location that receives direct sunlight for at least 6 to 8 hours a day with an ideal soil temperature range between 18 to 24°C, where the beginning of the dry season is the best planting time.
4. Transferring Seedlings to Polybags
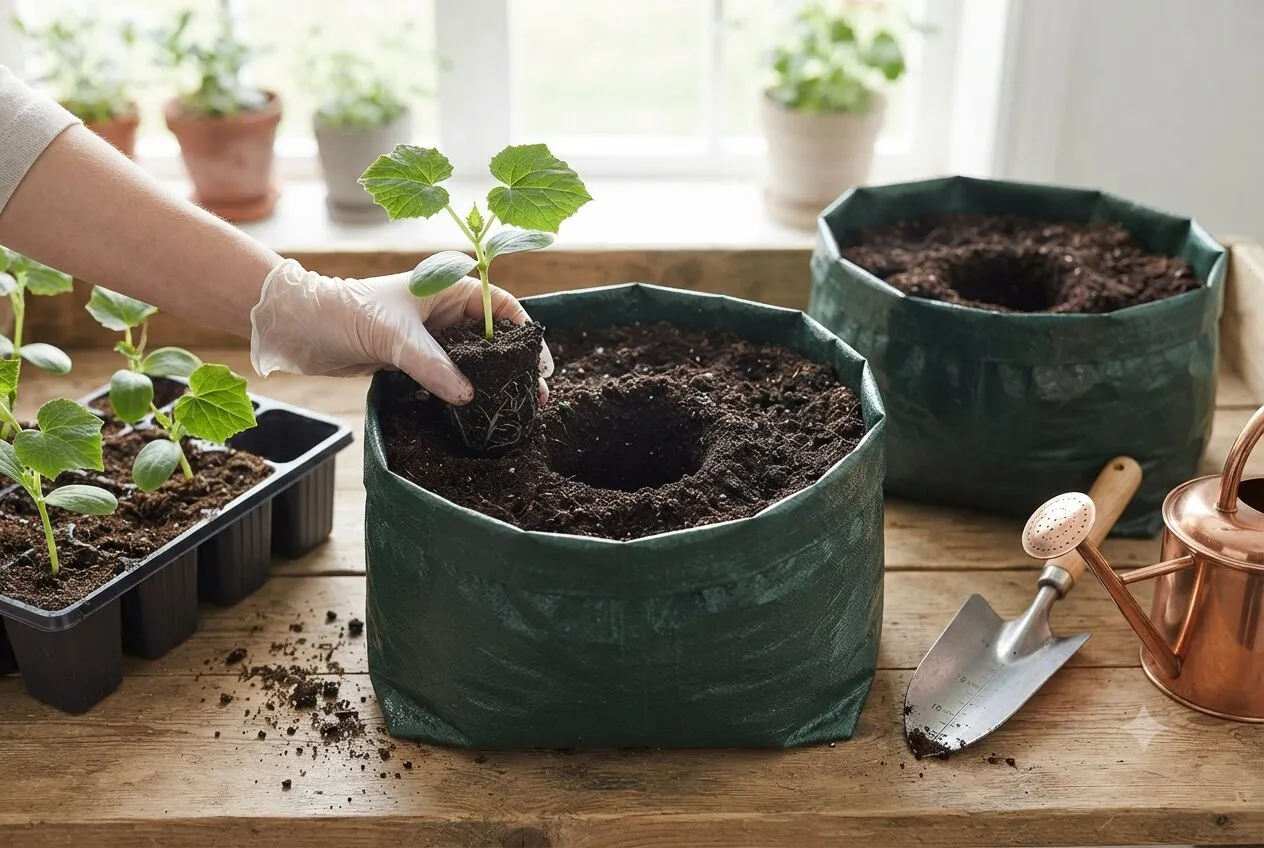
Transfer of Seedlings to Polybags. Photo: AI Generated
After the seedlings are 10 to 14 days old and have two true leaves, proceed to transfer them to the main polybags. Create a planting hole in the center of the polybag, about 10 to 15 cm deep, carefully.
Gently remove the seedlings from the seed tray so as not to damage the root system, then place them into the prepared planting hole. Cover the hole with soil and gently compact it at the base so that the plants do not easily topple over, then water sufficiently. One polybag is enough to hold 1 to 2 seedlings only.
5. Installation of Stakes/Support
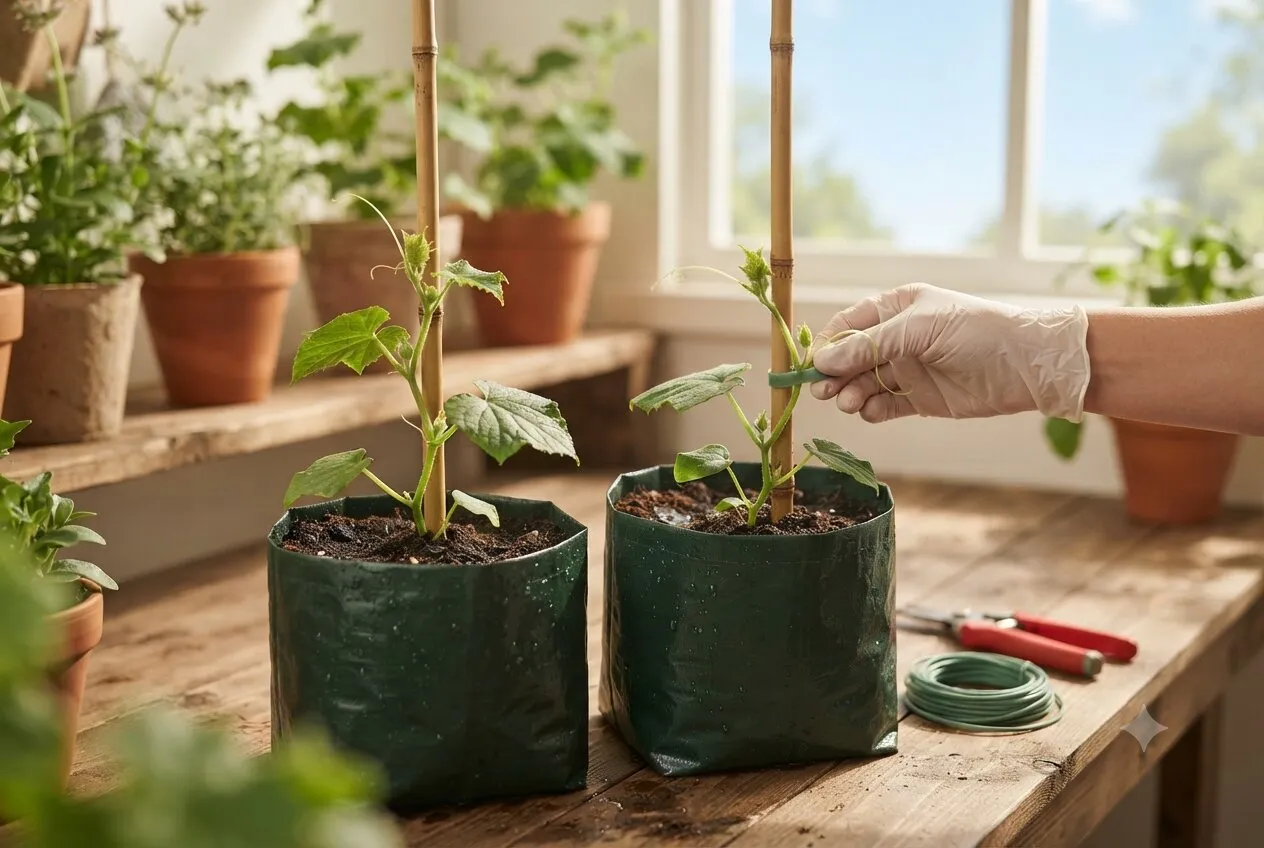
Installation of Stakes/Support. Photo: AI Generated
Since kyuri is a climbing plant, the installation of supports or trellises is essential for the plant to grow upright and neat. Install stakes when the plant starts to grow taller, about 2 to 3 weeks after planting.
Insert bamboo or wooden stakes 1.5 to 2 meters high next to the plant in the polybag. Gradually guide the plant's tendrils to the stakes until the plant can climb on its own, or you can also utilize a house fence equipped with chicken wire as an alternative climbing medium.
6. Proper Watering
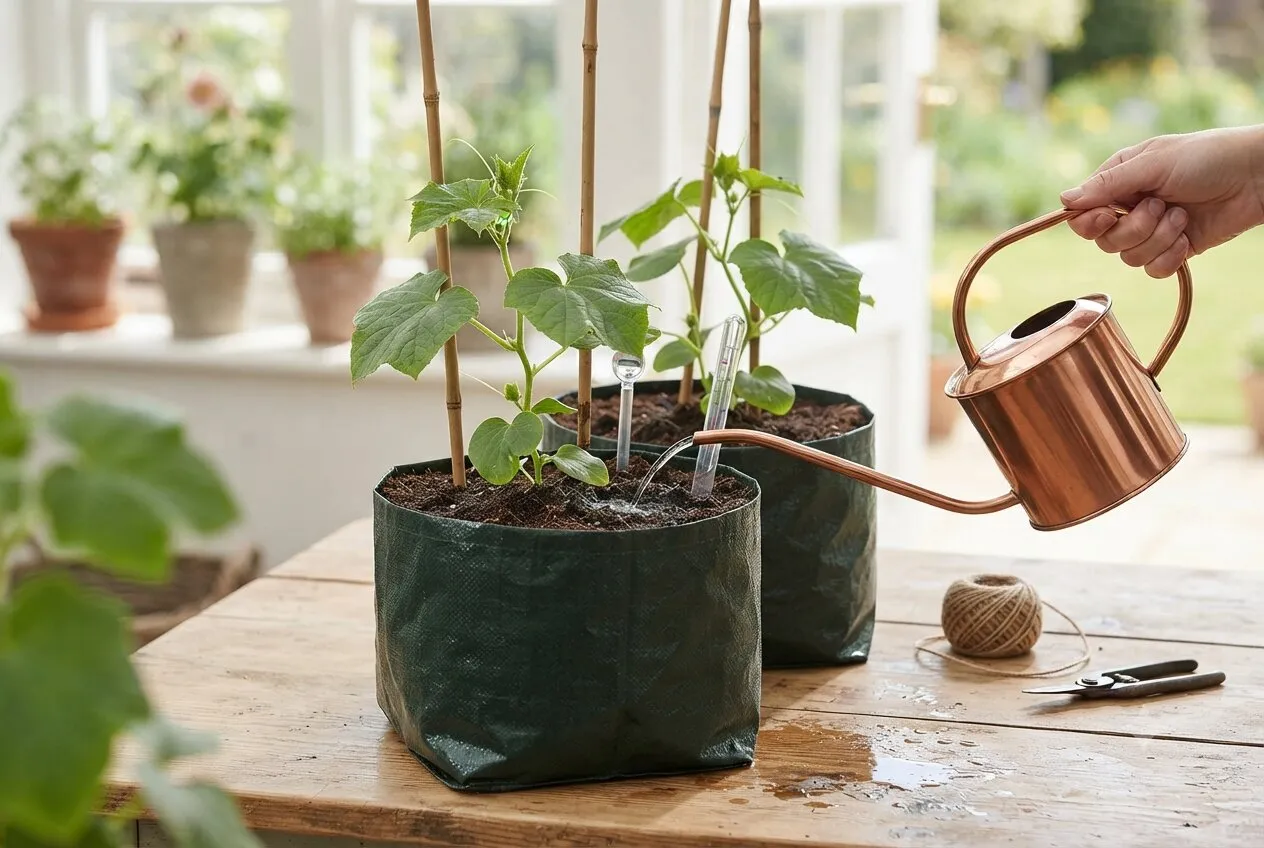
Proper Watering. Photo: AI Generated
The water needs of kyuri plants must be well maintained to ensure smooth plant metabolism without triggering root rot.
Here is a guide to the recommended watering frequency:
First week: Every day (1–2 times a day)
Following weeks: Every 4–6 days
During the dry season: More frequently to maintain soil moisture
Tip: Water directly onto the growing medium, not onto the leaves, to prevent the onset of fungal diseases.
7. Fertilization and Routine Care
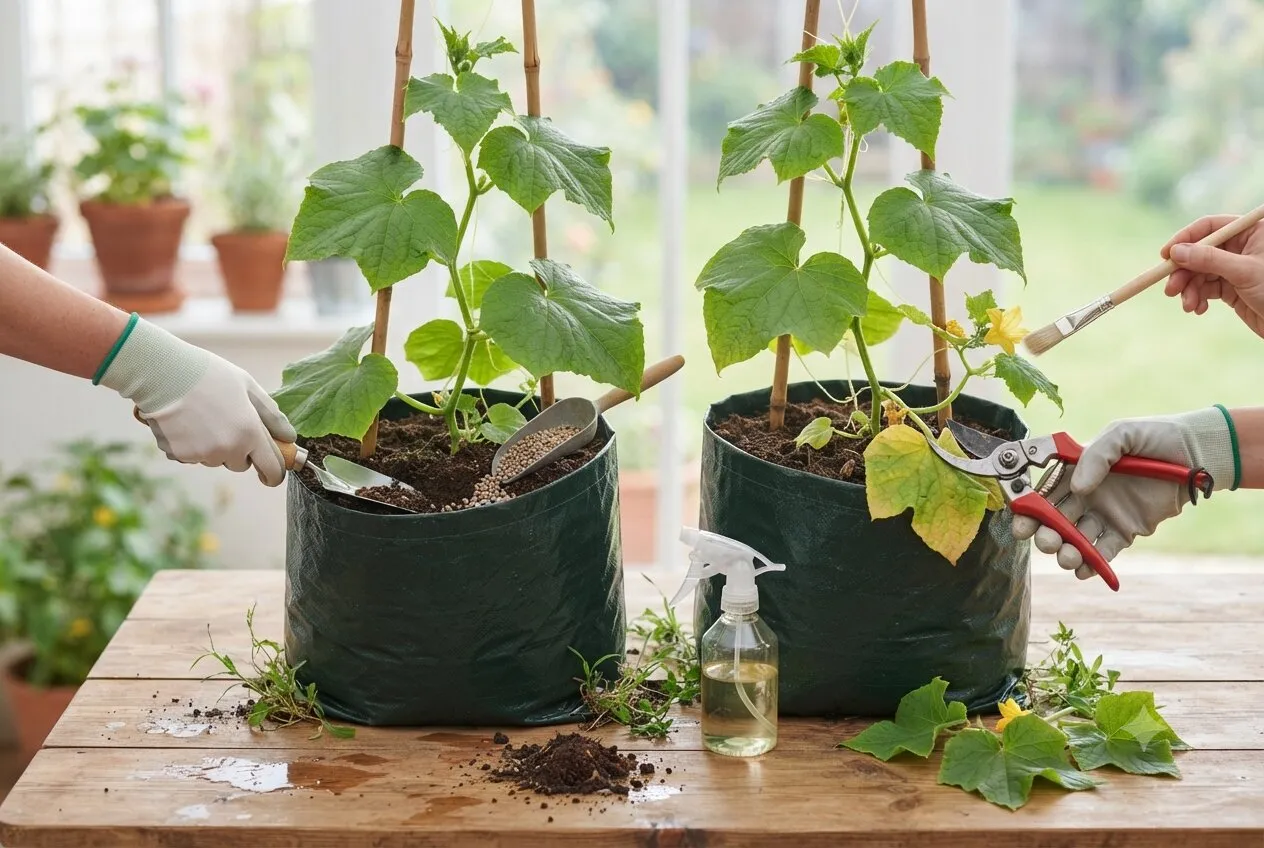
Fertilization and Routine Maintenance. Photo: AI Generated
Cultivating kyuri at home requires special attention to fertilization and daily maintenance to keep the plants productive. For fertilization, mix compost as a base fertilizer when preparing the planting medium, then provide supplementary fertilizer in the form of NPK or liquid organic fertilizer every 10 to 14 days by burying it in the soil around the plants.
Other important care includes pruning old leaves or unproductive branches to focus nutrients on the fruit. Additionally, control weeds by cleaning wild grass around the polybags, spray plant-based pesticides if pests are found, and assist with manual pollination using a brush if the bee population in the surrounding area is low.
8. Harvesting Japanese Cucumbers
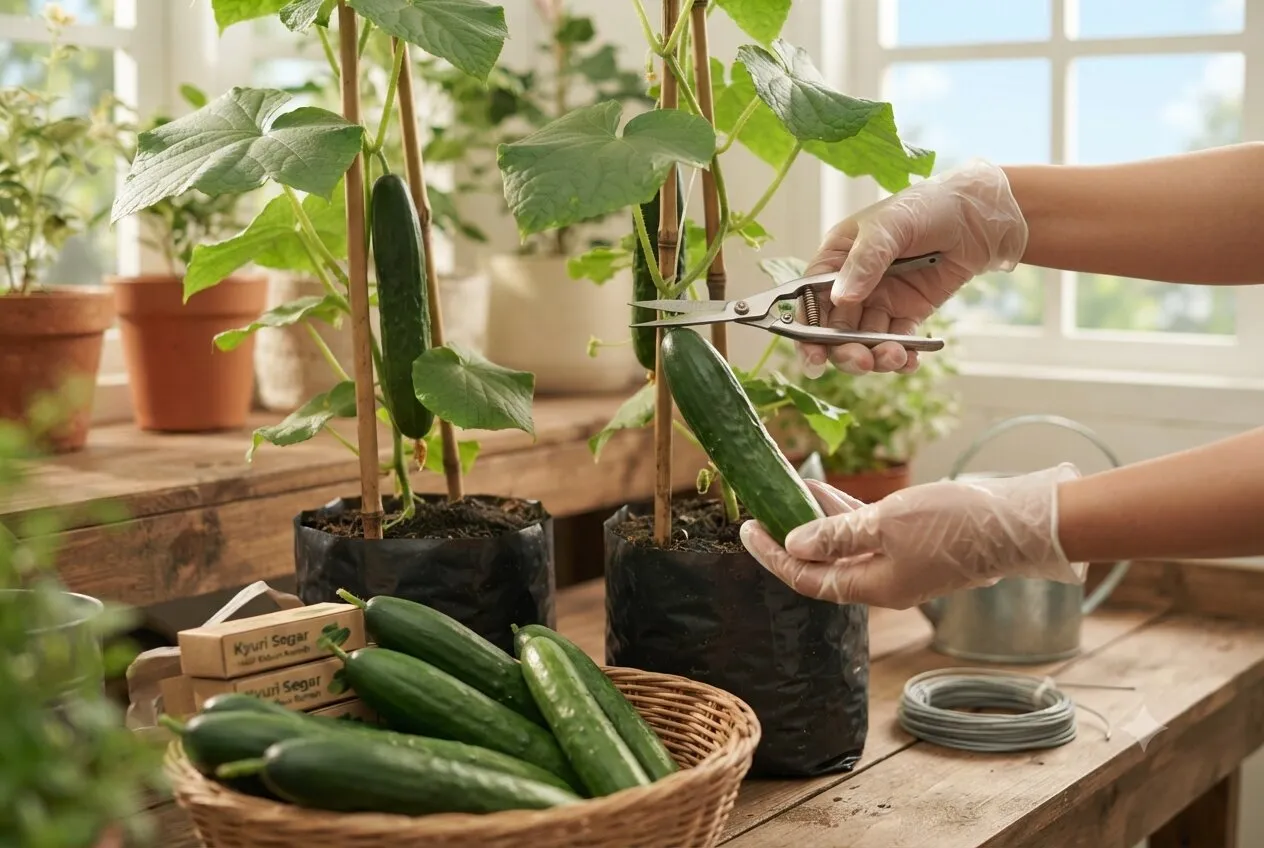
Harvesting Japanese Cucumbers. Photo: AI Generated
The waiting period for the plants to be ready for harvest is relatively short, around 50 to 65 days after planting. The signs that kyuri fruit is ready to be harvested include having an ideal length, a deep green color, and a firm texture.
Use sharp garden scissors to carefully cut the fruit stem. Avoid pulling the fruit directly to prevent breaking or damaging the main stem of the plant. The more frequently the fruit is harvested regularly, the more productive the plant will be in producing new fruit. After harvesting, store kyuri in a cool place or in the refrigerator to maintain its freshness.
9. Questions About How to Plant Japanese Cucumbers
Q: Can kyuri be planted in pots or polybags?
A: Yes. Use a pot or polybag with a minimum size of 30×30 cm with fertile planting media and provide stakes for support.
Q: How long does it take for kyuri to bear fruit?
A: It usually starts bearing fruit within 6–8 weeks after planting and is ready for harvest at 50–65 days old.
Q: Is kyuri suitable for the Indonesian climate?
A: Very suitable. Kyuri grows well in areas with an altitude of 200–800 meters above sea level and receives 6–8 hours of sunlight daily.
Q: Why does kyuri taste bitter?
A: It is usually caused by a lack of water or if the fruit is harvested too late. Ensure regular watering and harvest when still young.
Q: Does kyuri need manual pollination?
A: If the bee population nearby is low, manual pollination with a brush can help improve the yield.
Q: What is the ideal planting distance for kyuri?
A: The planting distance is about 30 cm between plants along the fence or bed.
Q: When is the best time to plant kyuri?
A: When the soil temperature is around 18–24°C or at the beginning of the dry season.
Q: How do you store kyuri after harvesting?
A: Store in a cool place or refrigerator in a clean container to maintain freshness.
(kpl/mab)
Disclaimer: This translation from Bahasa Indonesia to English has been generated by Artificial Intelligence.


 Follow
 Rekomendasi